
|
|
Heat-Kit | Gallery | Brick Oven Page |
|
Bookstore | Library | Masonry Heater Mall |
|||
| Current Projects |
Contact | Search | Links | FAQ |
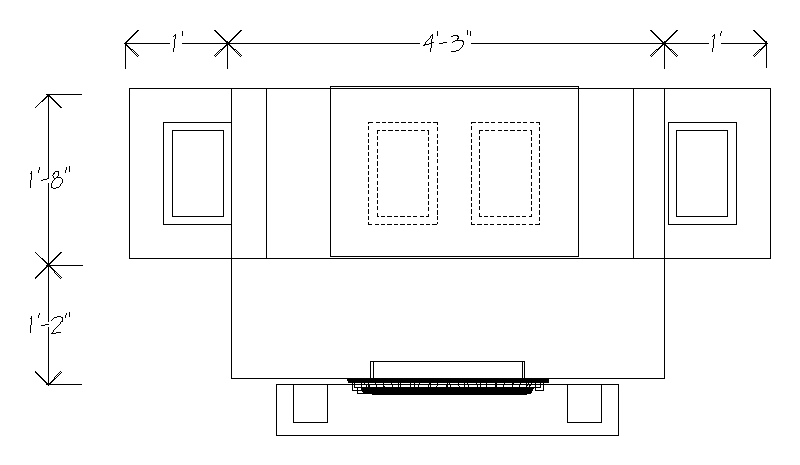
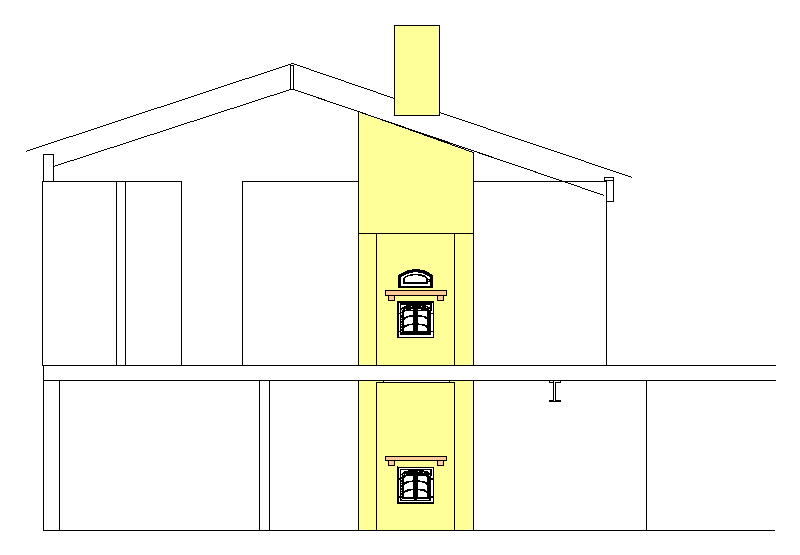
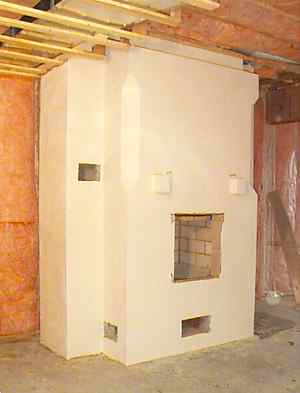
Stacked Stucco Heaters with Bakeoven
Shawville, Québec
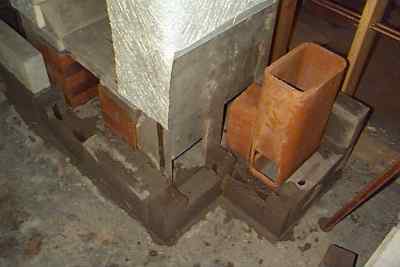
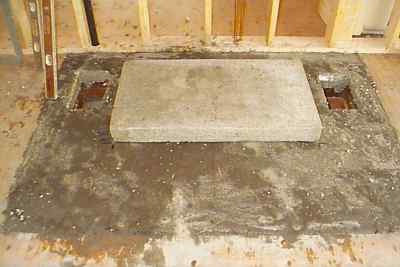
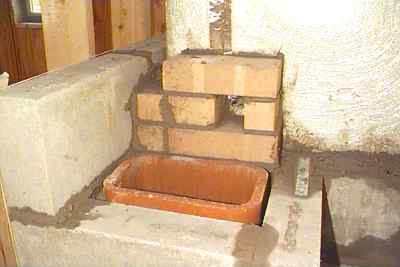
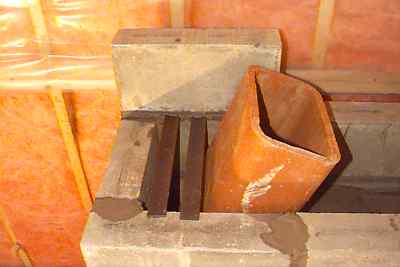
Lower level heater, chimney connection detail
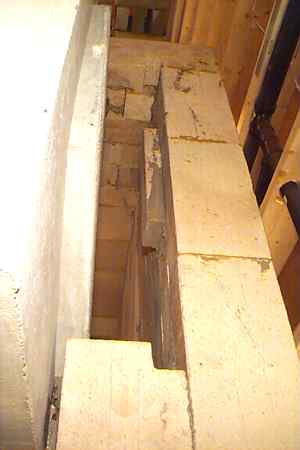
2" x 2" bypass notch cut into left channel
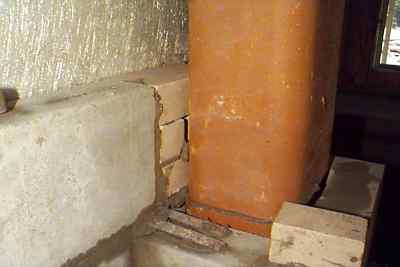
Bypass connection detail.
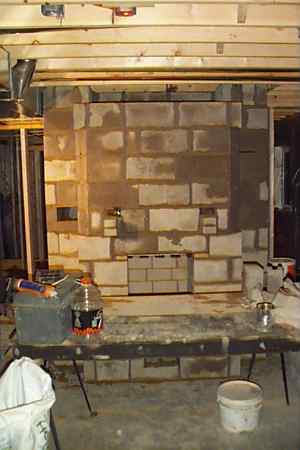
4" concrete block facing completed to first floor.
View from first floor. Vermiculite insulating mix has been placed on top
of heater core ceiling slabs. A course of bricks is used to bring lower facing
to correct height for concrete support slab for upper heater.
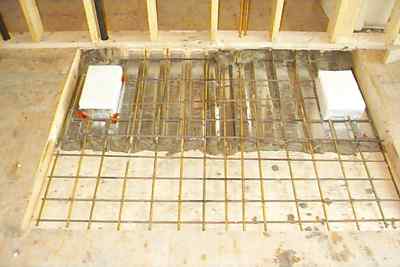
Forming in place for slab. Normally, the V-pan metal bottom would
have extended all the way to the front. A framing error prevented
this.
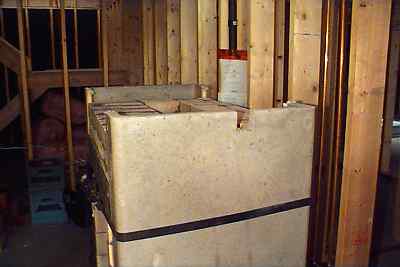
Slab poured. Insulating base slab for upper heater laid up dry to check
measurements. Note pencil marks at corners for later placement.

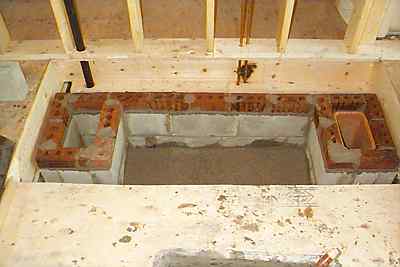
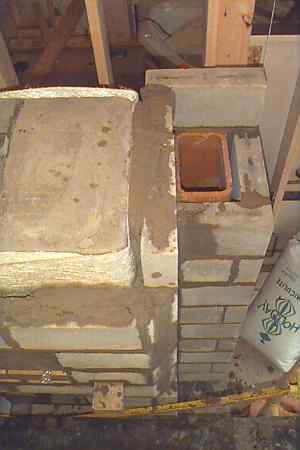
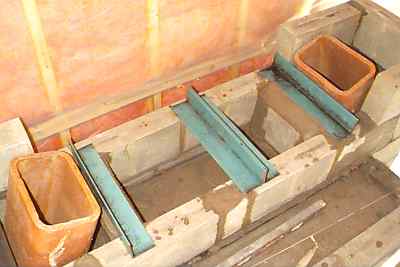
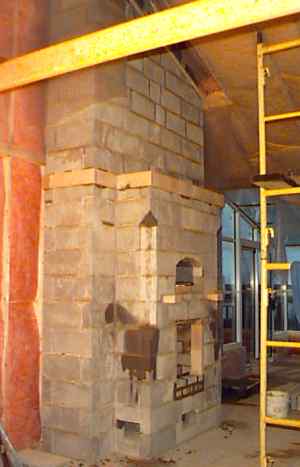
Base channels in place. Chimney connection is on left side.
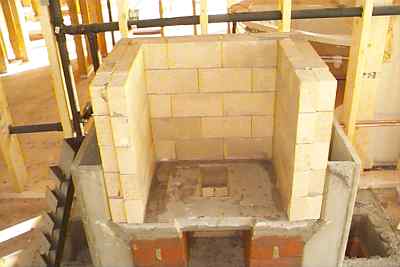
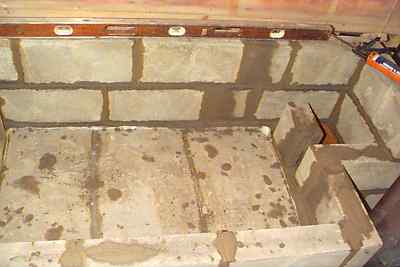
Completed firebox.
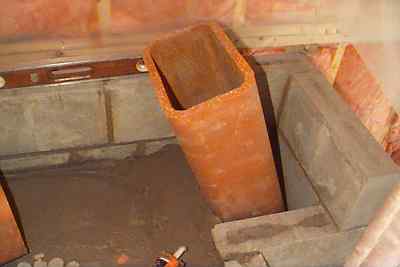
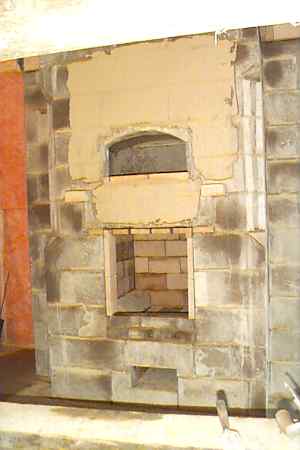
View beneth oven floor.

Oven floor and back casting in place.
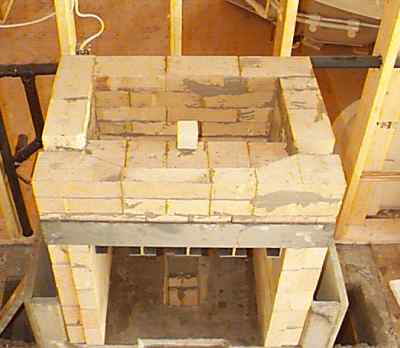
Oven in place. View of channel at rear of oven. Notches and
projecting ledge to retain 1" insulating board are shown.
Bypass connection detail.
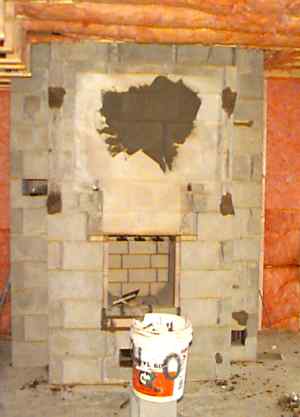
Detail of mortar slush between facing and core. Note that the
Fiberglass mat provides separation all the way around ceiling slabs.
Facing is brought up to height of heater. A steel lintel will run across the
front to provide support for the chimney.
Angle cut in flue liner to bring flues towards centre. Mortar capping above
insulating mix is in place and seals the heater core.
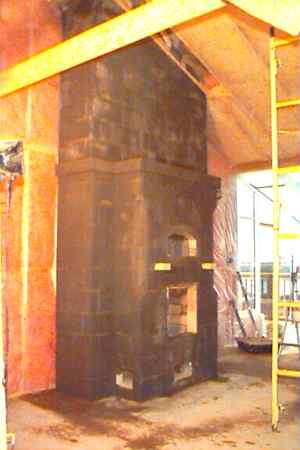
Steel support for angled chimney. Outer facing runs up plumb to ceiling.
Chimney steps back as it penetrates the roof.
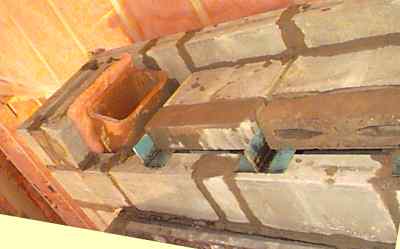
Front blocks rest on a 1/2" X 5" X 5" angle iron.
Shorter 1/4" X 3.5" X 3.5" angles are used to bridge in the other
direction.
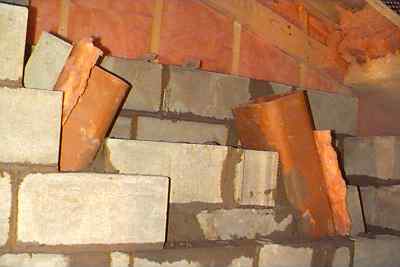
Blocks laid flat seal the bottom of the chimney cavity, which is independent
of the heater core. The heater core itself cannot be used to support
any weight.
Block fill in between flues. There will only be the code-required
4" fill between blocks as the chimney narrows above the roof line.
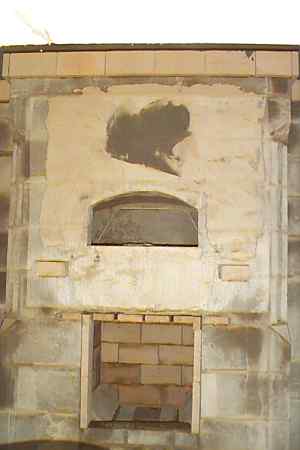
Lower level heater is prepped for Stuc-o-flex
elastomeric
plaster. In the high stress area above the firebox, a piece of
glass mesh is embedded in the base coat (dark patch).
Underneath the mesh, the middle portion (8" from outer corners) has first
received
a skim coat of fireclay. This creates a bond break that will prevent any
potential stress cracks from communicating through the base coat.
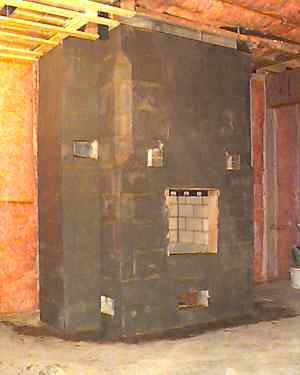
Base coat in place. The purpose of the base coat is to
seal the surface, so that differential drying at the mortar
joints does not print through the final coat . Note the mortar joints
printing through the base coat as it dries.
Dec. 6/99: Upper heater prepped for basecoat. Holes in the
mortar joints have been filled, and protrusions knocked off.
A band of 1.25" firebricks has been added at height of heater top to provide
a
plaster detail. Bottom detail of corner relief on heater has been cut
in place with a diamond saw (dark patch is from water spray to prevent
dust). Top of corner relief detail, previously sawn in place, is finished to
exact
shape with mortar.
Dec. 7/99: Clay bondbreak is skimmed on first
floor heater.
Glass mesh is embedded in high stress area above
firebox.
Base coat on first floor heater.
Dec 8/99: Finish coat of Stuc-o-flex on
lower level heater. Finish
coat went on very easily, total time was about 3 hours. The key was
to have the 4" blocks underneath dead flat. This is next to
impossible to do with solid 4" blocks, so hollow core blocks were
used. Before the base coat was applied, all projections from mortar
joints were carefully rubbed down with a carborundum hand stone, and
any holes were filled. The hardened base coat was given a quick rub with the
carborundum stone as well. When the finish coat went on, there were no
low spots to fill, and no high spots to get hung up on. As a result, it skimmed
on easily, and only required 3/4 of a 60 lb. bucket of the "light texture"
mix.
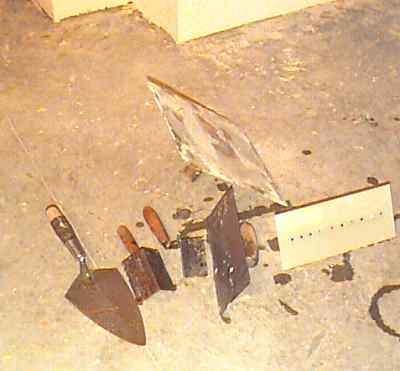
Tools that were used: (From left) trowel for scooping from bucket,
inside corner trowel, outside corner trowel, Marshalltown stainless
steel plastering trowel (don't use a cheap trowel), Marshalltown
composite plastic trowel (not used on this job, sometimes used for
acrylic plaster texturing), (behind) plasterer's hawk,
(not shown): sponge for light texturing.
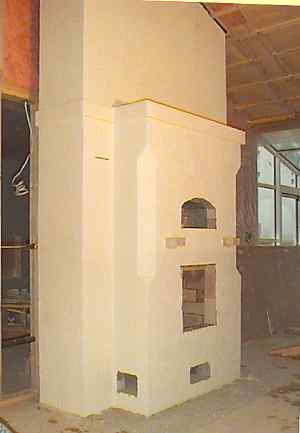
Dec 10/99: Stucco on upstairs heater.
This page last updated on
March 26, 2004
This page created on December 5, 1999
|
|
Heat-Kit | Gallery | Brick Oven Page |
|
Bookstore | Library | Masonry Heater Mall |
|||
| Current Projects |
Contact | Search | Links | FAQ |
Back to: