
Cookstove Rebuild
See
also:
Fireplace Retrofit
Alaska Fireplace Retrofit
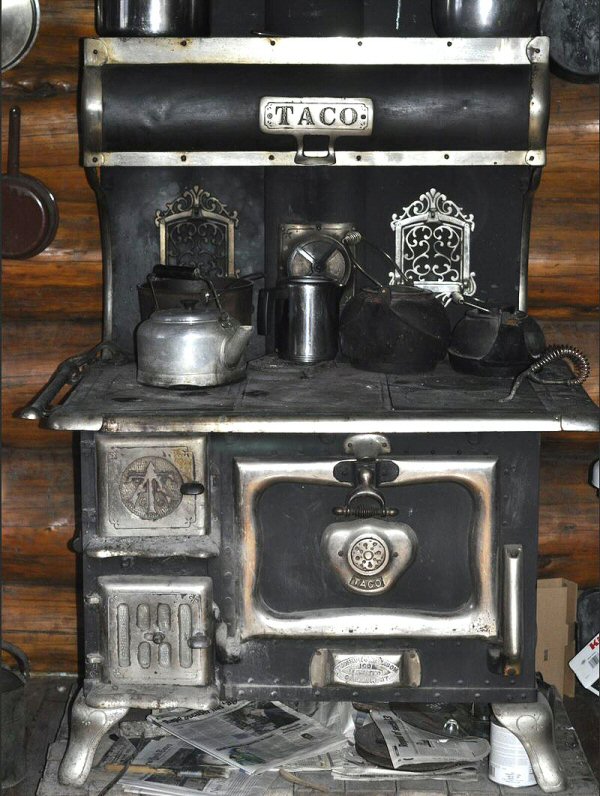
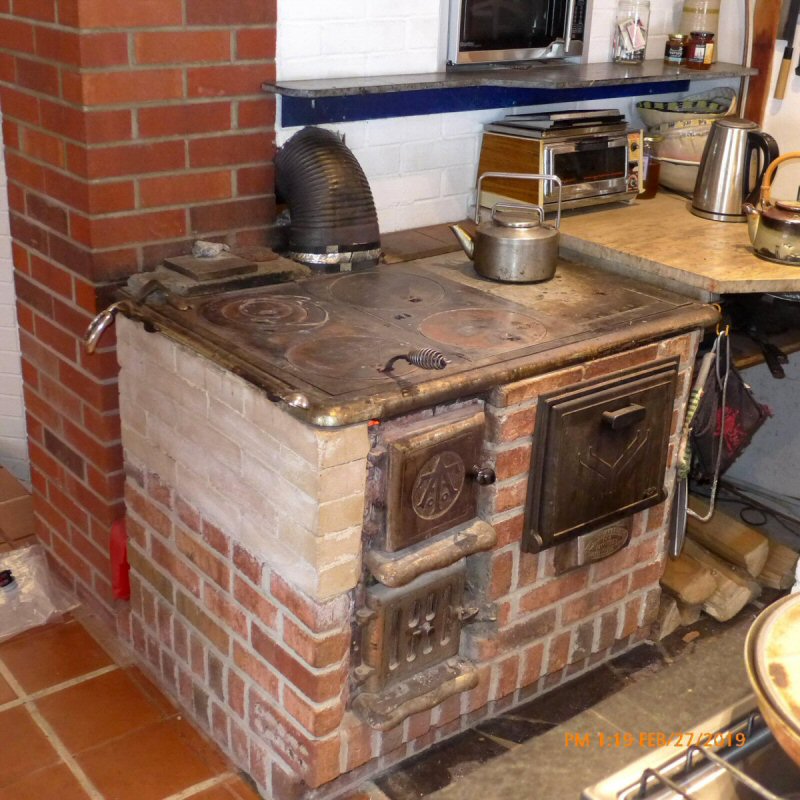
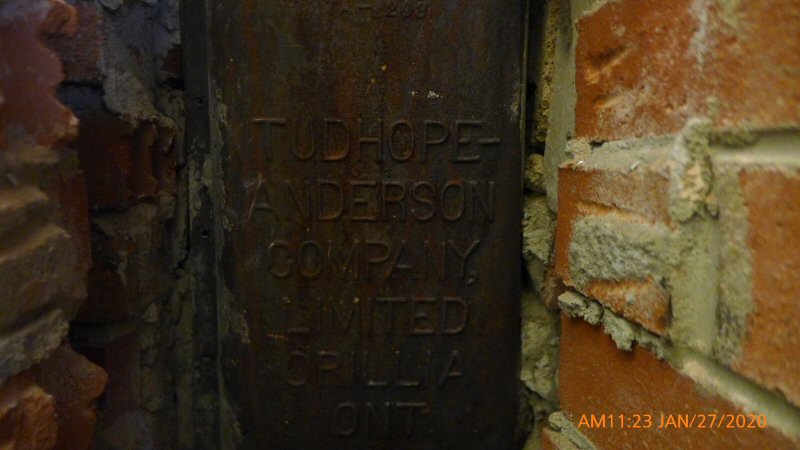
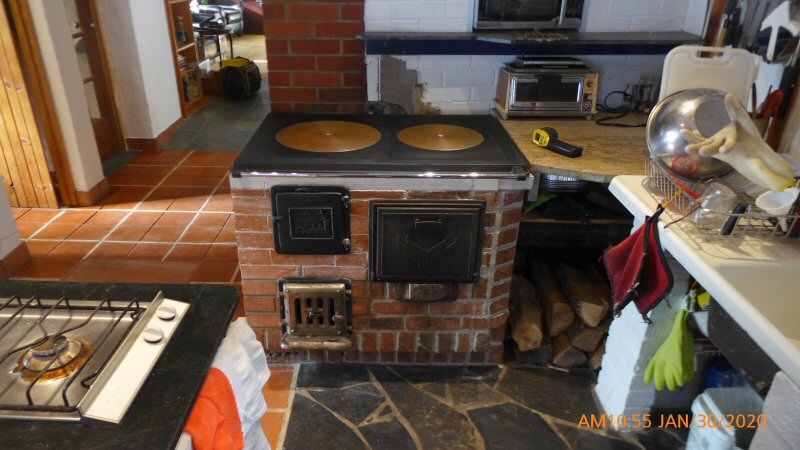
In 1973, we bought a used cook stove identical to this one, except it had a water reservoir on the right.
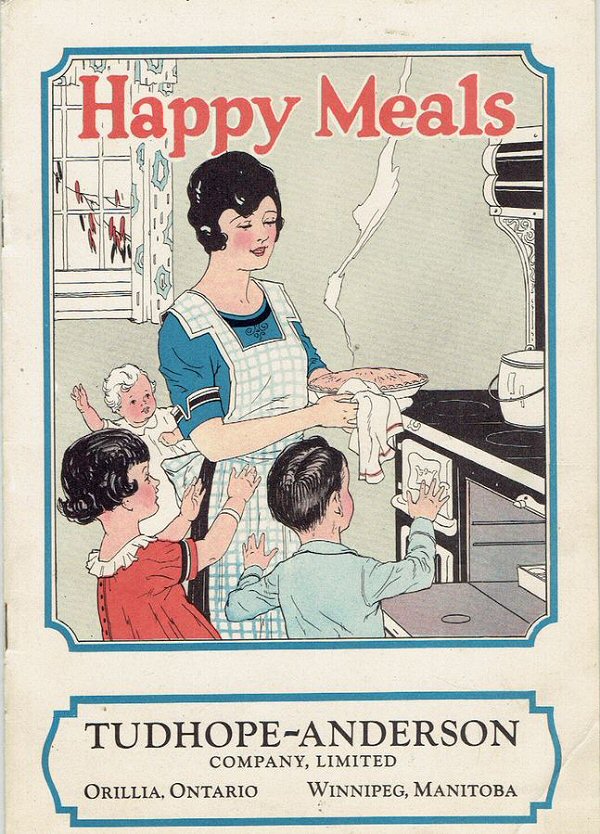
It was built in 1909 by the Tudhope Anderson Company in Orillia Ontario.
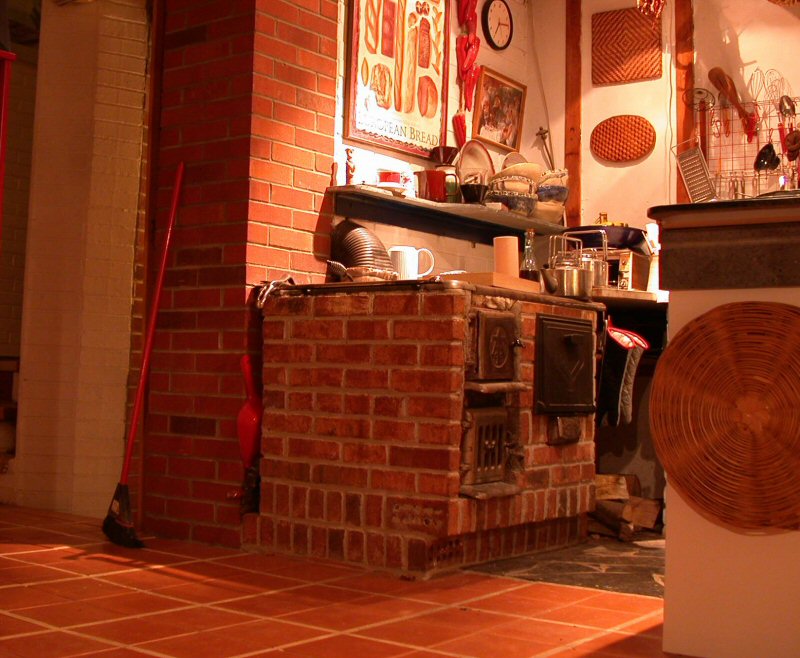
After 18 years of heavy use the sheet metal oven started to burn out. We salvaged the cast iron cook top and
the loading and ashbox doors and rebuilt it as a brick cook stove around 1990.
We replaced the oven with a cast iron one from UPO in Finland, made for brick cook stoves.
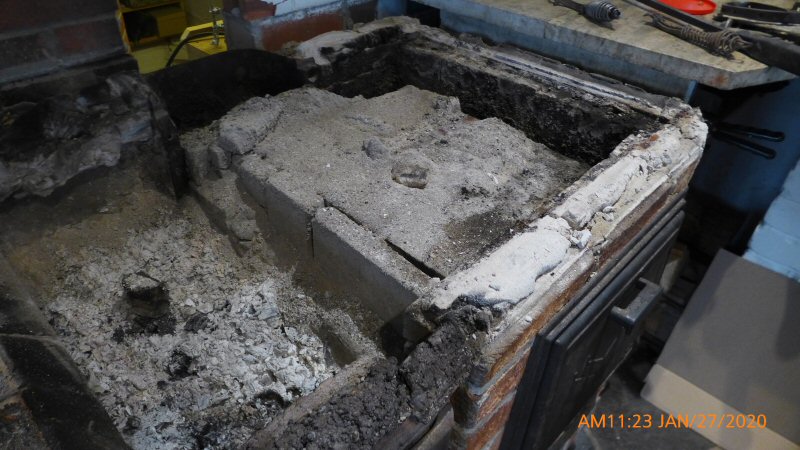
The outer wall of the firebox burned out after about 10 years.
It was a single layer of clay brick set in type N mortar and parged
with castable refractory, and surprising that it lasted that long.
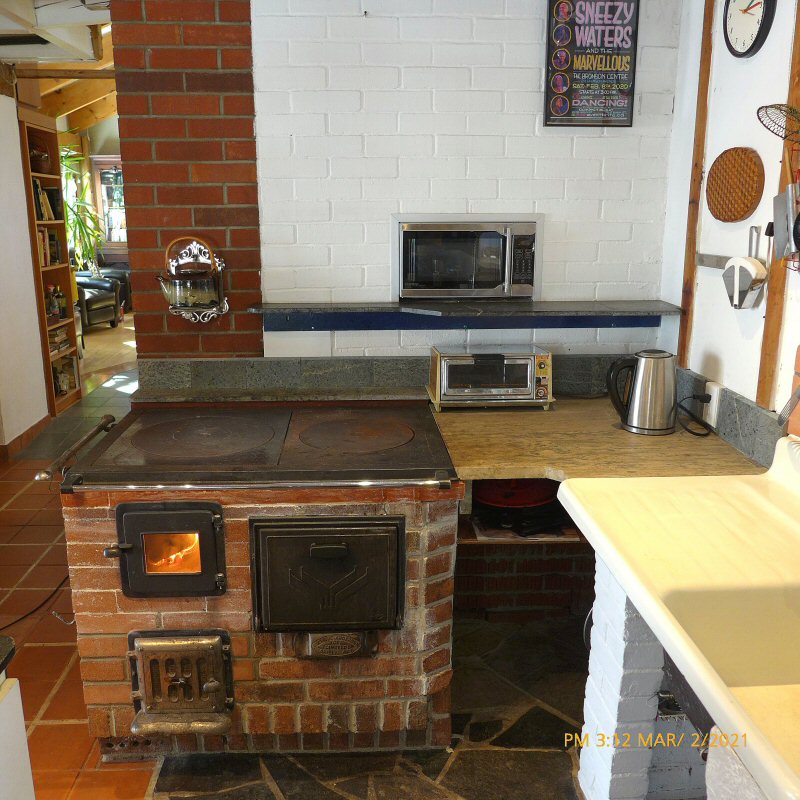
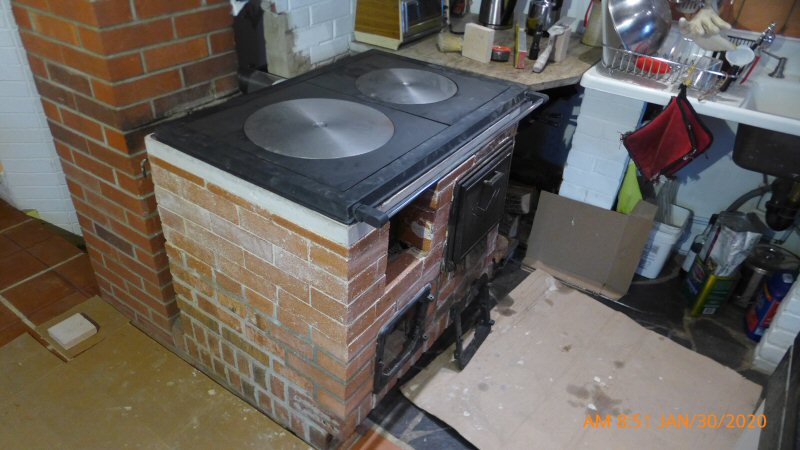
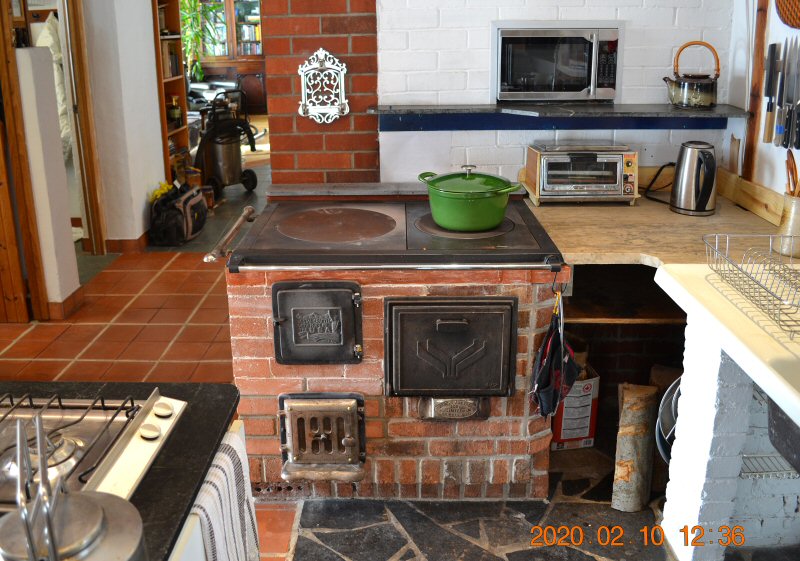
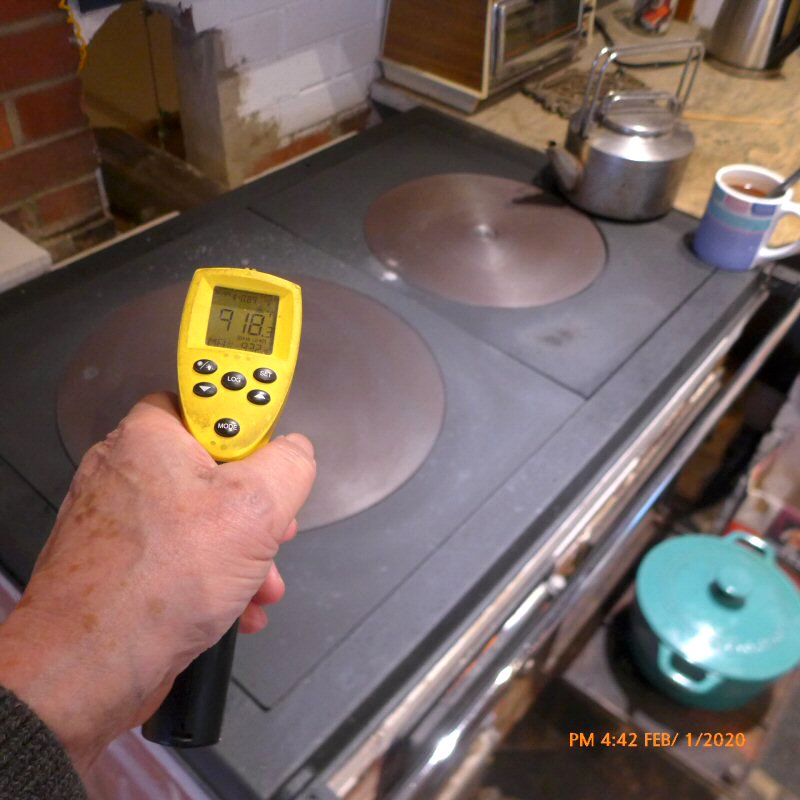
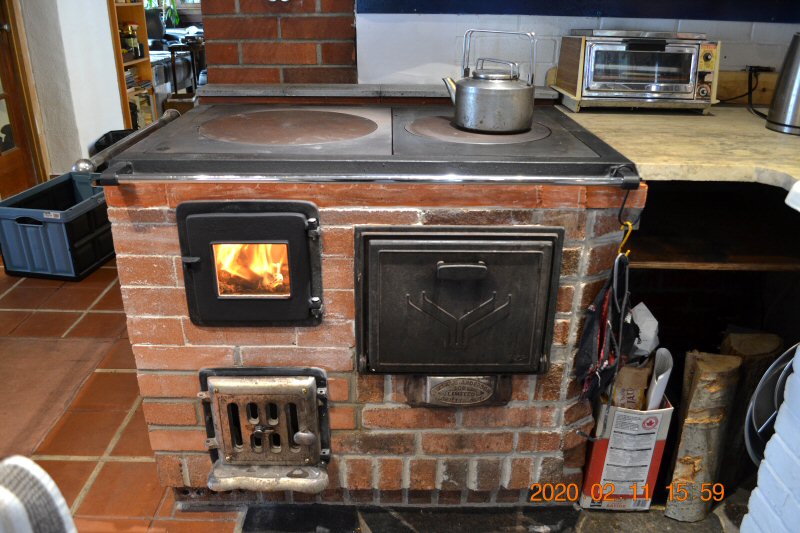
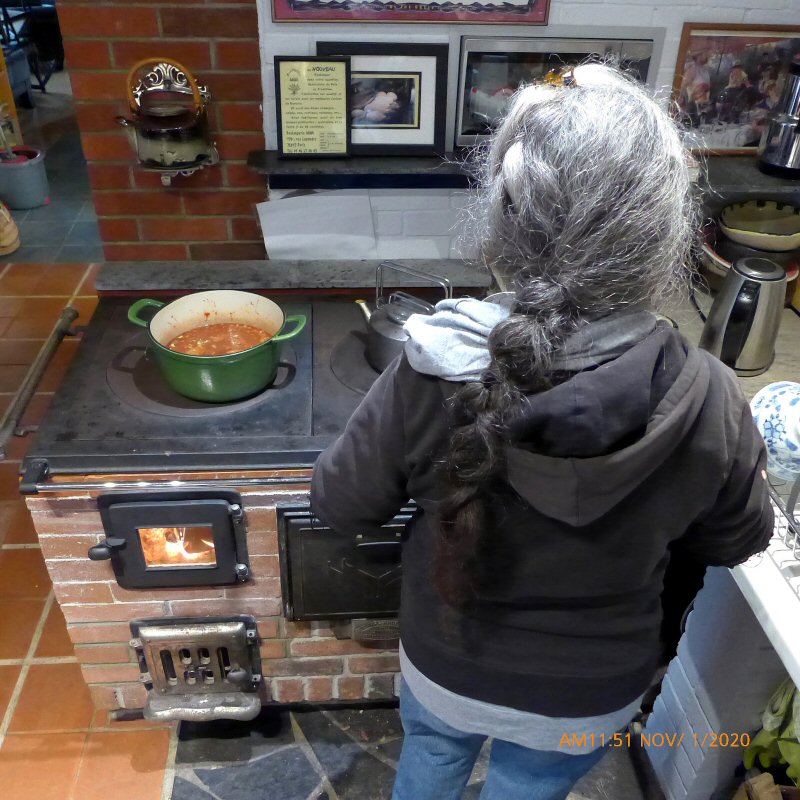
The stove is used for cooking and heating every year from fall until spring.
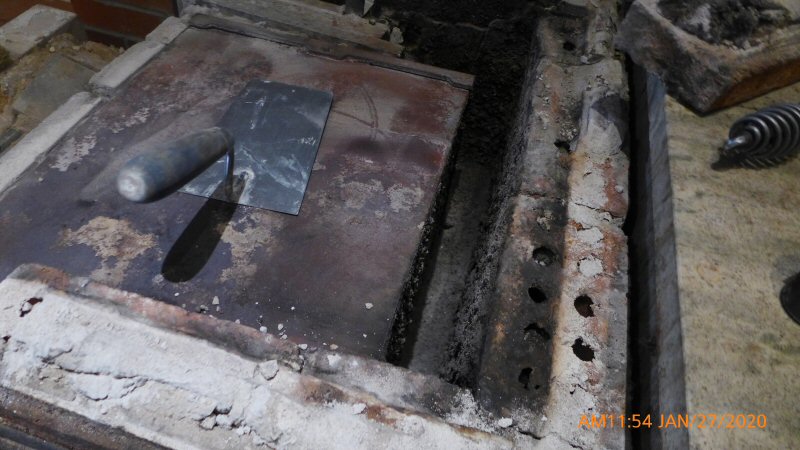
The
firebrick replacement lasted about 20 years. The cooktop itself was
starting to sag. Note the soapstone replacement panels on the right
1/3.
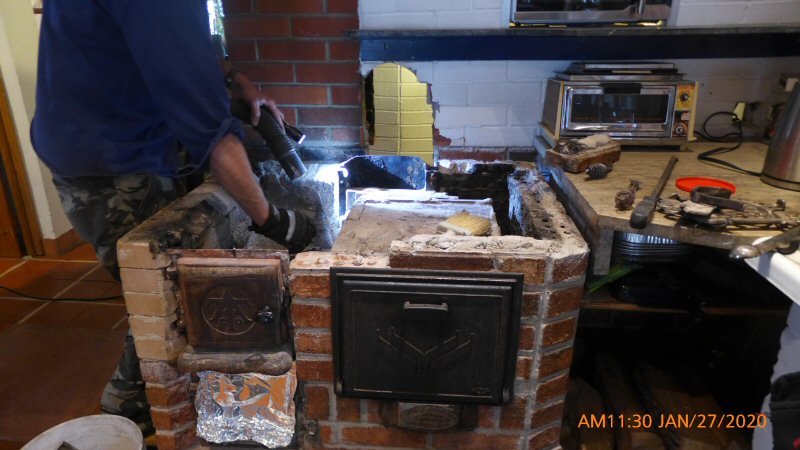
We decided to install a Pisla HTT-3A cooktop we had in stock, the same size as the old cook top.
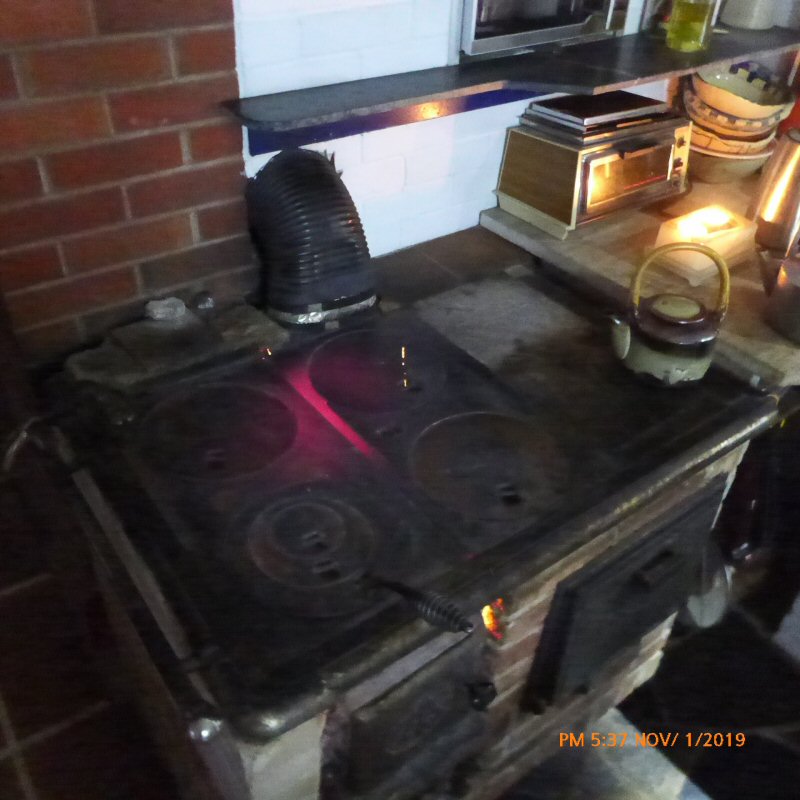
Cranking the stove with some very dry oak this winter, for fun.
Sending the old cast iron cooktop out in style after more than 100 years of service.
Note the large leak to the right of the firebox door.
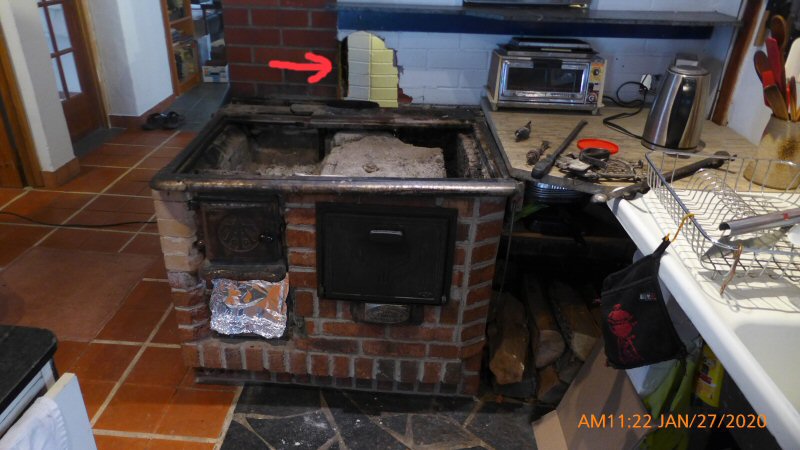
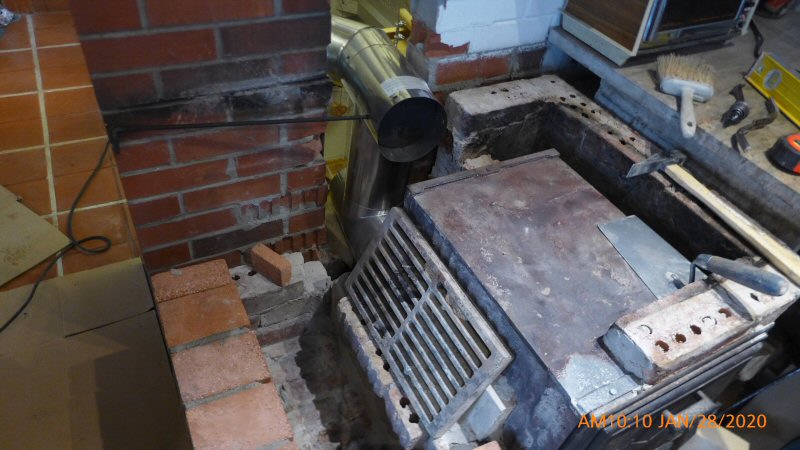
Dismantling the stove.
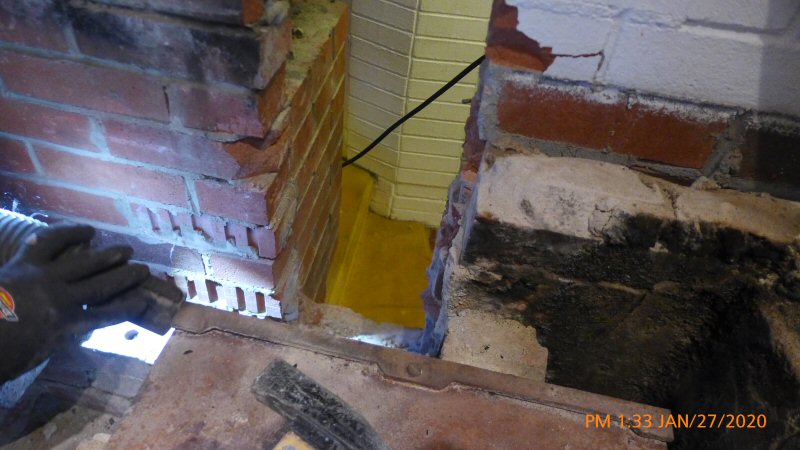
Chimney connection is on the right side of the red brick chimney.
Note the firebrick split (1.25" thick) heat shields on the firebox side of the cast iron oven.
Also the heavy accumulation of fly ash on top, which gets cleaned annually.
View from the rear. We had to cut a slot through the existing brick wall to gain access to the original connecting piece between
the bottom of the oven and the flue outlet. A sliding damper plate is typical on these old cookstoves to short circuit the oven
for summer use of the cooktop only.
Same view from the front.
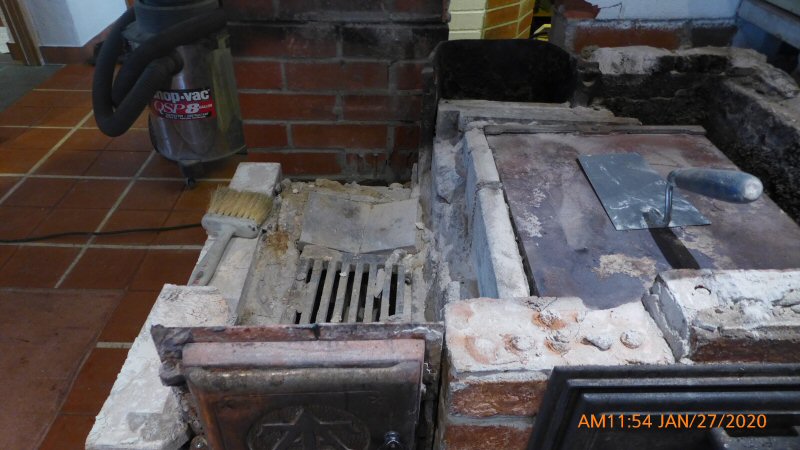
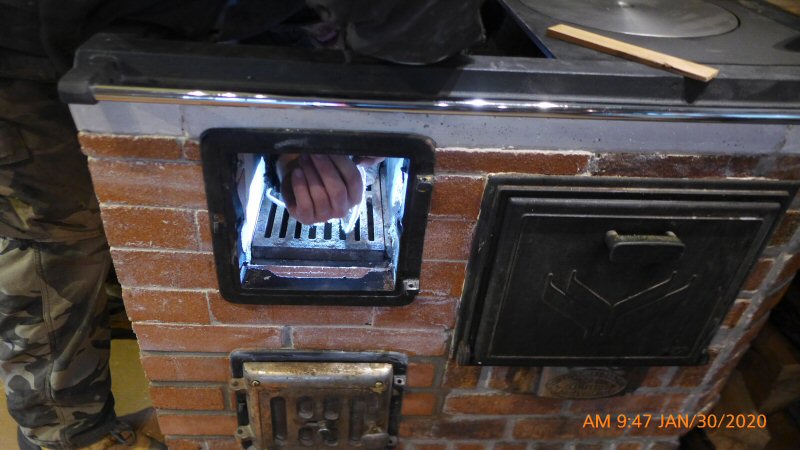
View
of the firebox floor grate. We let an ash bed build on the grate, which
allows better control of the fire by selective poking.
View
of the downdraft channel to the right of the oven. Gases are routed
underneath the cast iron oven floor, and up the rear of
the oven towards the exit.
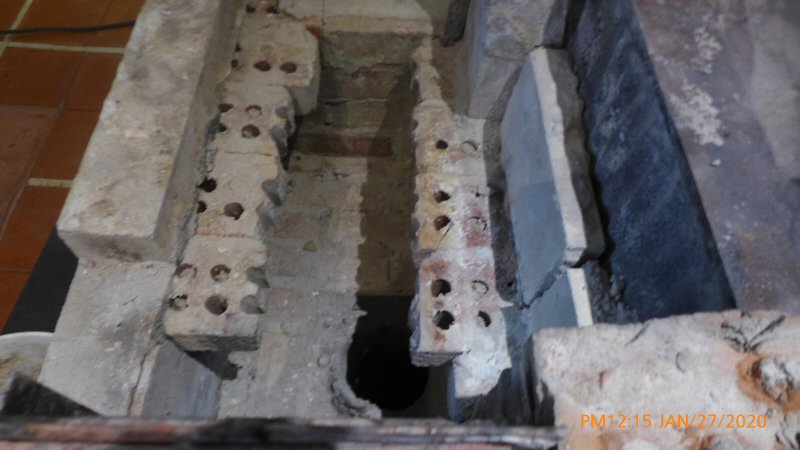
The grate is supported on a ledge of corbelled bricks.
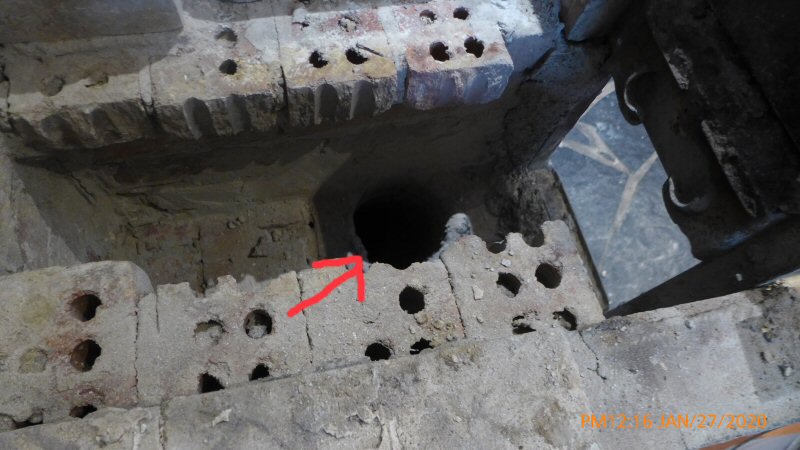
The
stove sits on a concrete floor slab. The arrow shows a hole that is
cored through the floor and connect with an aluminum flex
duct to an
airtight metal ash container in the basement below. The ashcan is emptied twice per year.
This is a much cleaner arrangement than the original first floor removable ashbox.
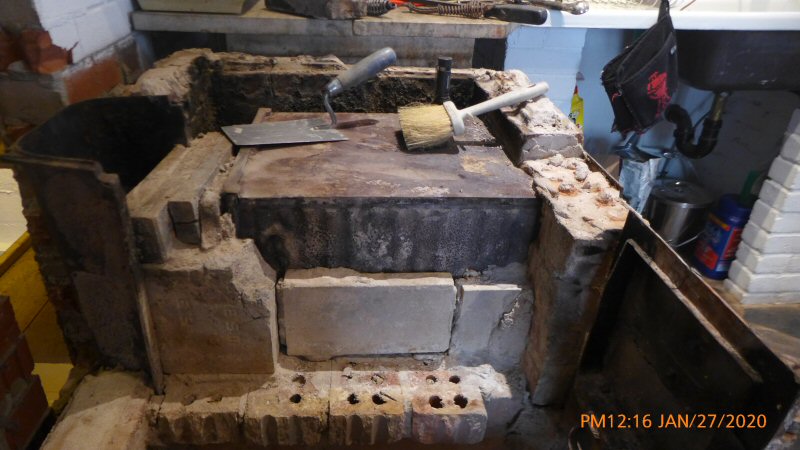
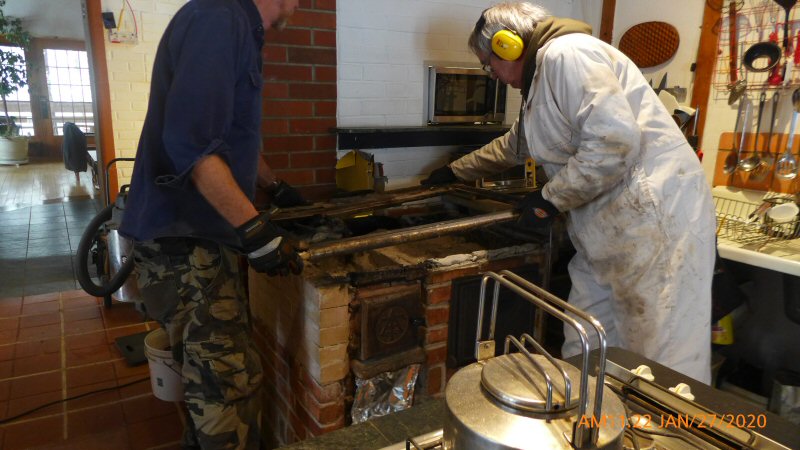
Removing the firebricks around the oven.
Note
the cast iron connecting duct to the left. Also note that with this
arrangement, part of the rear of the oven is not directly
in the flame path. Compare with new arrangement, further down this page.

One of the major weaknesses of the previous build was the mounting arrangement for the firebox and ashbox doors. These were not
originally designed with a frame to mount into masonry and were difficult to secure and to seal.
View of the chase cut through the masonry wall.
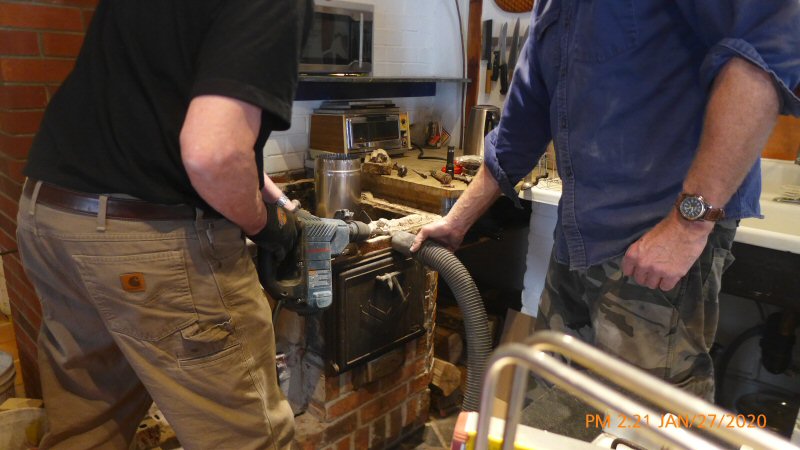
A small Bosch rotary hammer made quick work of the demolition and cutting the hole in the wall.
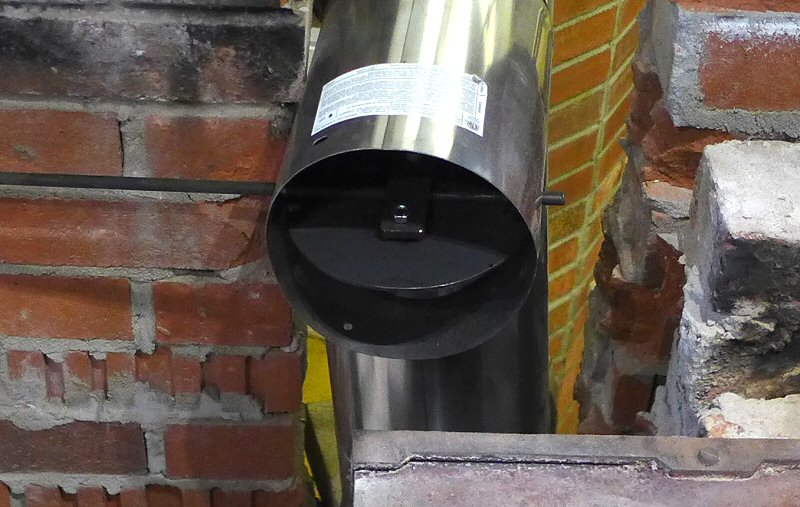
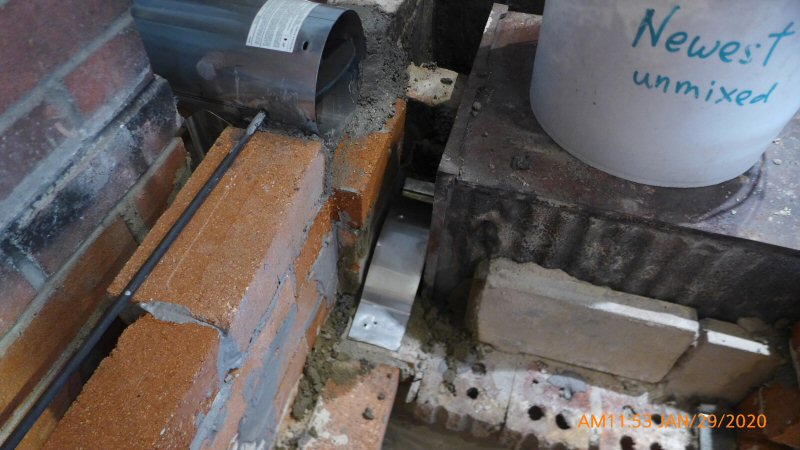
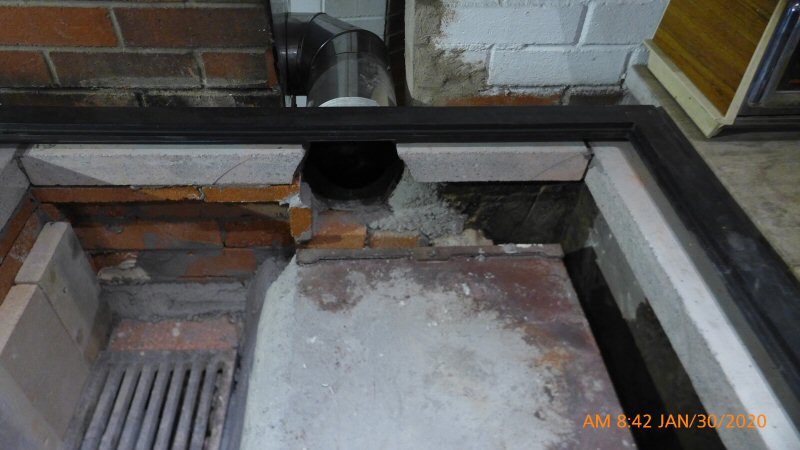
Trial
arrangement of the new exit. The original cast iron duct is replaced
with heavy duty rigid stainless chimney liner and Tees from ICC.
Detail of custom fabricated bypass damper. The plate is 1/8" mild steel and is removable.
Damper rod extends to the left past the left face of the stove.
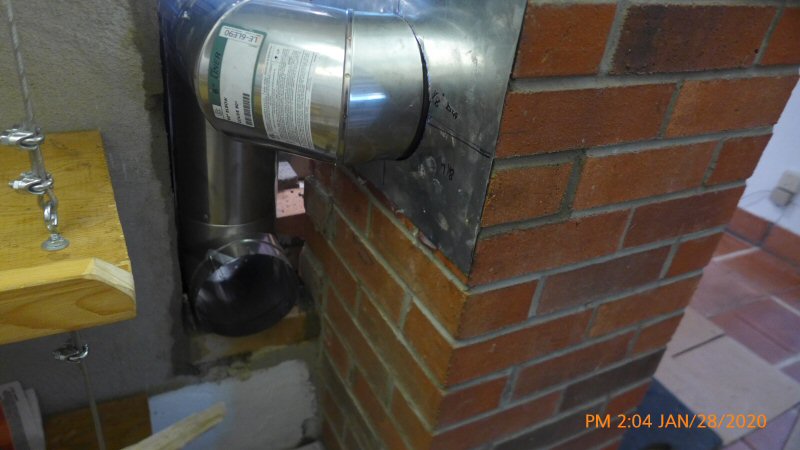
Chimney connection, with a cleanout Tee beneath the oven floor.
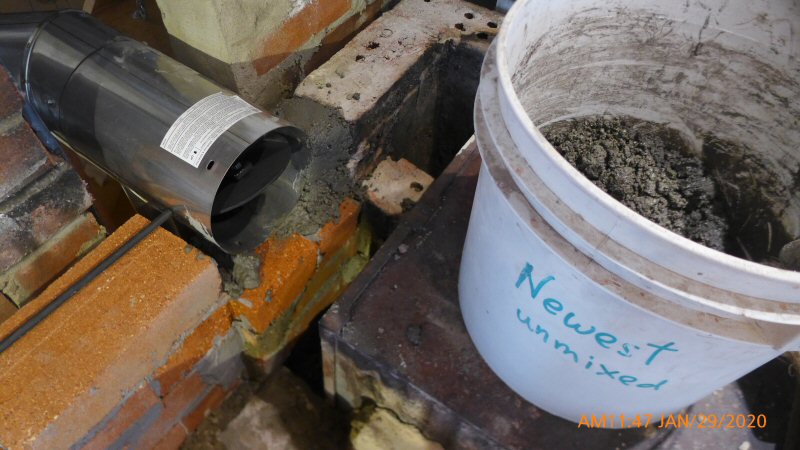
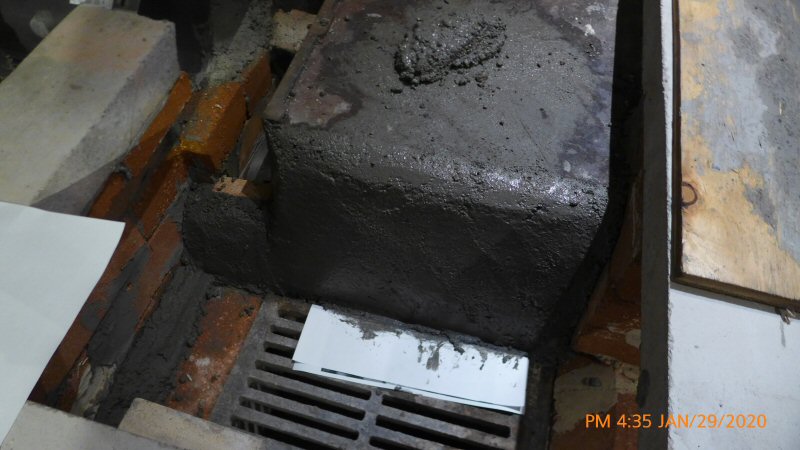
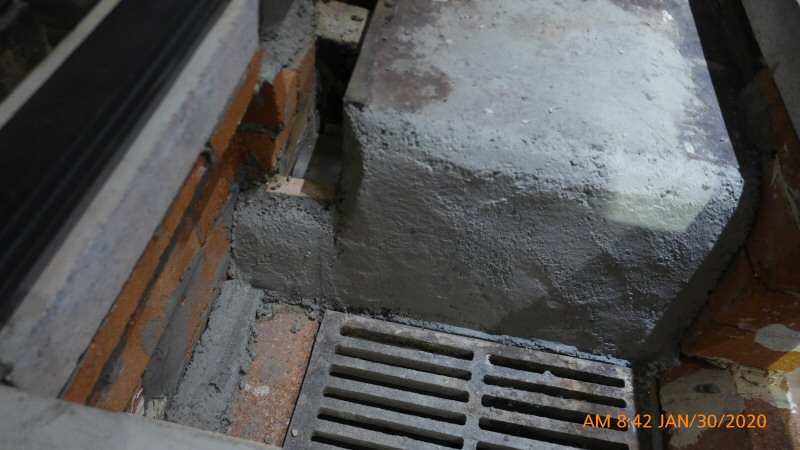
Shaping around the exit with castable refractory.
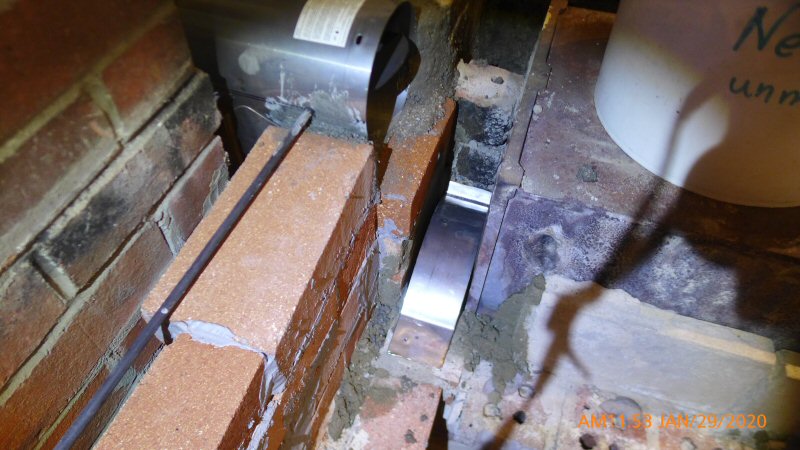
A
piece of stainless separates the oven floor exit duct from the firebox.
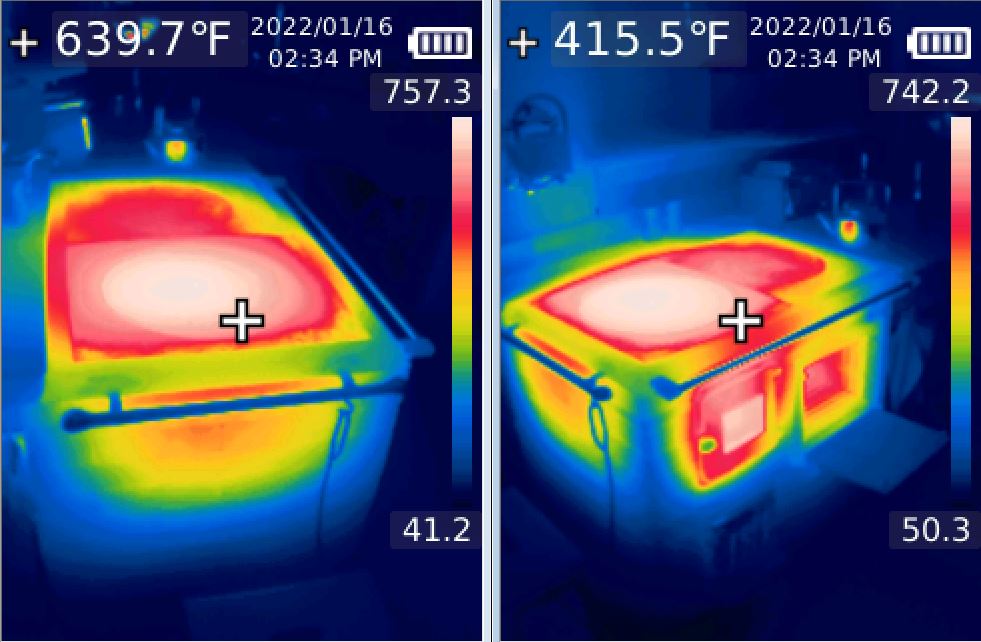
There is a bit of leakage, to draw heat to the back of the
oven, which is now exposed. This has improved the performance of the oven considerably. So far we have seen this section of
the oven rear reach 800F measured inside the the oven with a point-and-shoot thermometer.
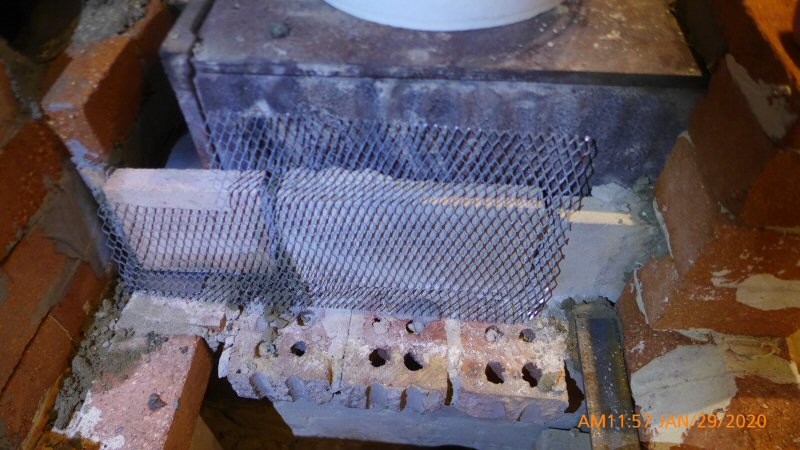
Heat shielding the firebox side of the oven. Diamond mesh stucco lath is used as reinforcement inside the parged in place
castable refractory.
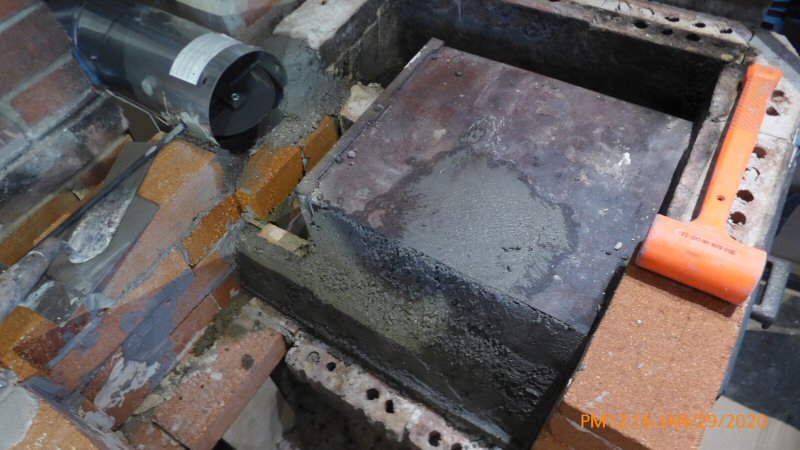
While
waiting for the first layer of castable to take an initial set, laying
out the new cooktop height. We are raising it 2" to be flush
with
the marble countertop to the right. We used 2" thick HeatKit high
strength castable refractory bake oven floor slabs, which
makes for a convenient way to bridge the firebox door opening.
Reinforced castable refractory heat shield for the firebox side of the bake oven.
Setting
the cooktop frame. It is designed for the brickwork to sit inside the
frame, but also has a gasket groove that allows it to sit flat
on top of the bricks using a 3/4" fiberglass rope.
On the left wall is a replaceable firebox liner of 1-1/4" thick firebrick splits. Firebox depth is 22-3/4".
The
bottom door frame is bonded in place with silicone. The top one will
get attached with tapcons and sealed with fiberglass rope.
We used 8" X 8" Vestal cleanout doors. We rehung the doors by building up the hinge lugs with bronze brazing and redrilling,
and hand-fitting the door to the frame to get a much tighter fit.
Installing fiberglass rope.
We re-used the air control on the original ashbox door, and mounted it to the Vestal frame
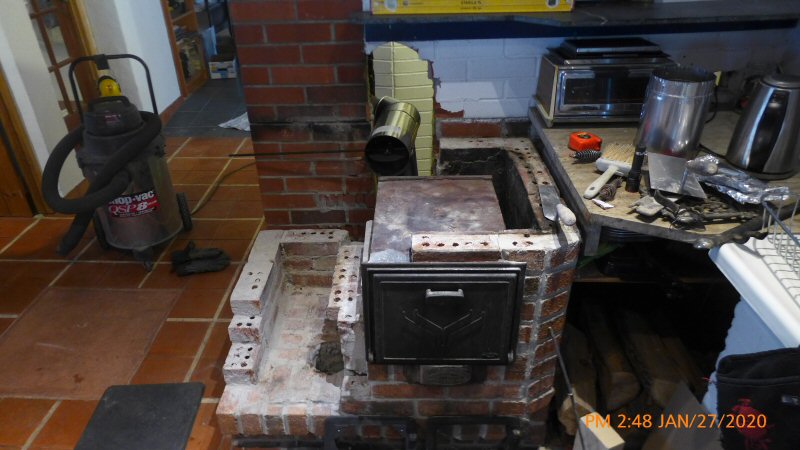
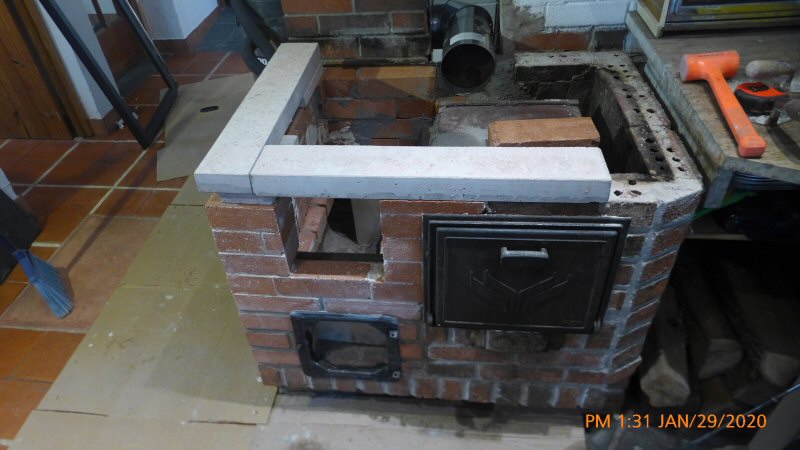
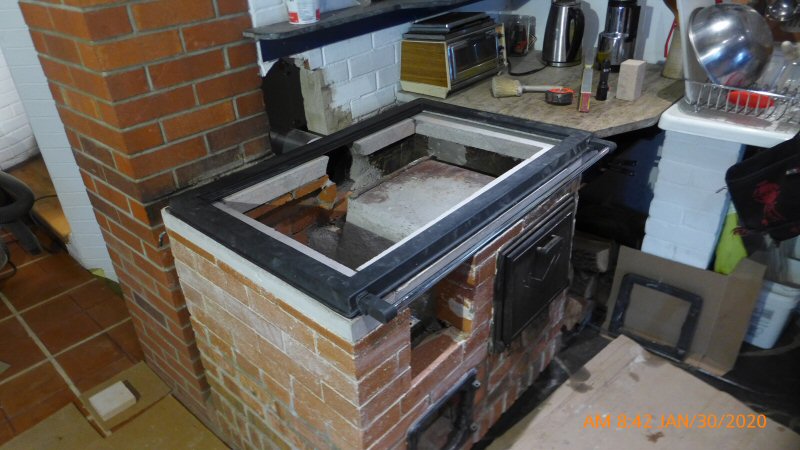
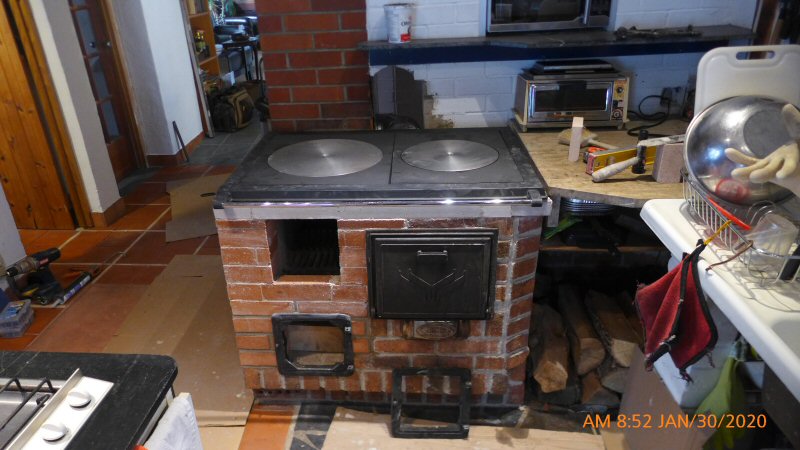
New
cooktop and doors in place. Marble countertop to be removed to change the corner detail with the cast iron/porcelain sink.
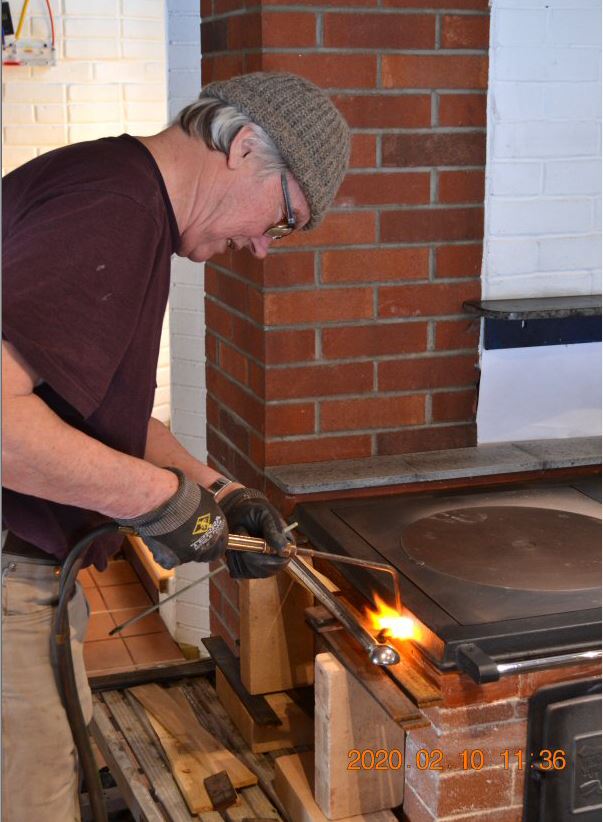
Brazing the nickel plated railing from the original stove to the new cast iron top.
Fold down nickel plated trivet from the original TACO stove.
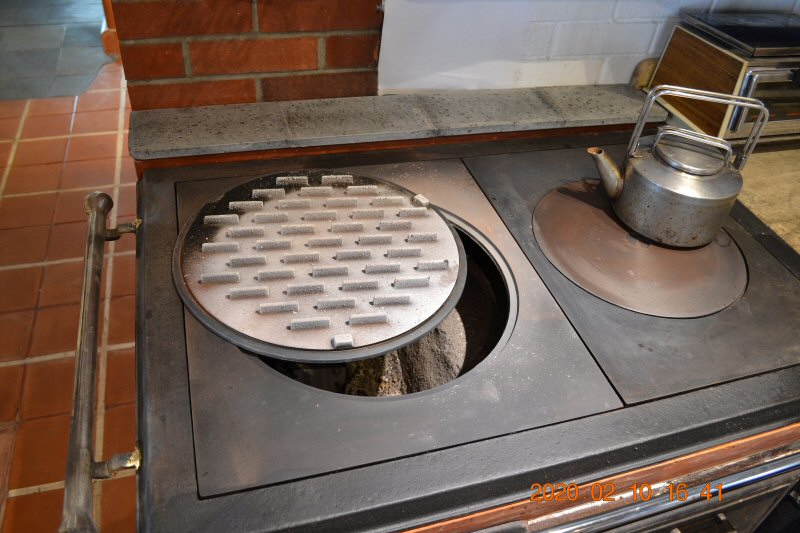
The 4KL cooking plate weighs in at 19 lbs. It is machined flat and
transfers accumulated heat to pots or pans for very quick starts.
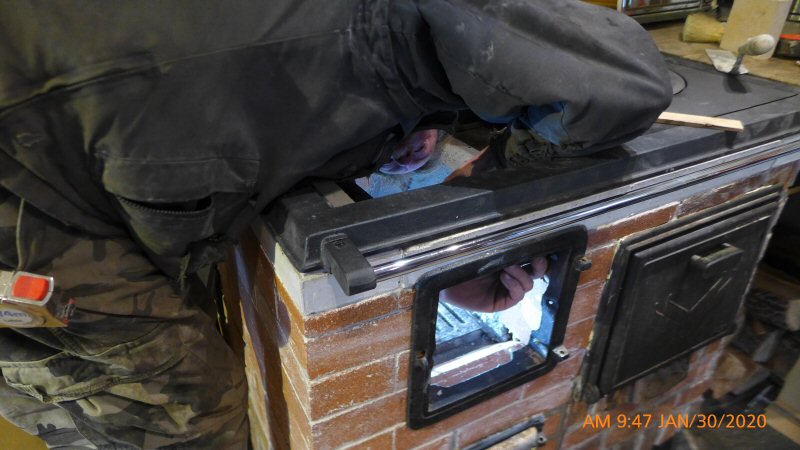
Since
the new cooktop plates are too heavy to lift, a ceramic glass window
makes it easy to see what is happening in the firebox.

This
page last updated on January 16, 2022
This
page created on January 21, 2020
Back
to: