name="KeyWords">

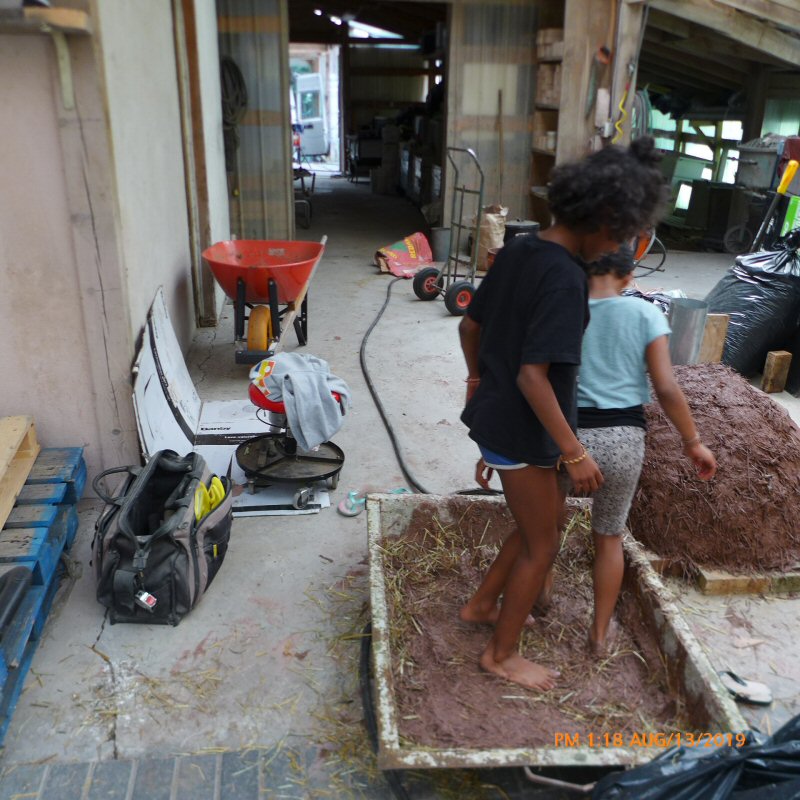
Cob Pizza Oven with a 7
Year Old Girl
NOTE: September 8, 2019:
This
is a draft. Will add some more captions soon, and update the page when
we get this oven hooked up and do some testing on it.
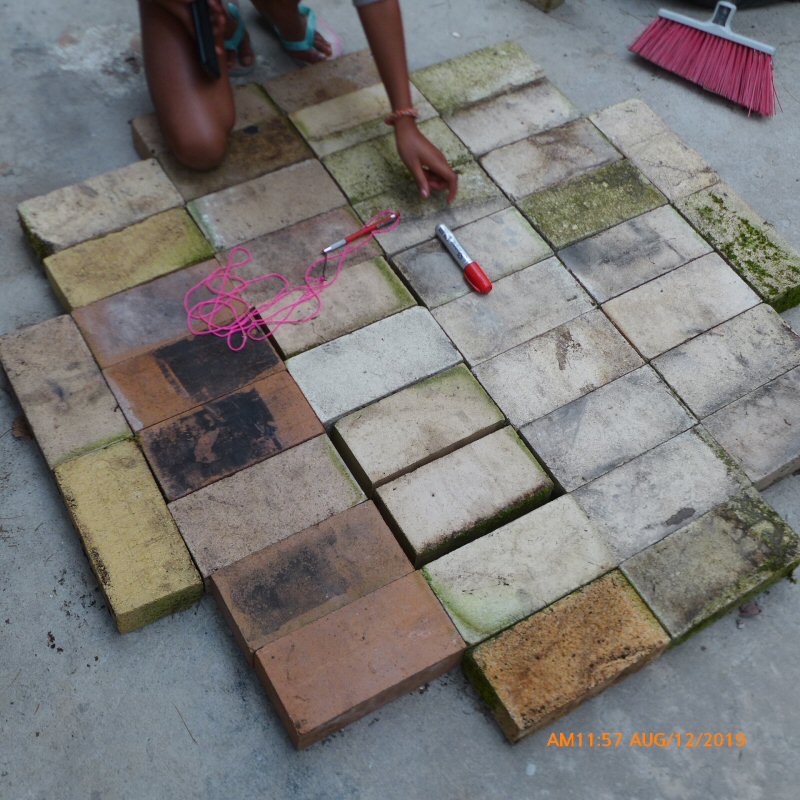
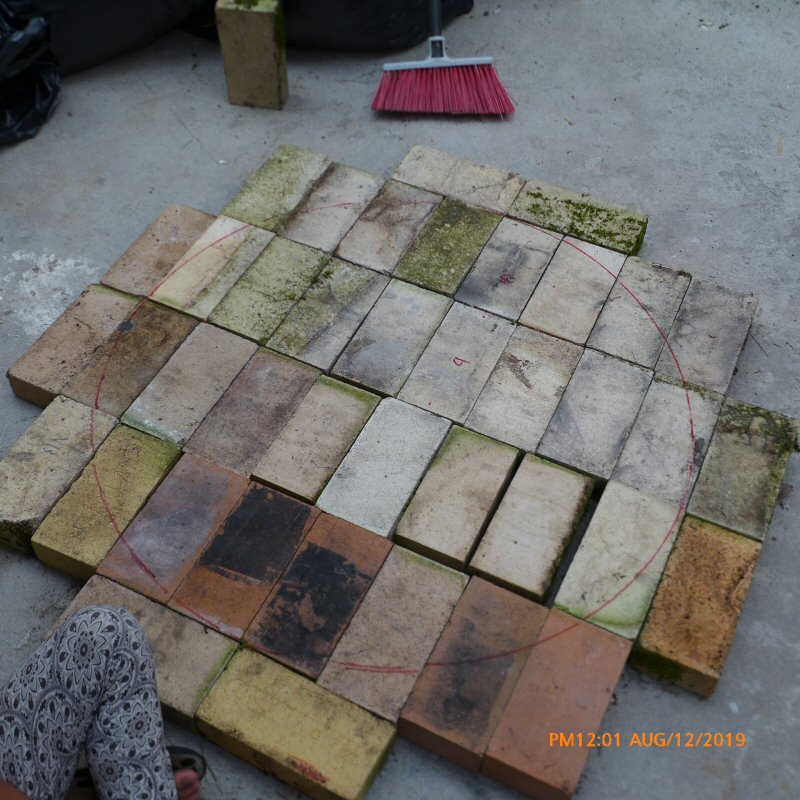
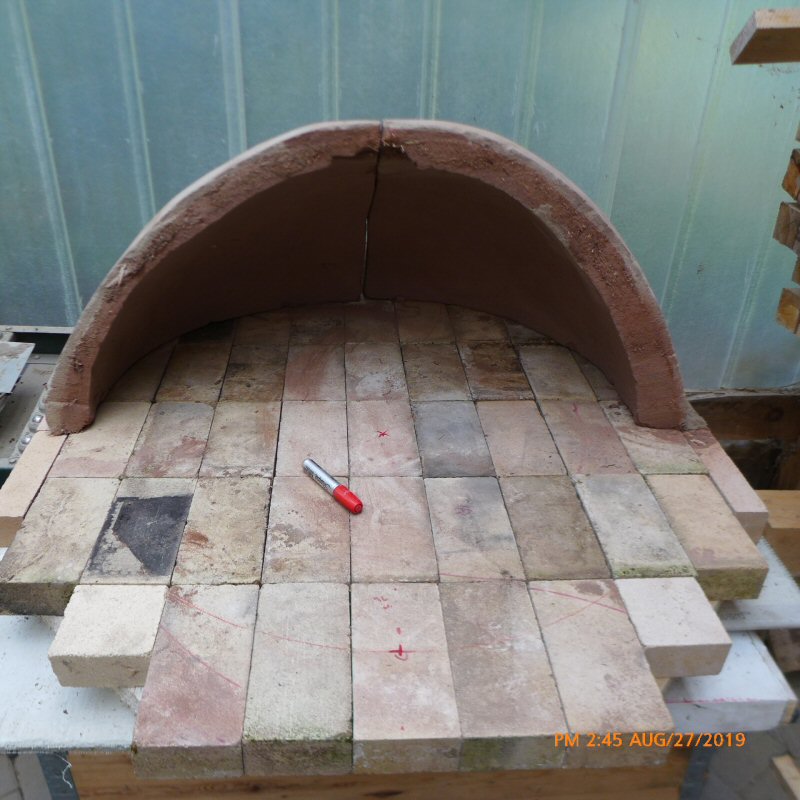
A 36" diameter circle outlines the oven hearth (useable baking surface).
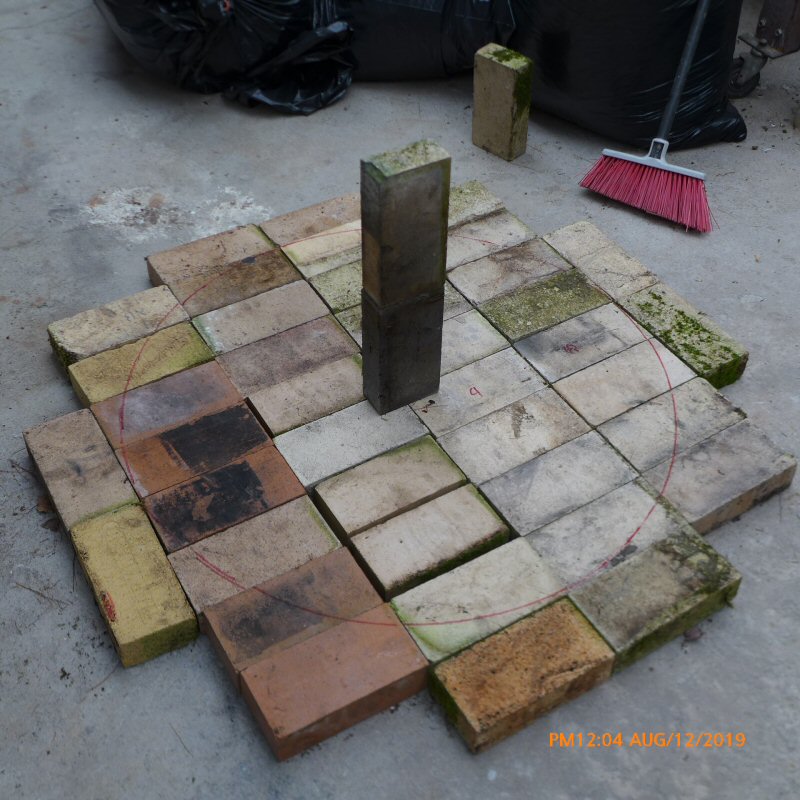
Two 9" (standard size) firebricks locate the 18" high top of the (inside) half hemisphere dome.
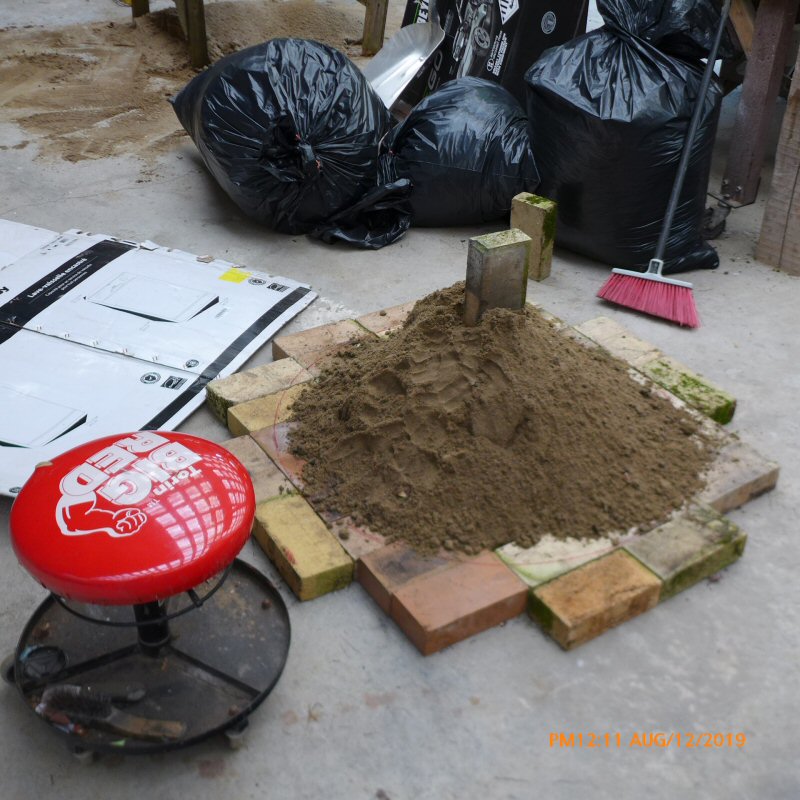
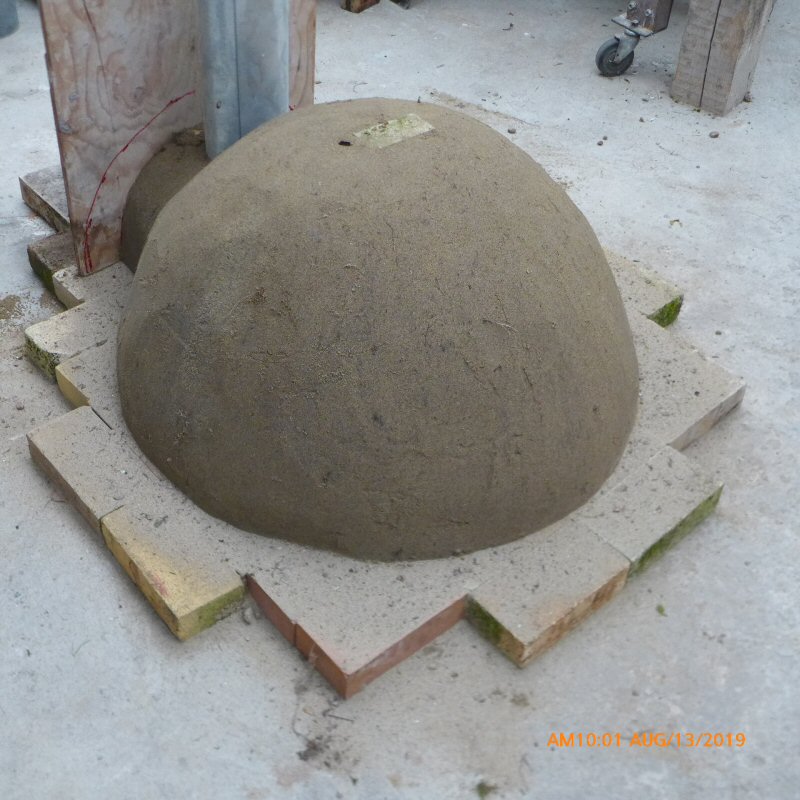
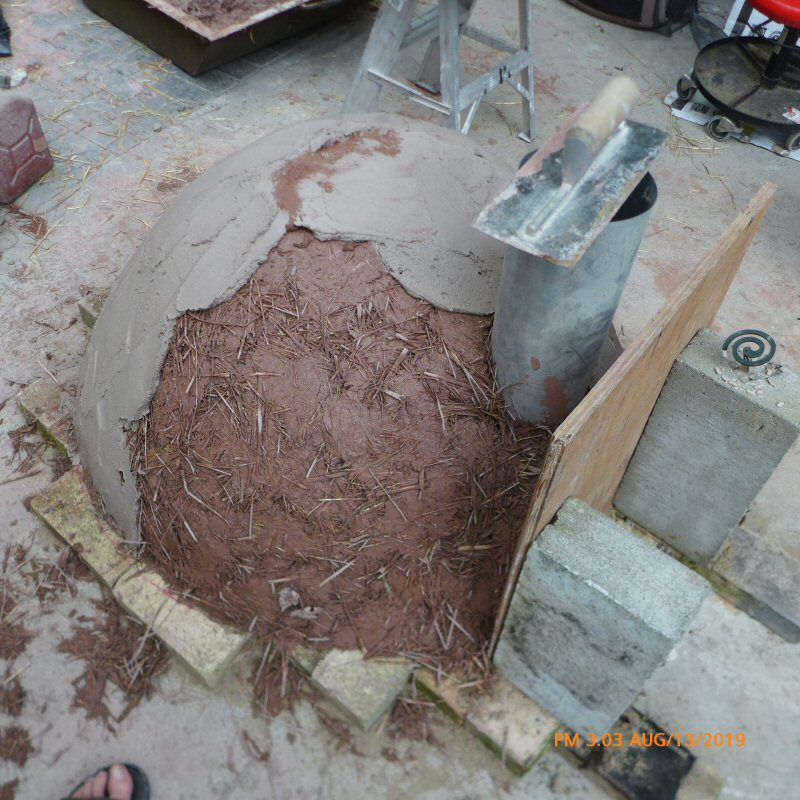
Damp sand is used to form a plug for the dome shape.
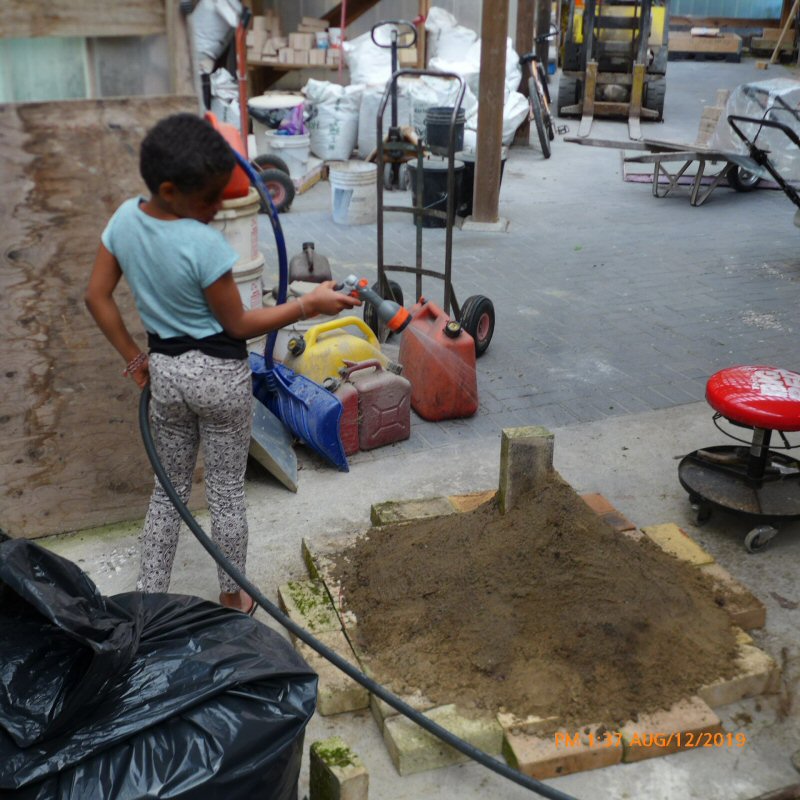

The dome is eyeballed in this instance. A simple cardboard template would give you better accuracy.
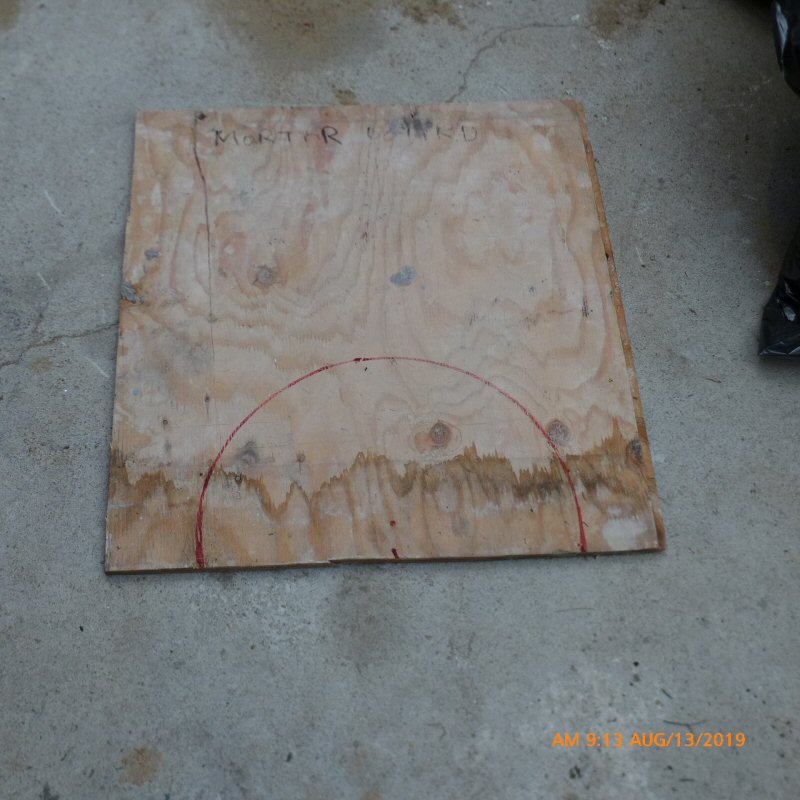
Template for door opening.
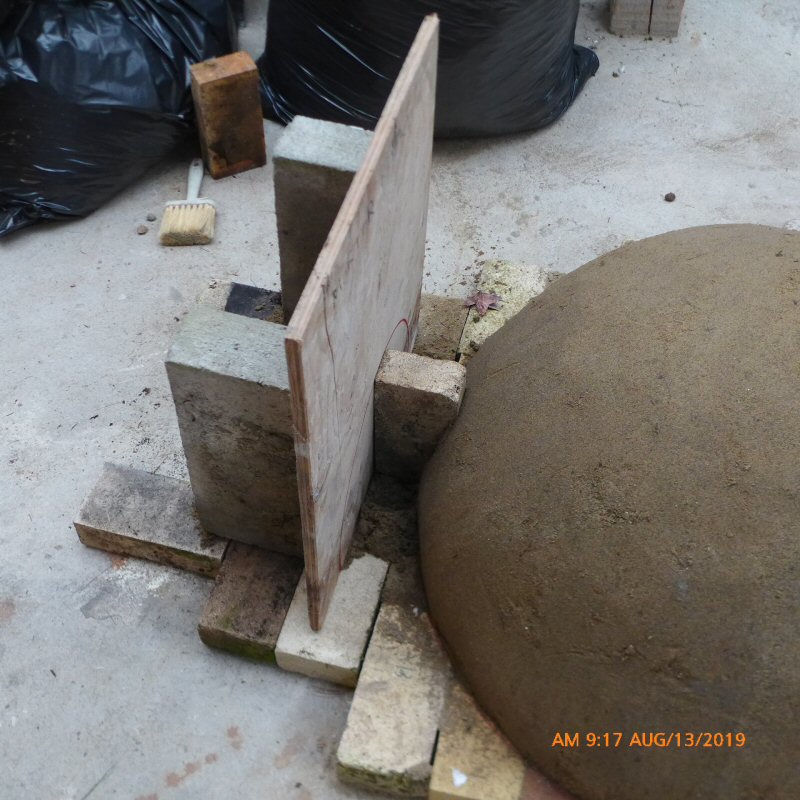
A 9" firebrick provides a reference for forming the door height.
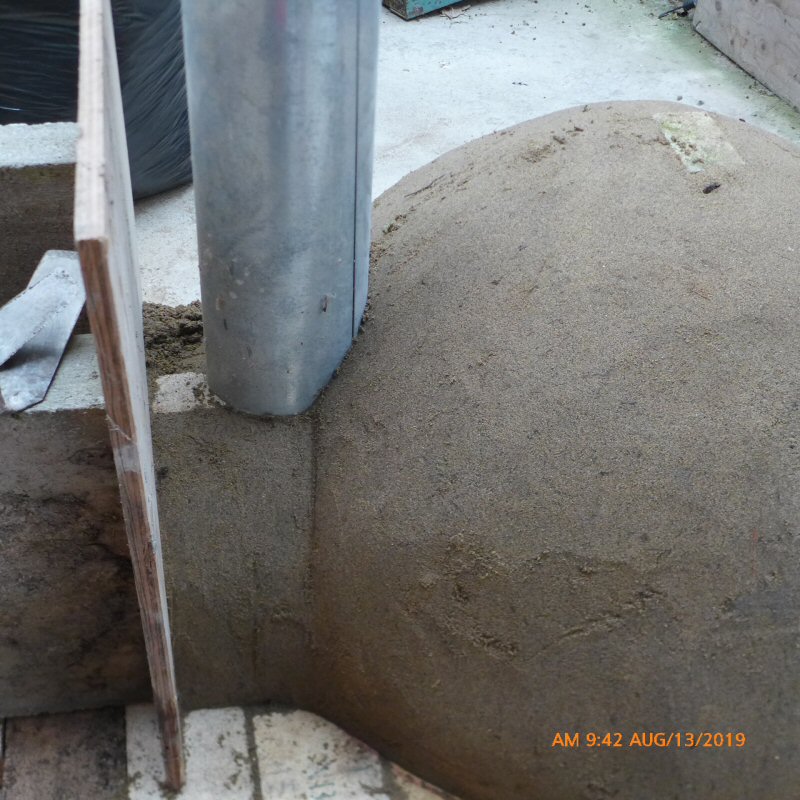
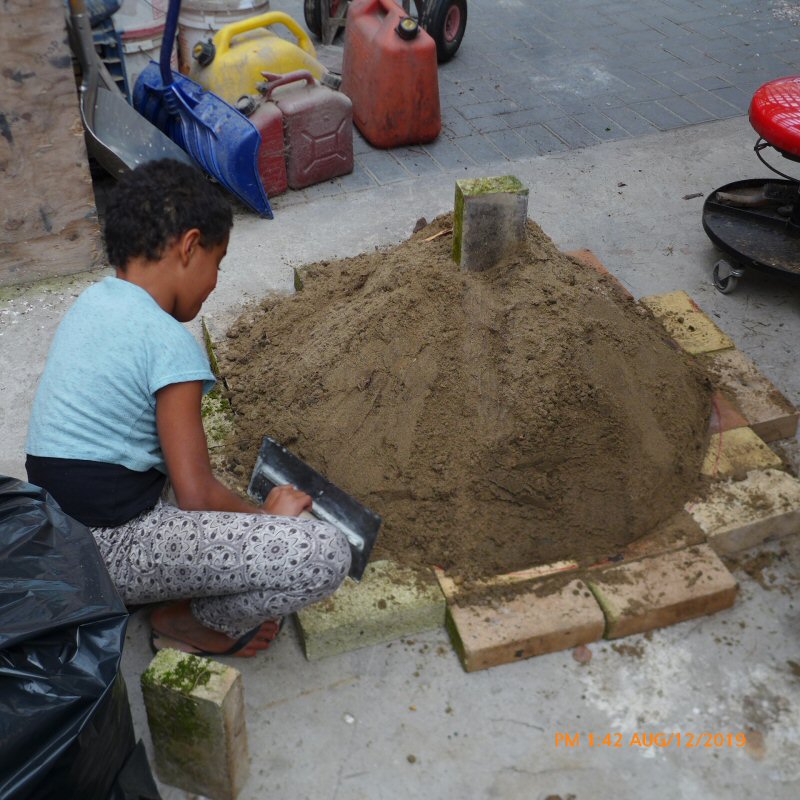
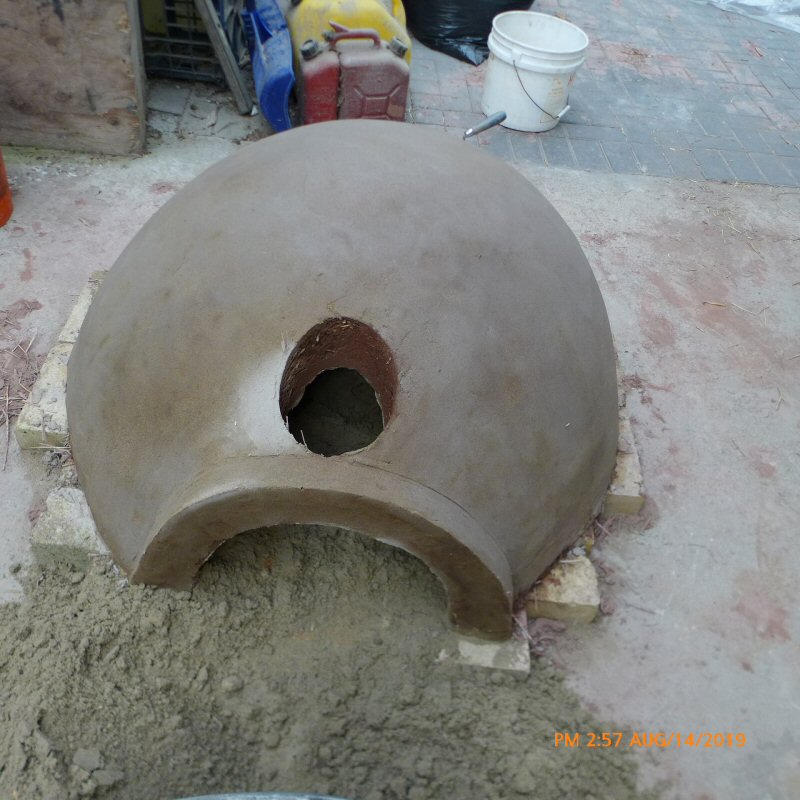
A piece of 6" sheet metal pipe is used as a plug to form the chimney opening.
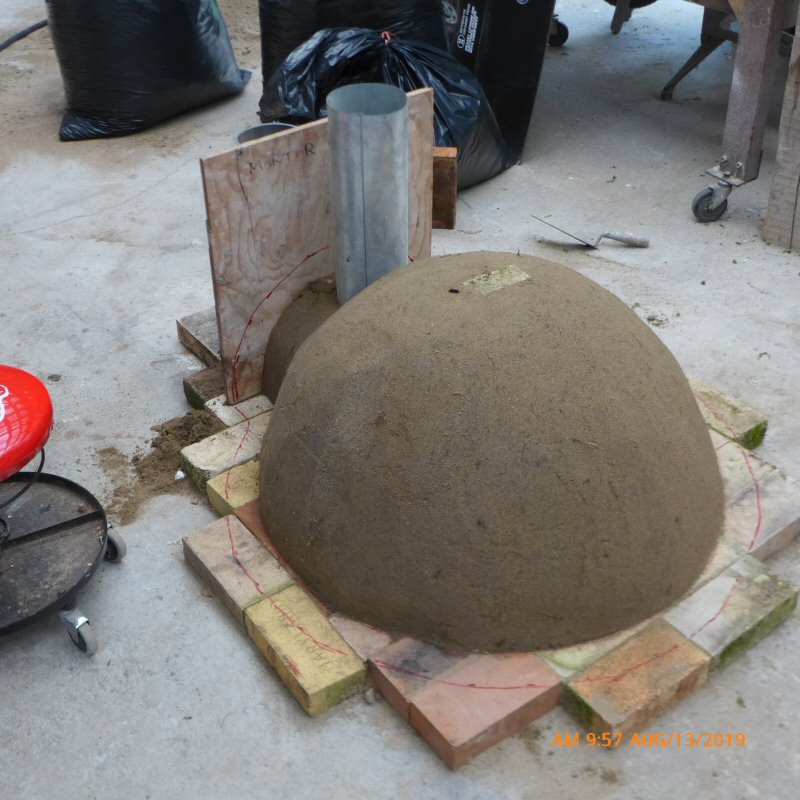
2-1/2" (6.5 cm) dome thickess is sketched out.
Sand is spread as a release agent to prevent the clay from sticking to the firebricks.
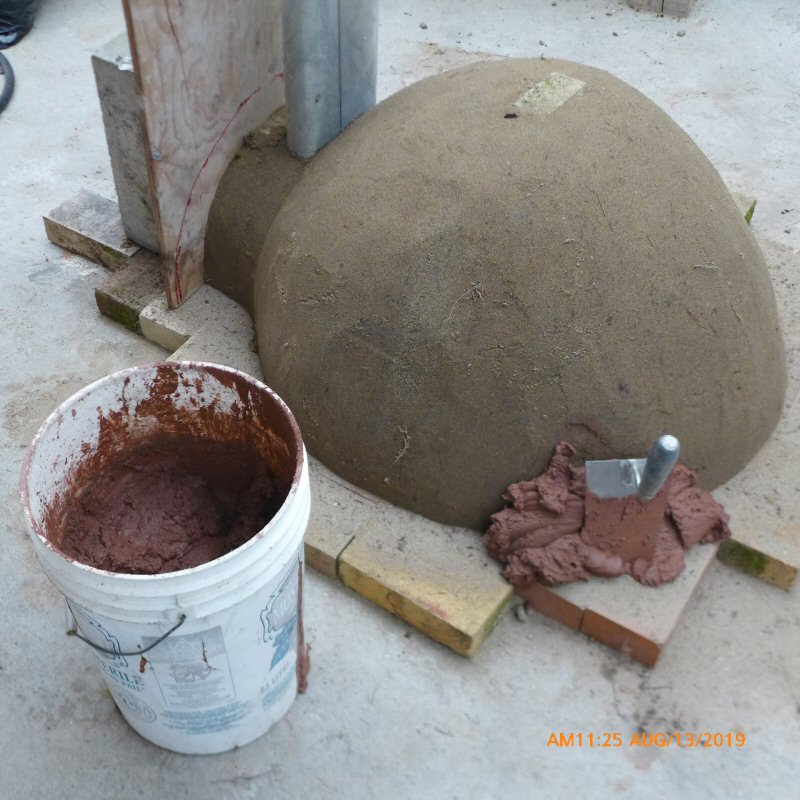
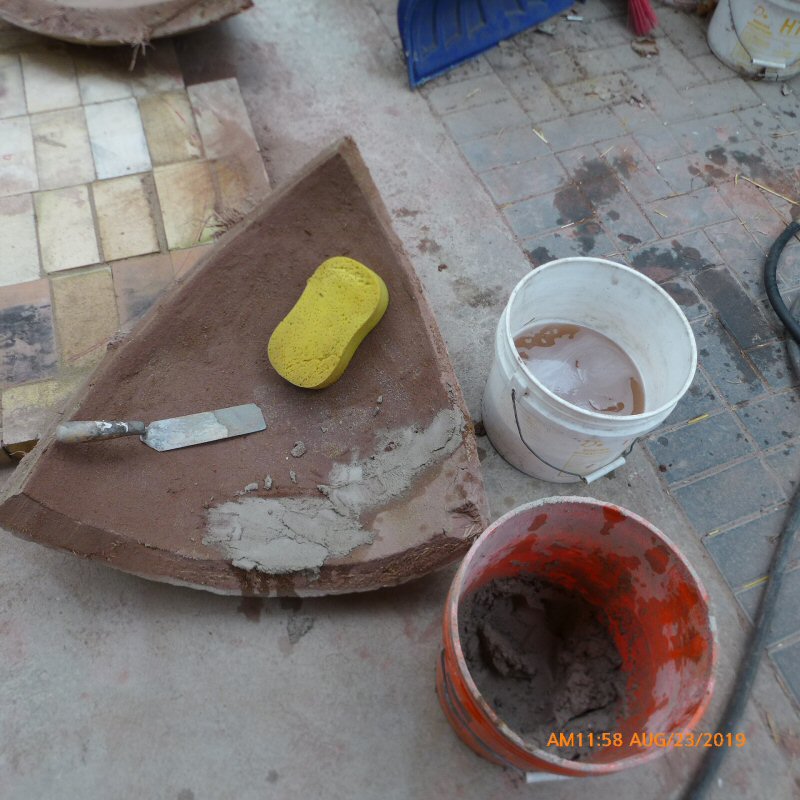
Inside facing mix is 1 part Redart bagged clay from a pottery supply store and 4 parts sand.
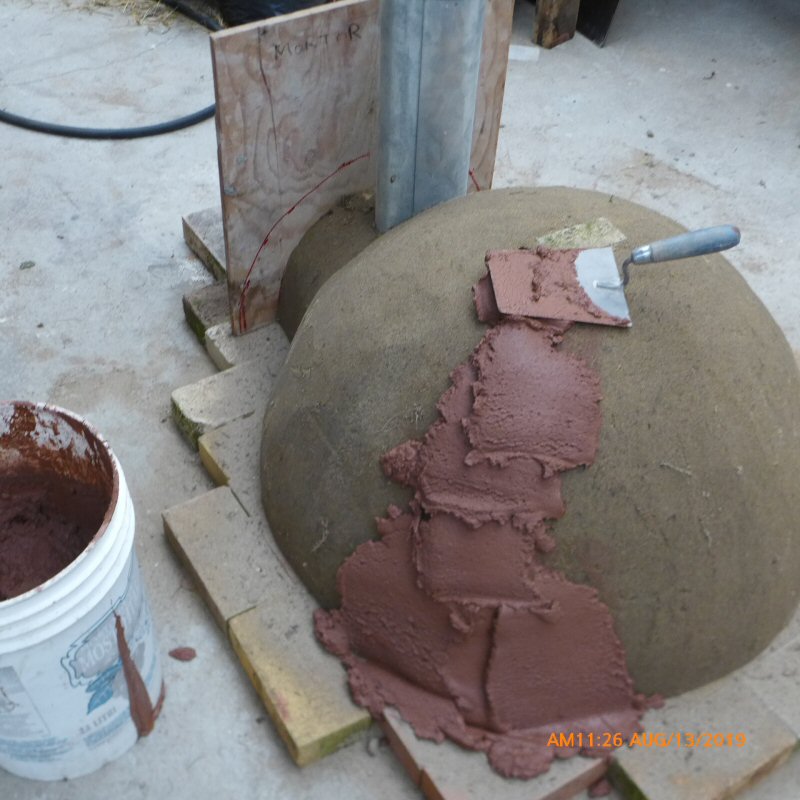
You
want the mix to be stiff enough to hold up when you trowel it on, but
not so stiff as to tear the sand. It can be a little on the soft side,
since the sand will suck some water out of it right away.
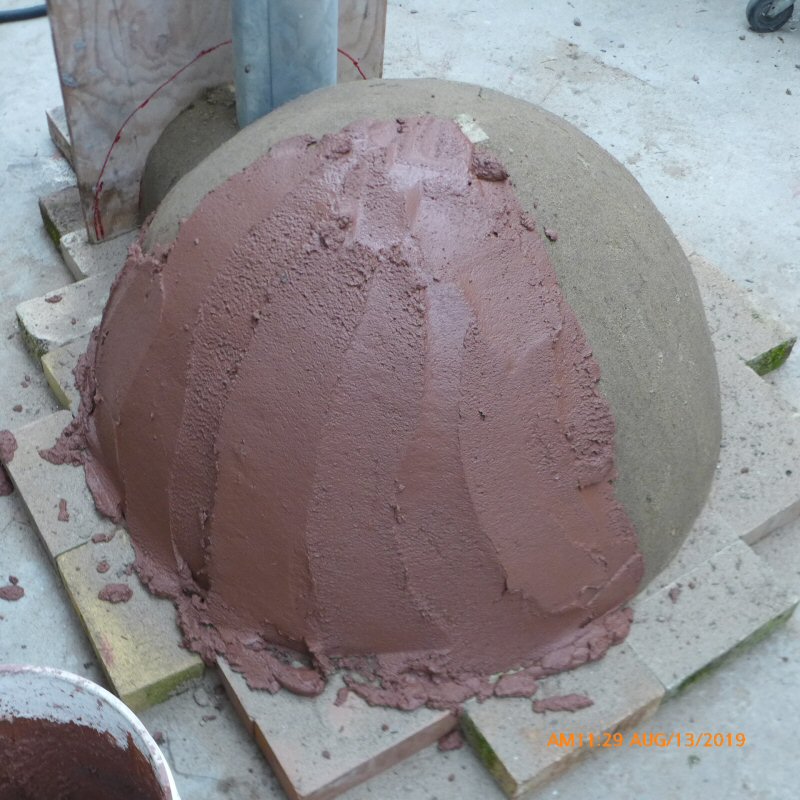
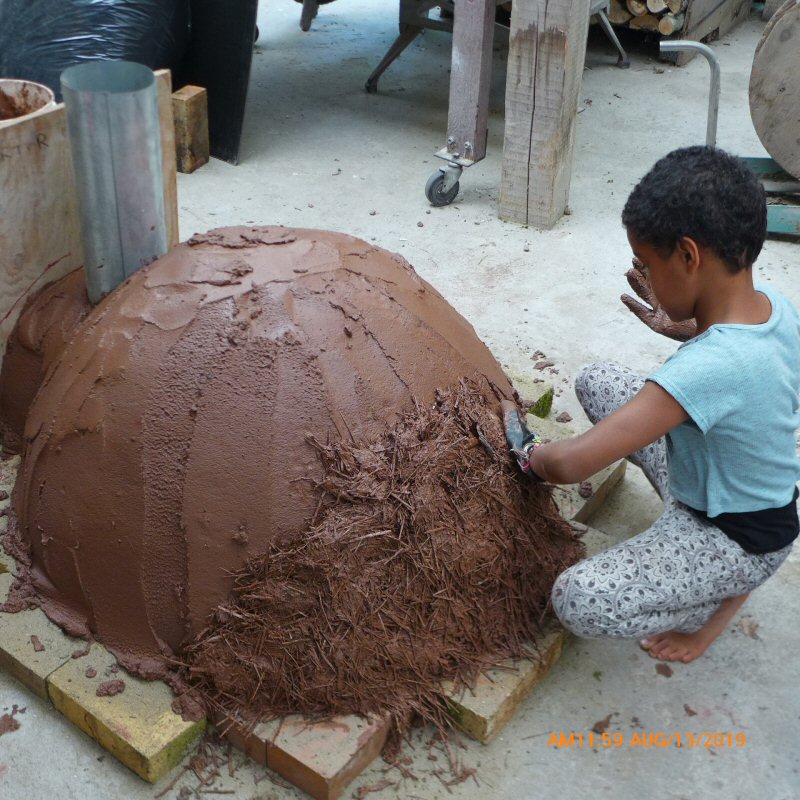
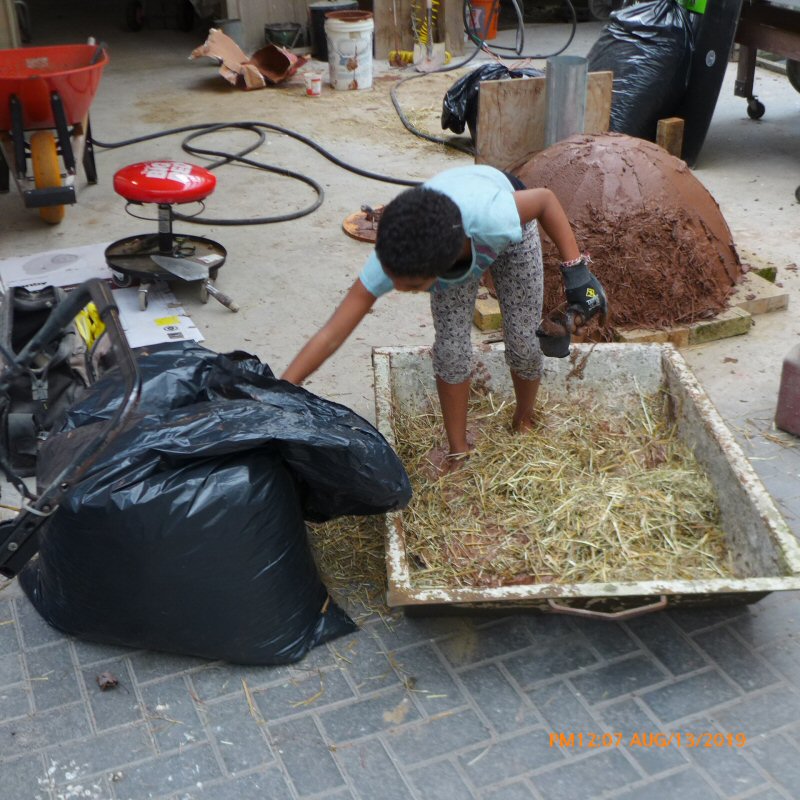
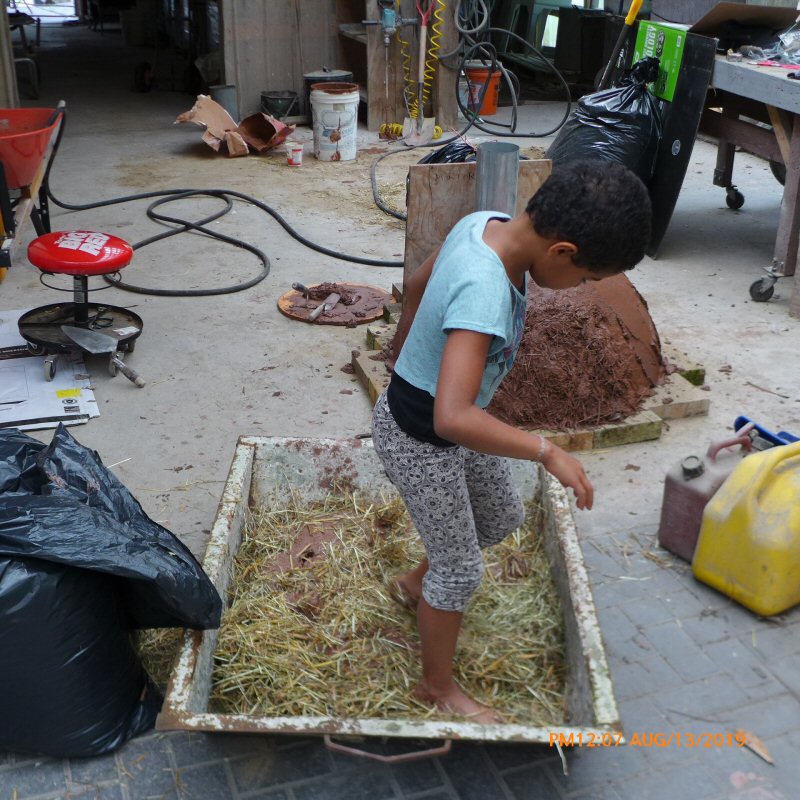
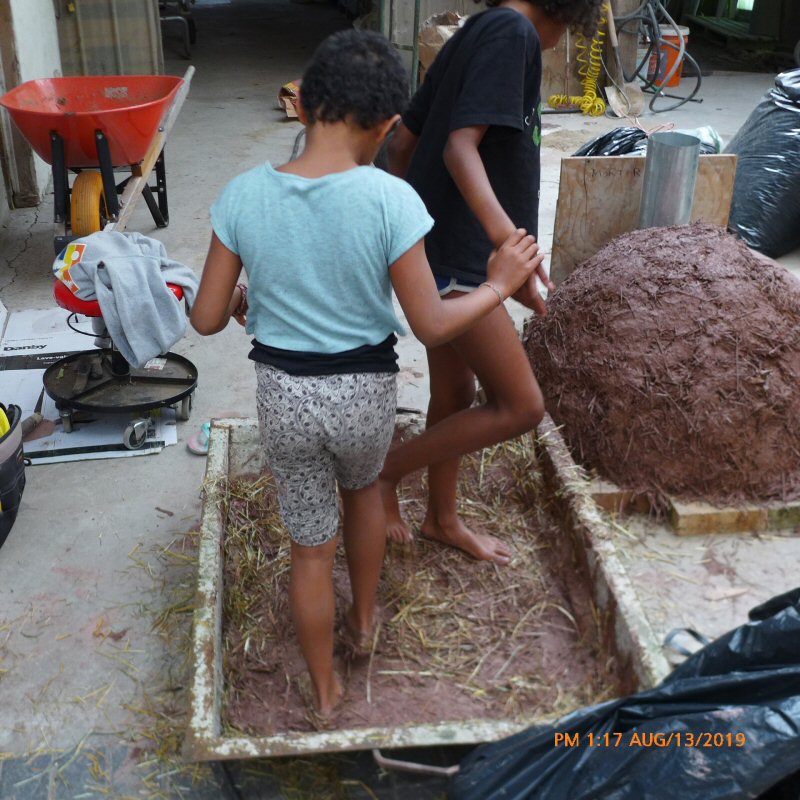
The cob mix is chopped straw from a local dairy farmer, mixed with a 1:2 clay:sand slurry.

Note that there are some voids in the cob where there is excess straw and not enough slurry.
This part needs more experimentation, as this oven has a thinner shell than a typical cob oven.
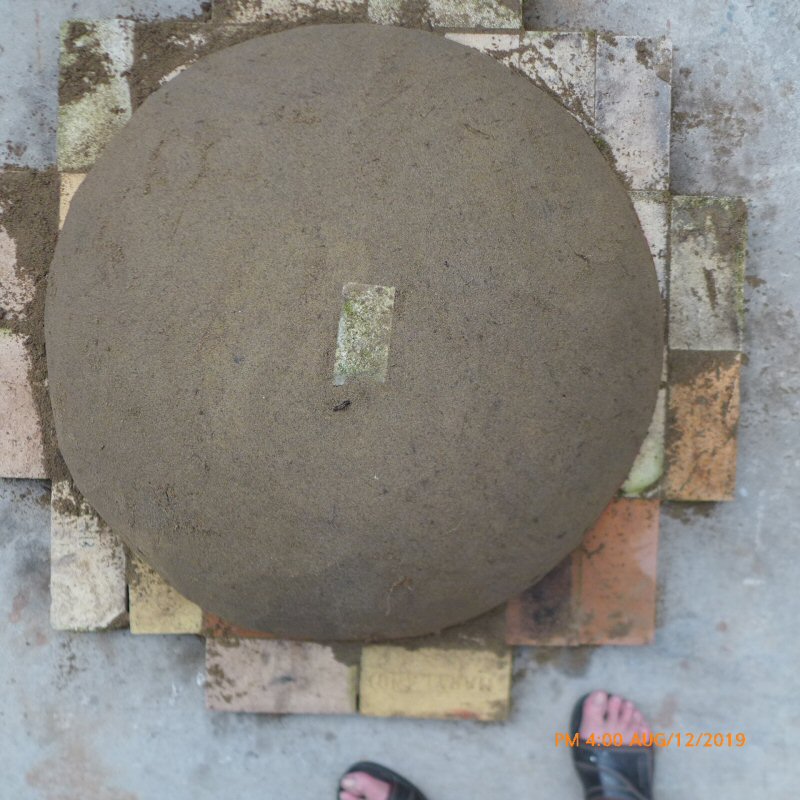
Topping mix. We only had 1 bag of Redart clay and ran out. This is a Tennessee ball clay, also from a pottery supply.
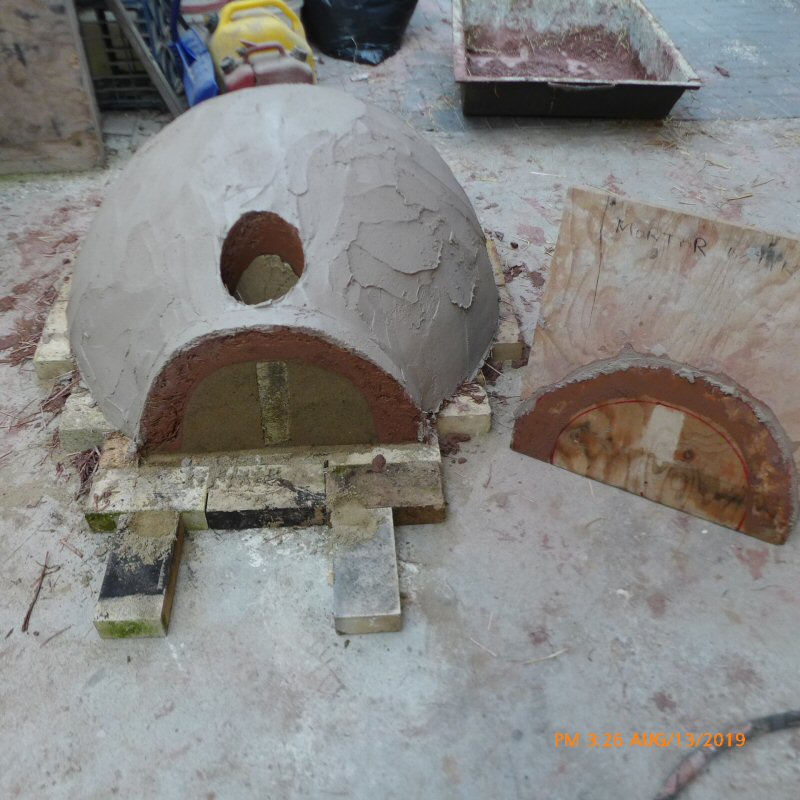
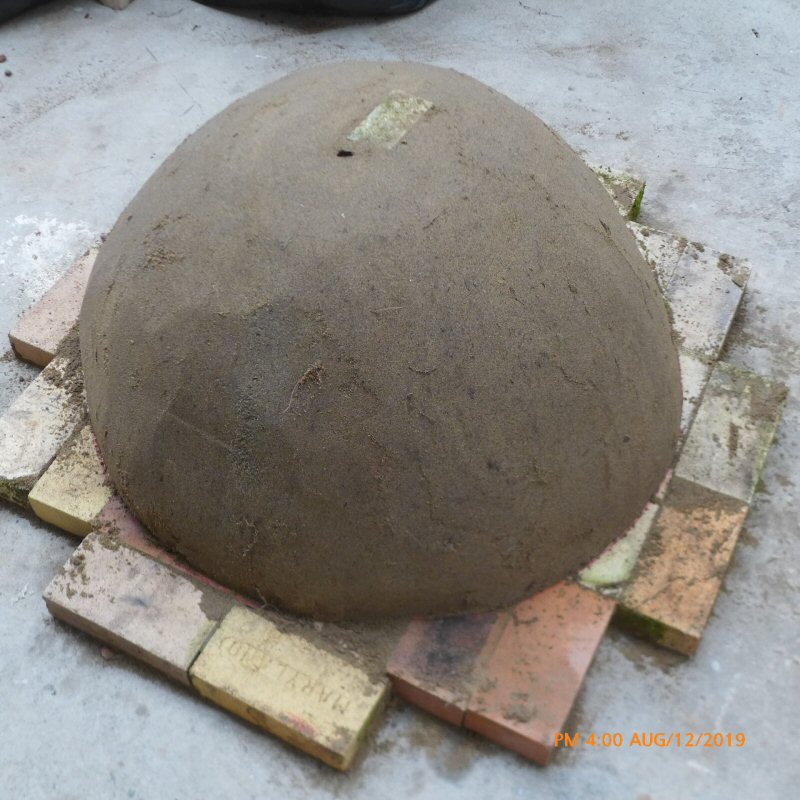
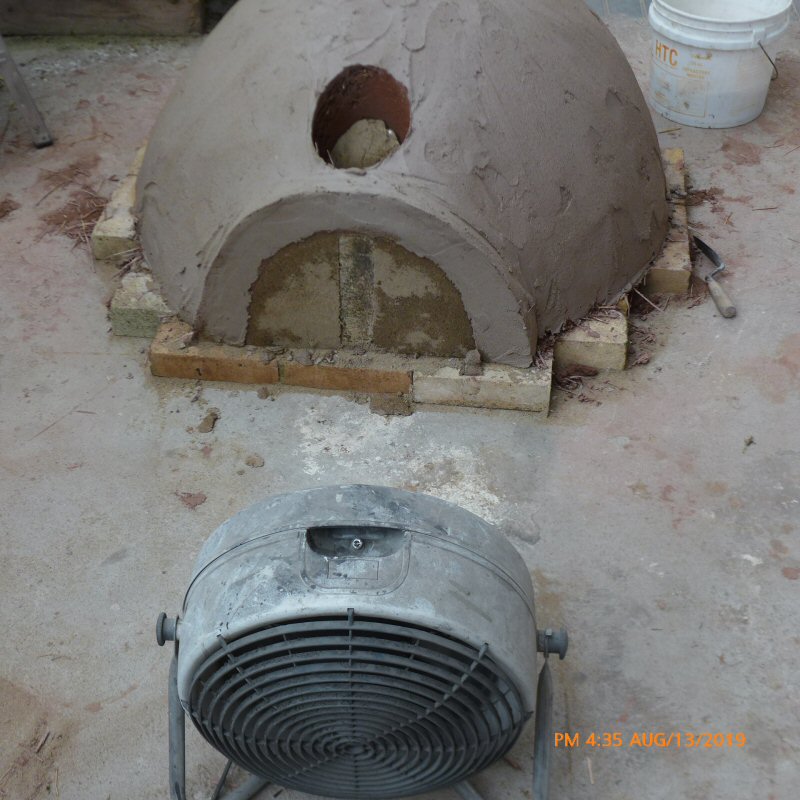
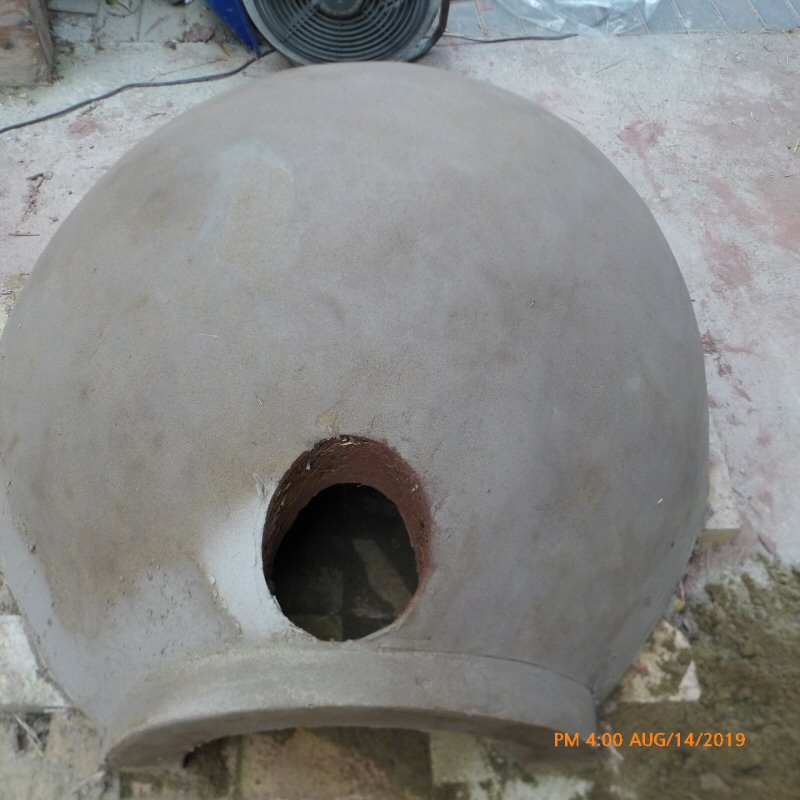
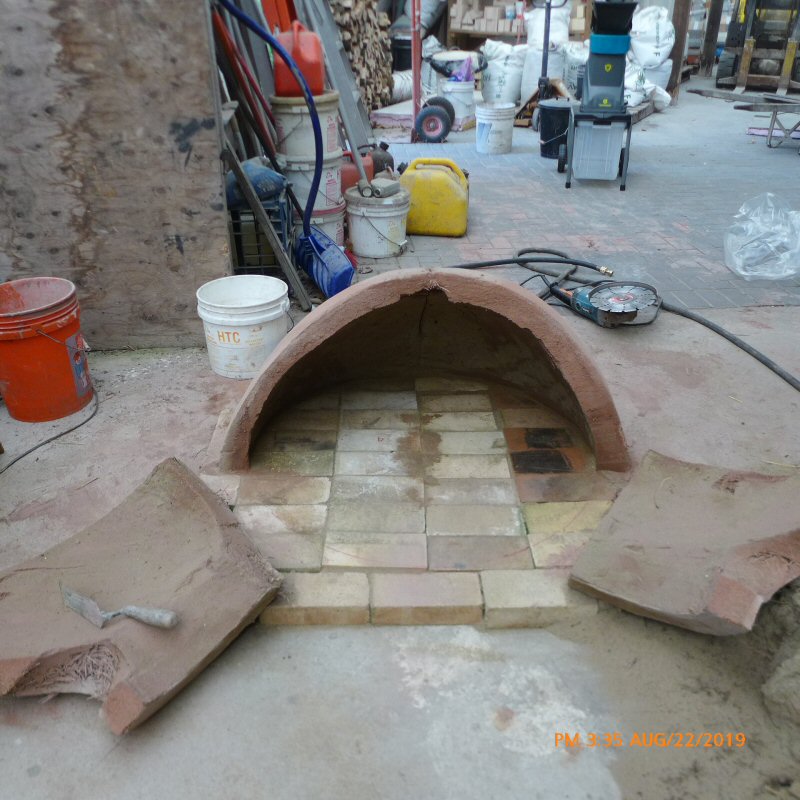
Oven is ready for drying out.
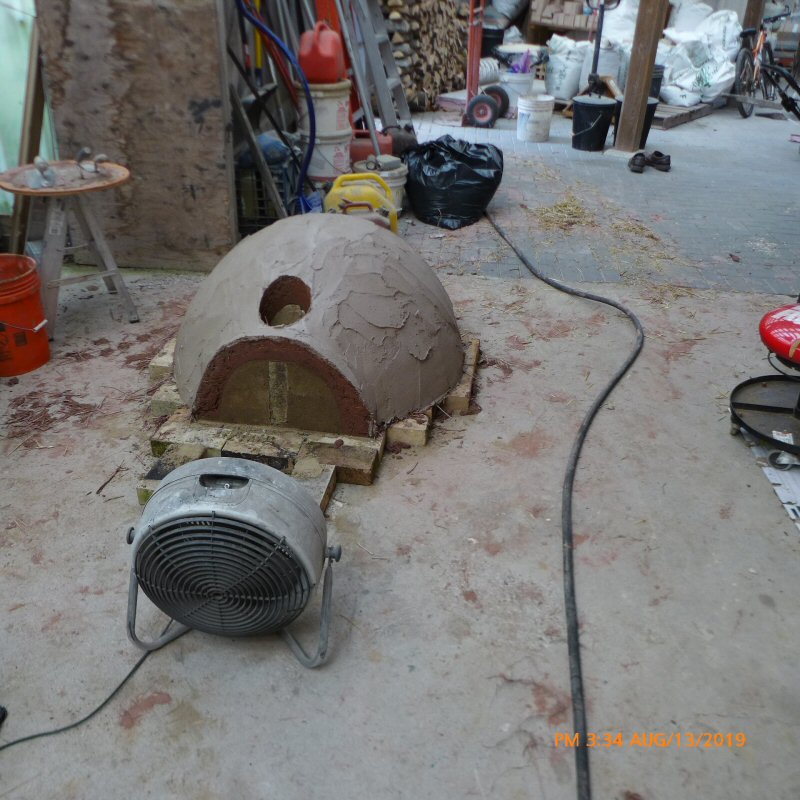
In the previous version using castable refractory, the mold was ready to strip in 24 hours. In this case, we have to dry the clay
out before it will be hard enough to strip.
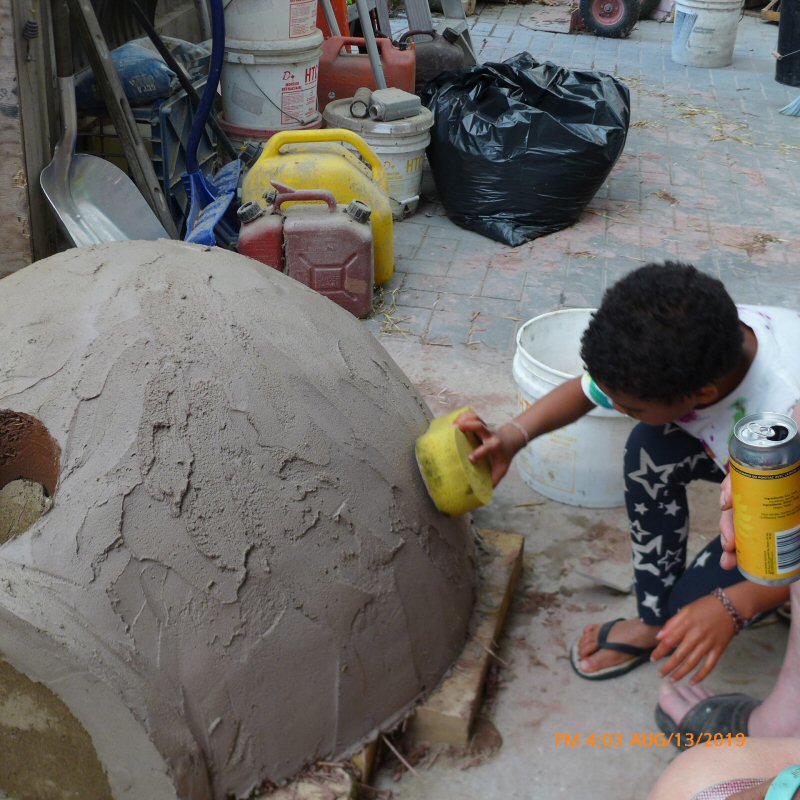
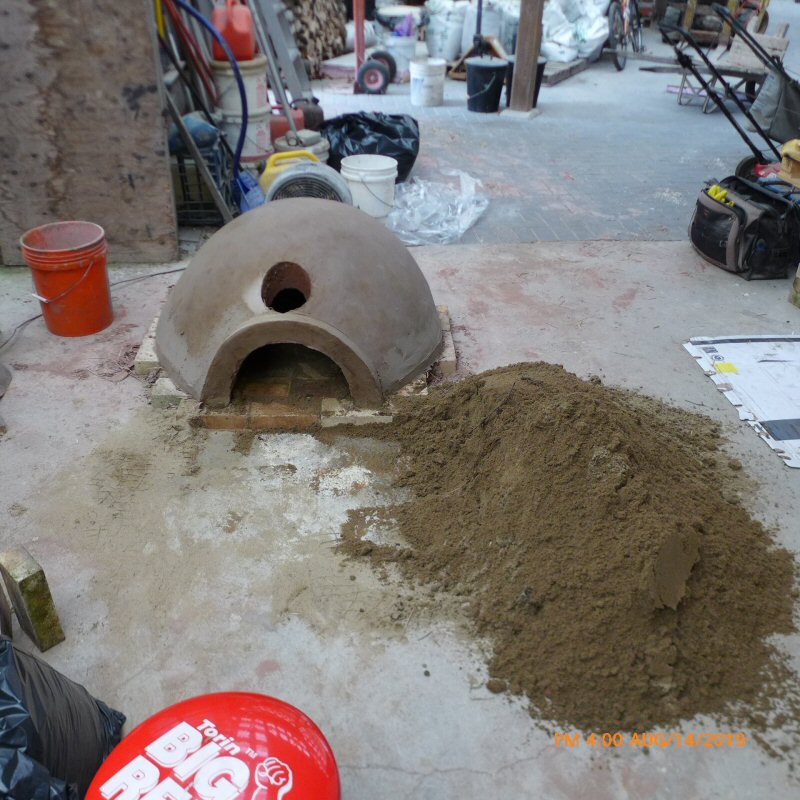
Finishing the exterior.
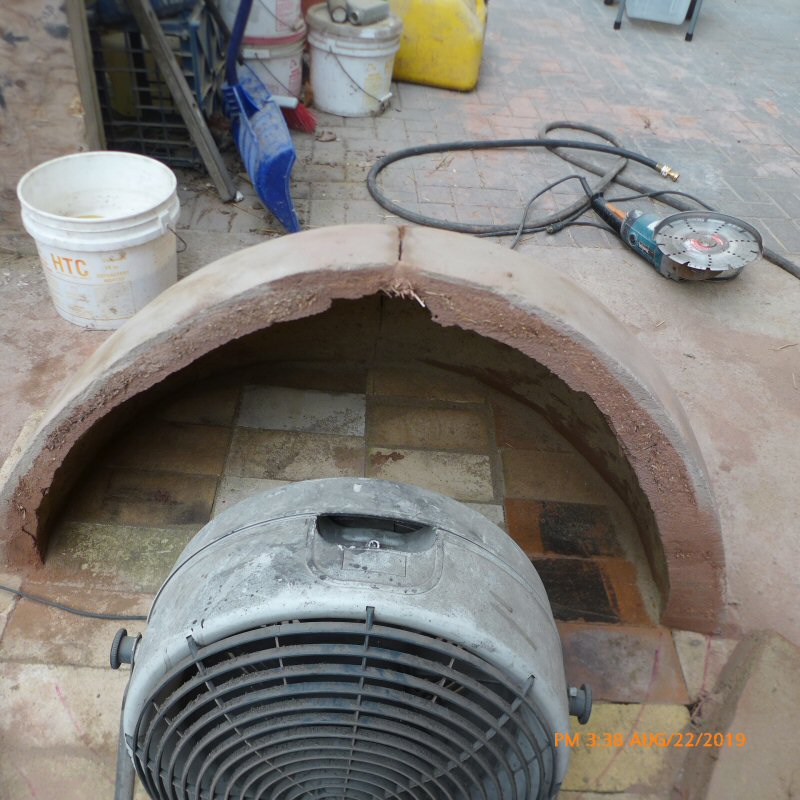
Some signs of drying on the outer layer of sand.
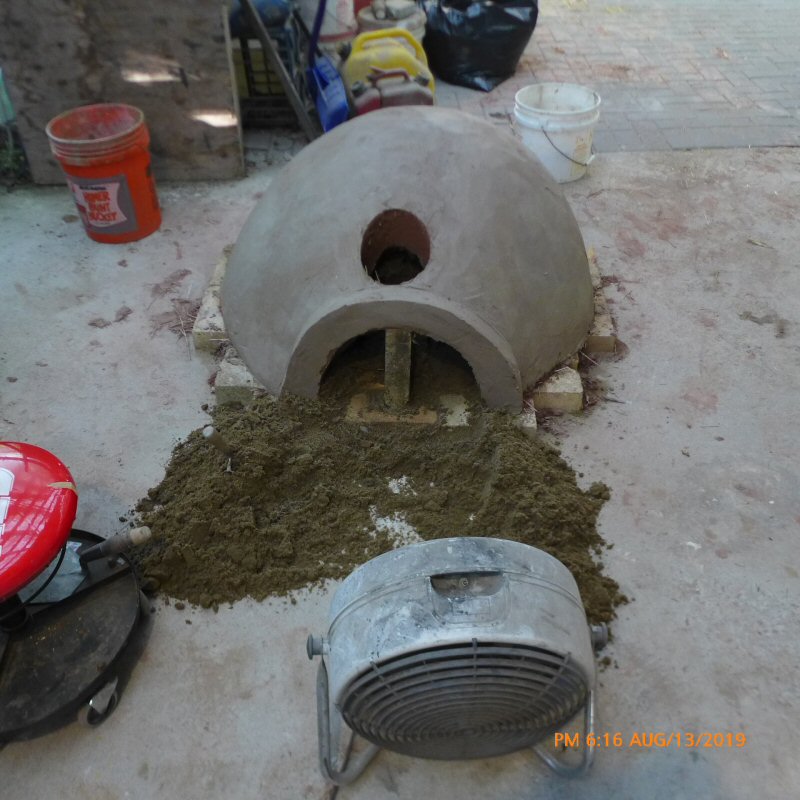
Removing some sand to speed the drying process. The clay is still very soft and the inside surface is very easy to damage.
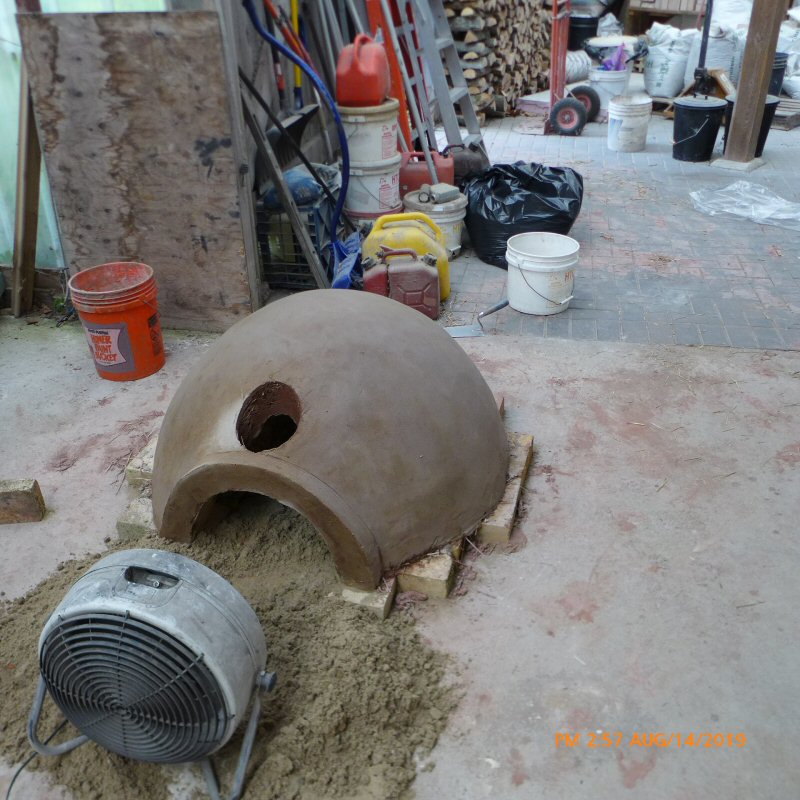
Next day.
More sand removed. This did some damage to the inside surface, see photos further down the page.
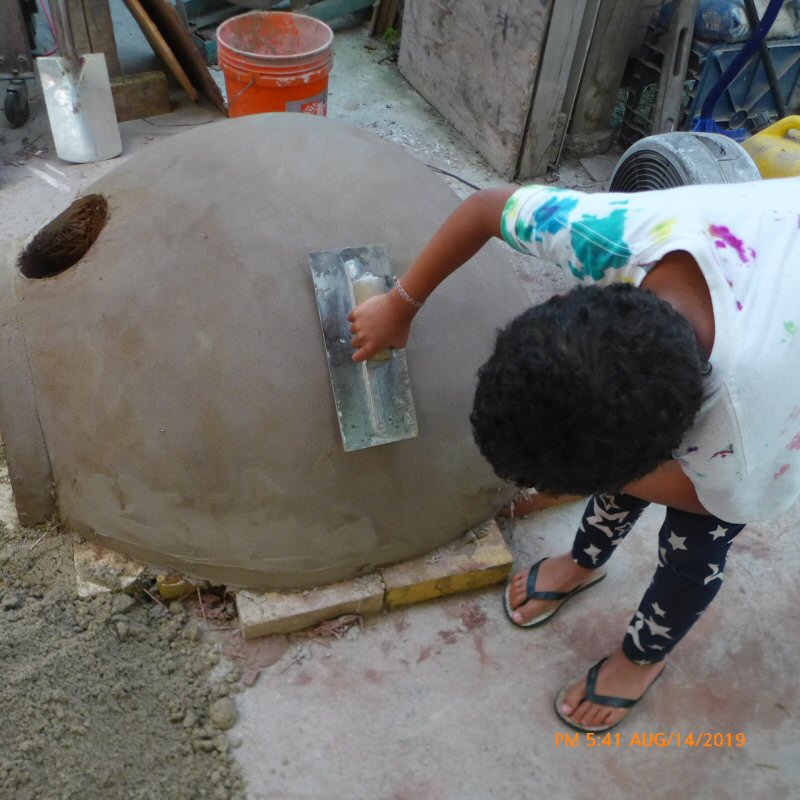
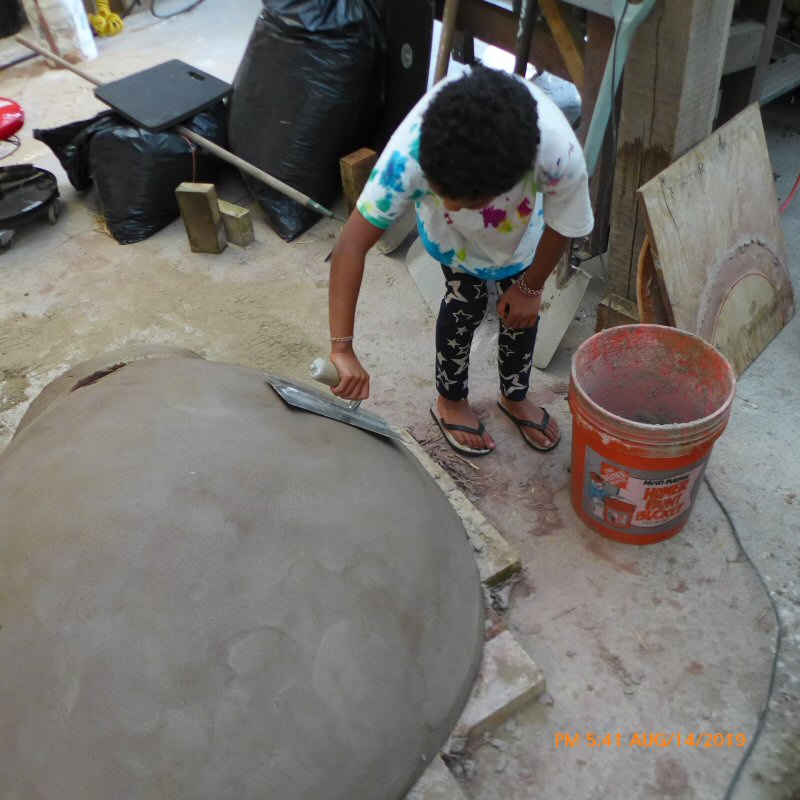
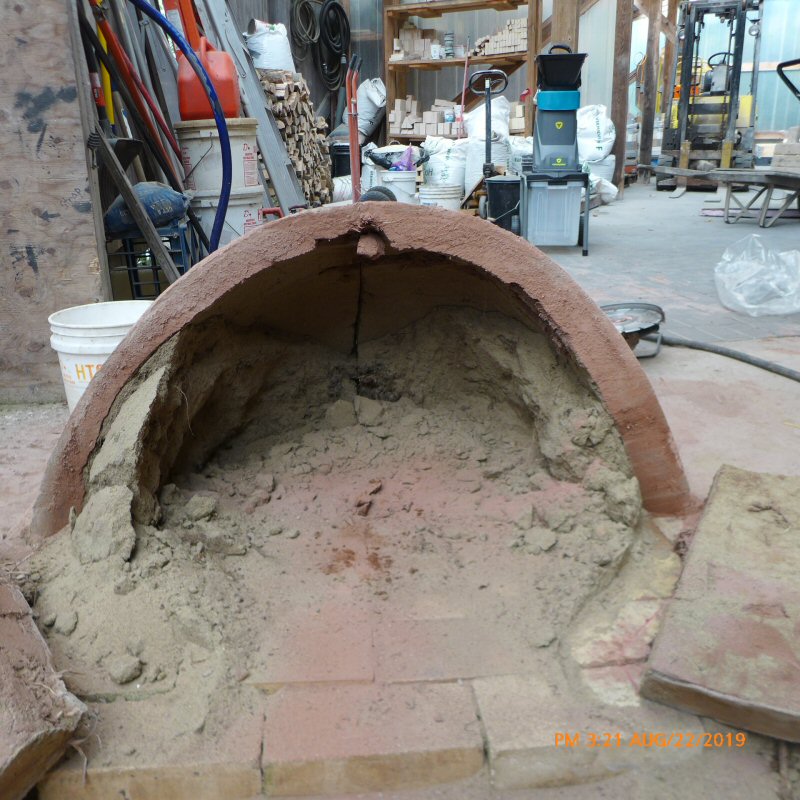
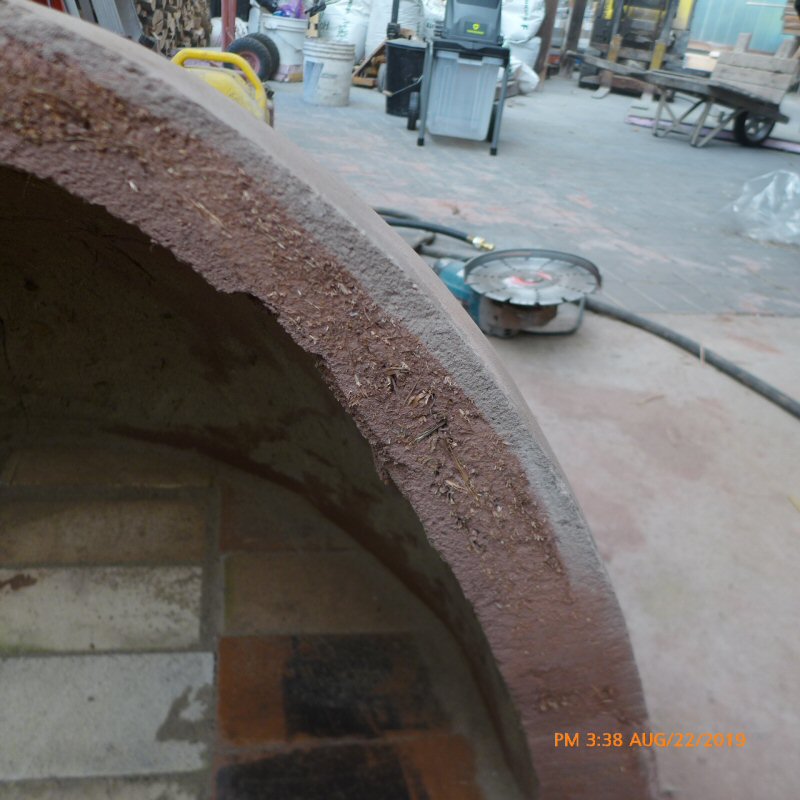
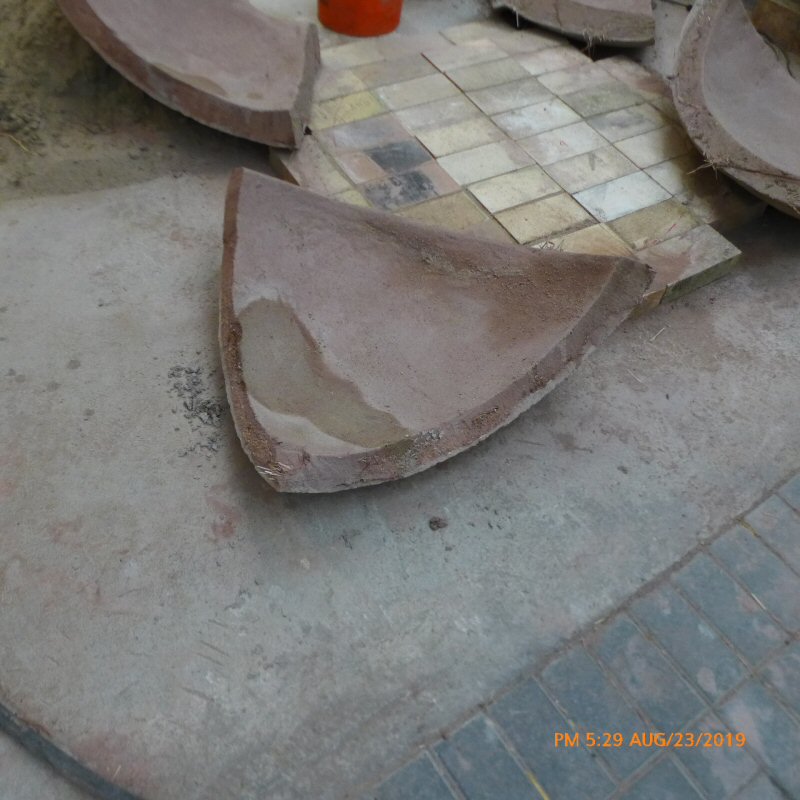
Final trowel finish on the exterior, 24 hrs later.
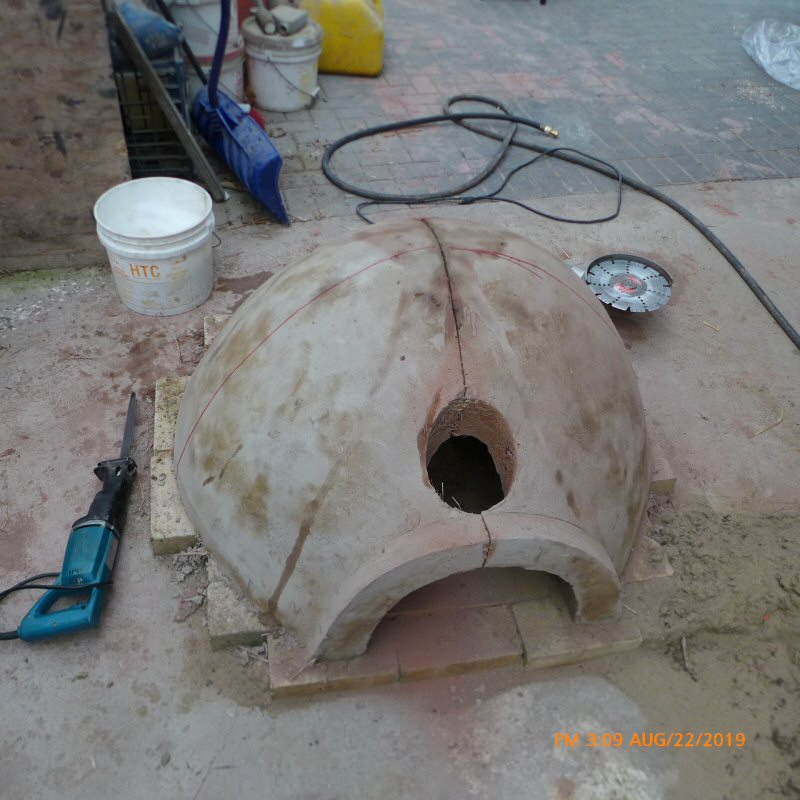
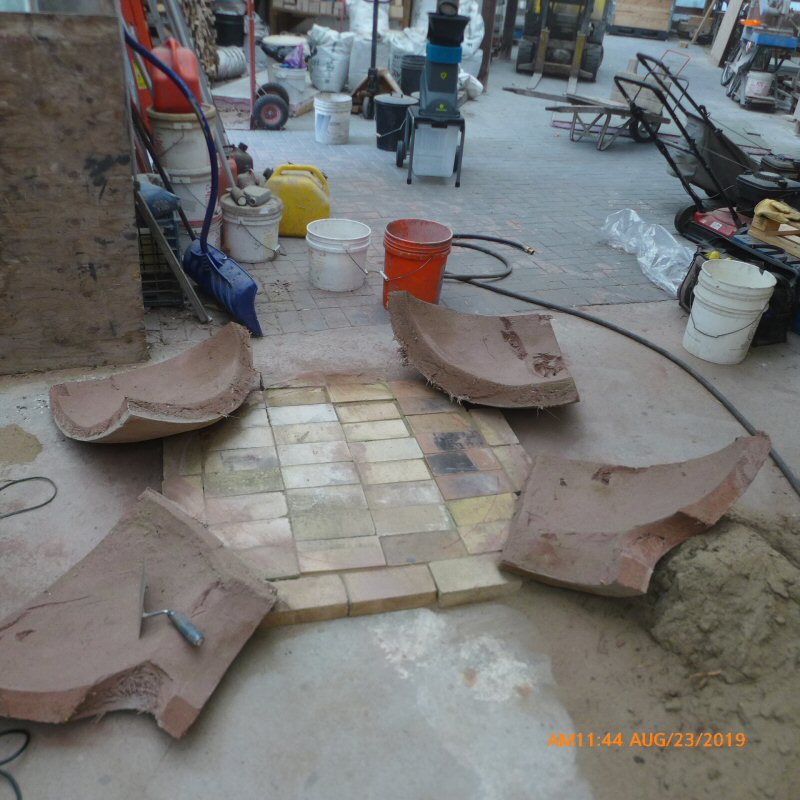
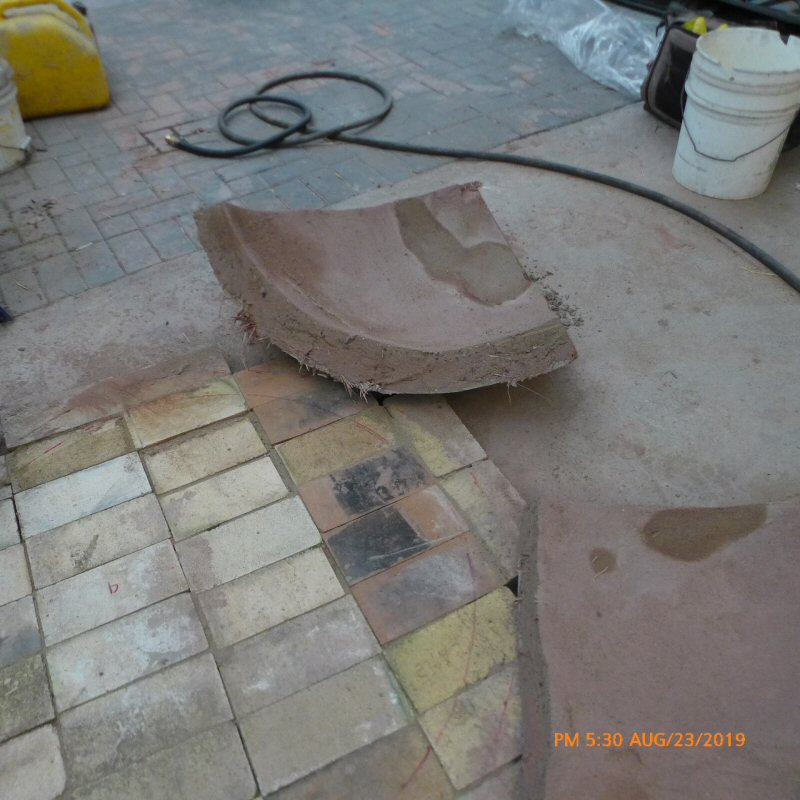
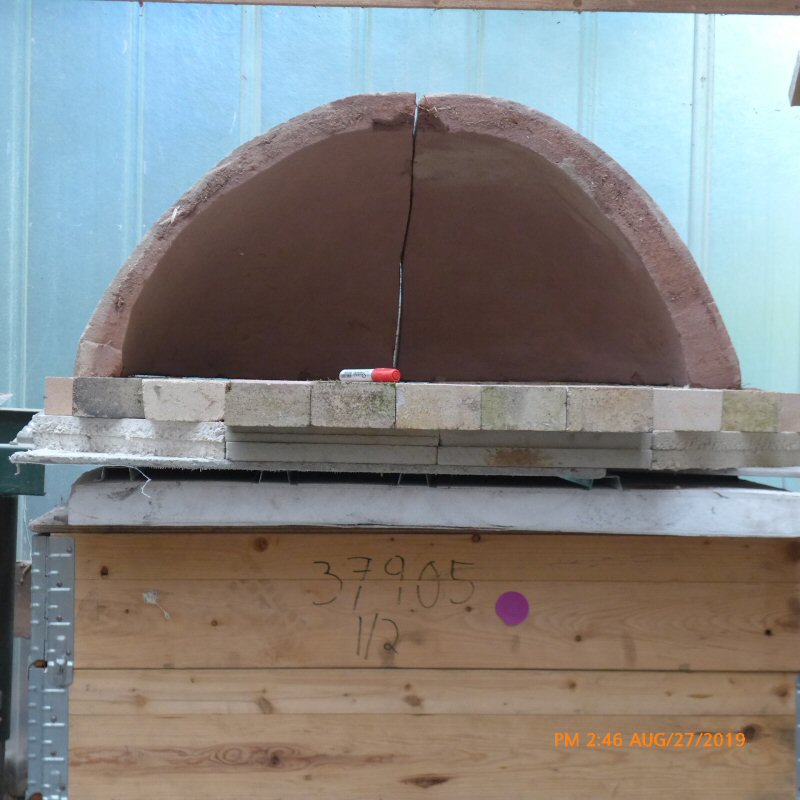
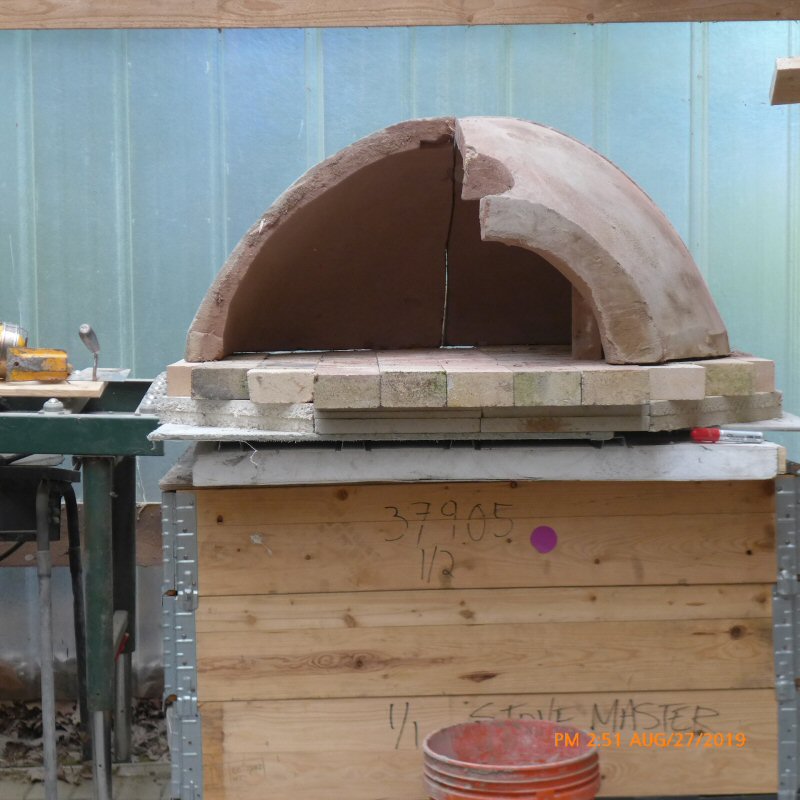
Oven was very slow to dry. This is 8 days later. It is being cut into 4 pieces with the reciprocating saw for easier handling.
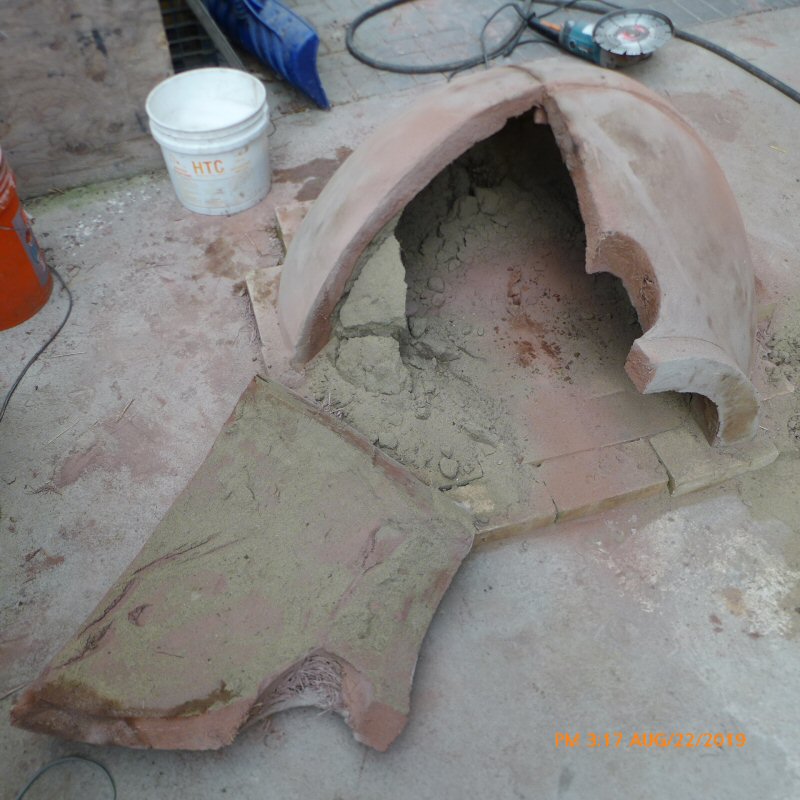
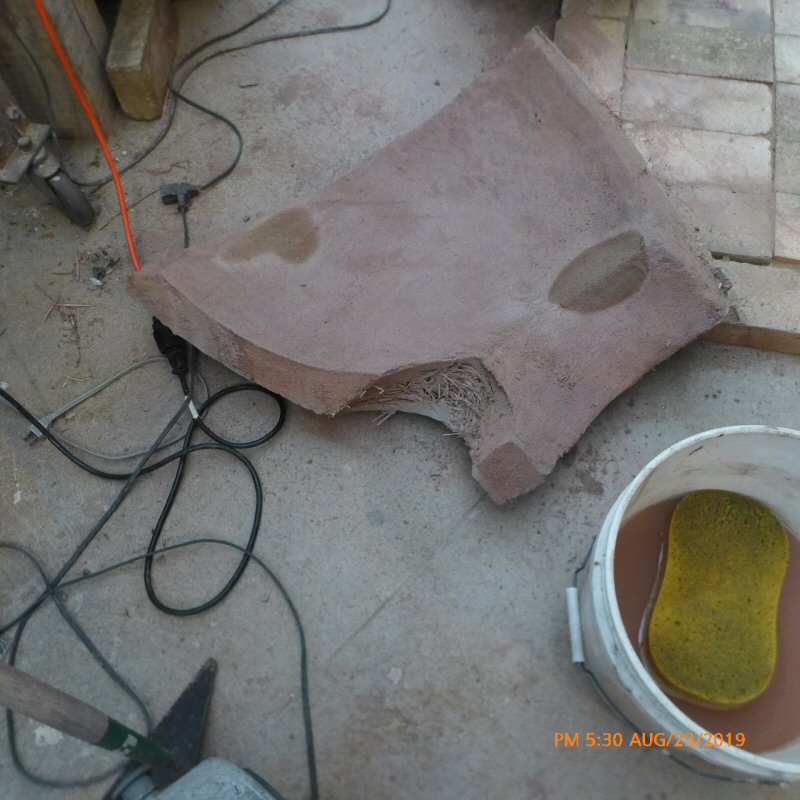
Inside clay surface has lightened up, indicating that it is surface dry. Note the gouges. The came from removing sand early on.
It was almost impossible to judge by feel, the difference between the sand and the inside clay surface.
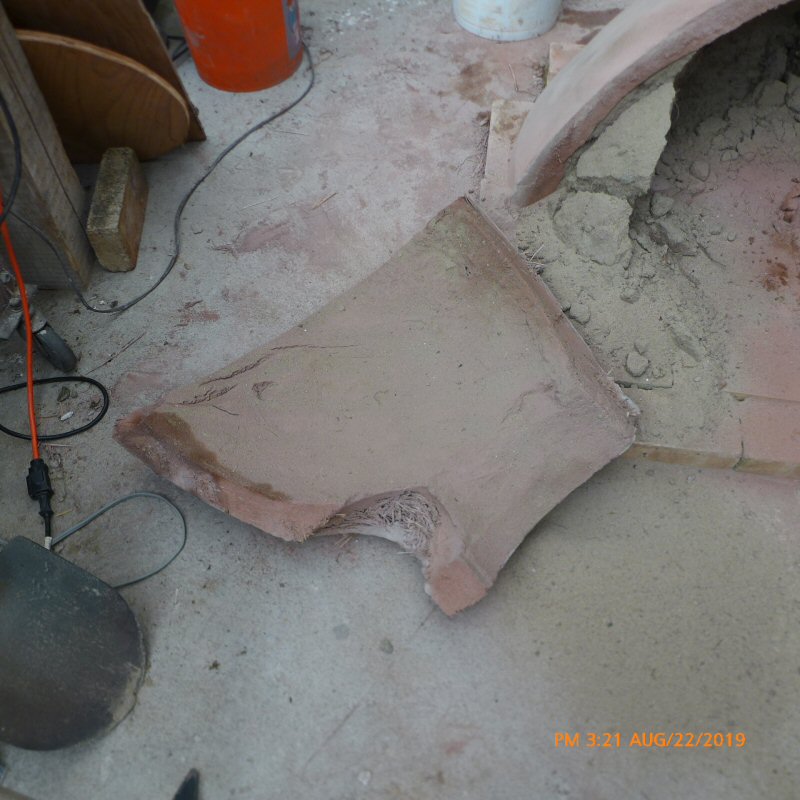
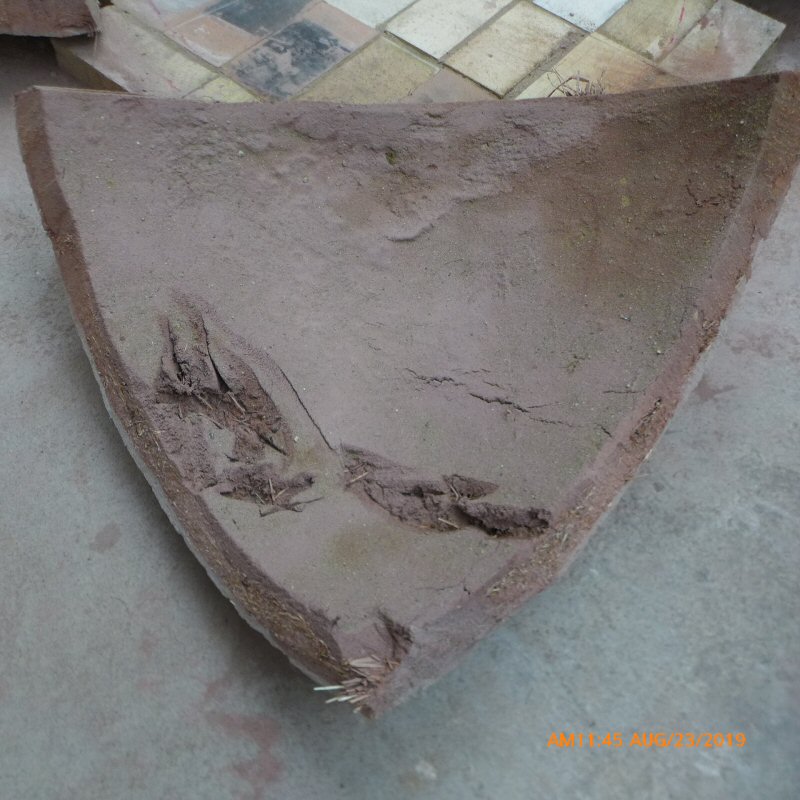
There is some unevenness in the cross sectional thickness. Note the thinning on the left.
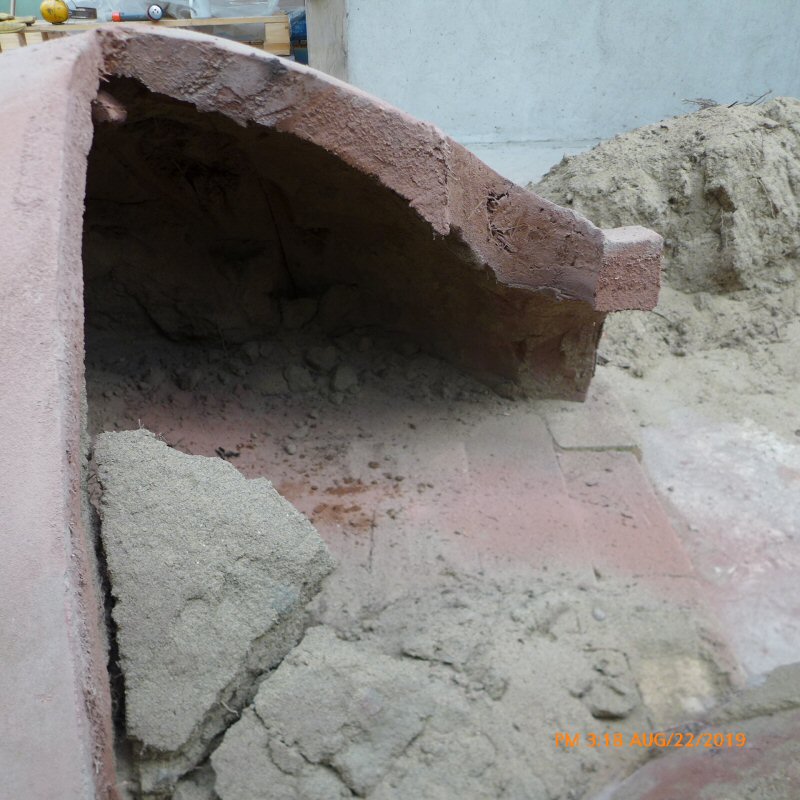
Closeup showing the 3 different layers. It will be interesting to examine the straw after firing. Here is a photo from an
earlier workshop at Wildacres.
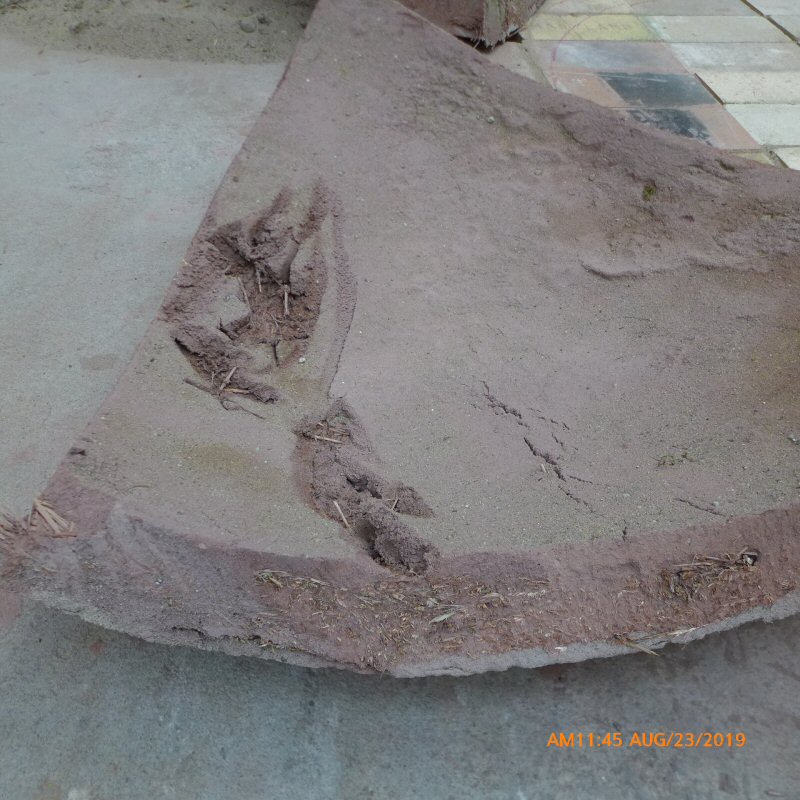
Closeup of the gouges.
Patching the gouges with a 1:4 clay:sand mix.
This
page last updated on September 8, 1019
This page created on August 27, 2019
Back
to Masonry Stove Builders home page: