The workshop took place at Alex Chernov's house.
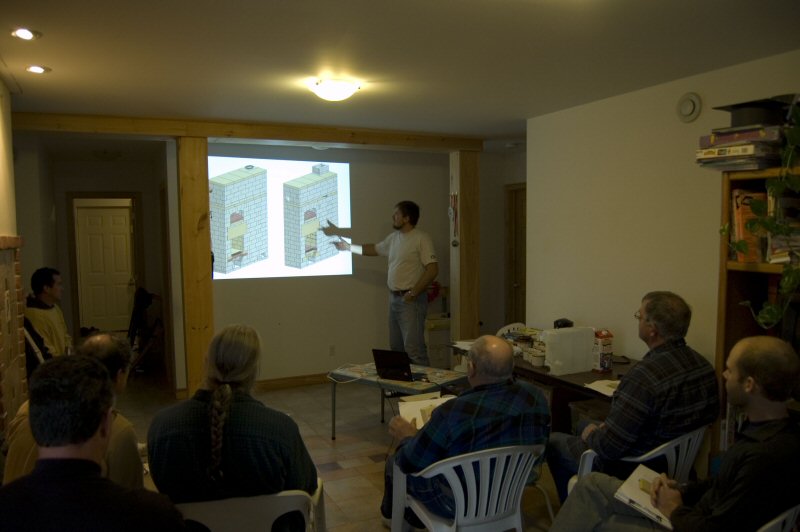
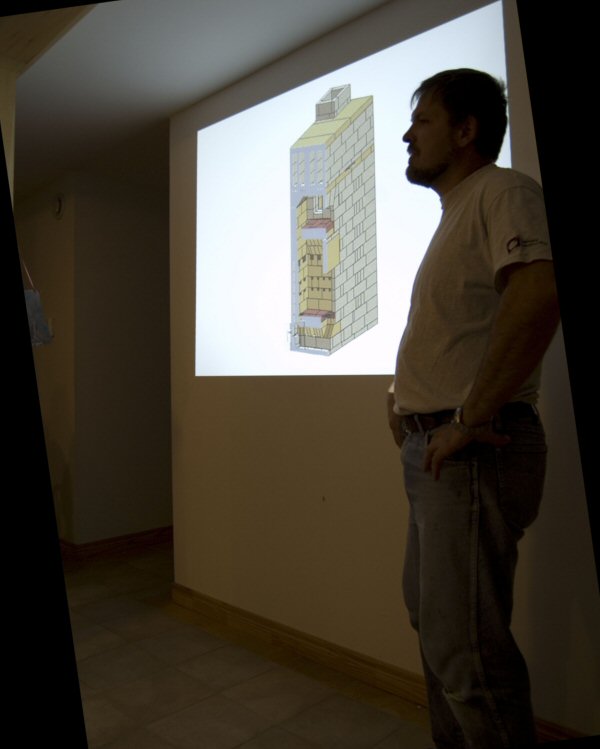
Alex kicked it off on Friday morning with a classroom session describing the test heater we would build.
It incorporates a number of features allowing changes to the firebox air systems and gas path in the heat exchange section.
Cross section.

CAD model.
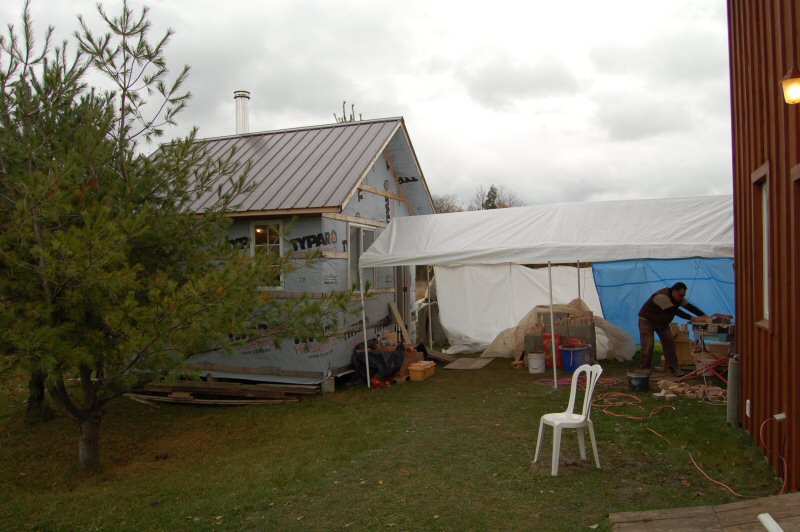
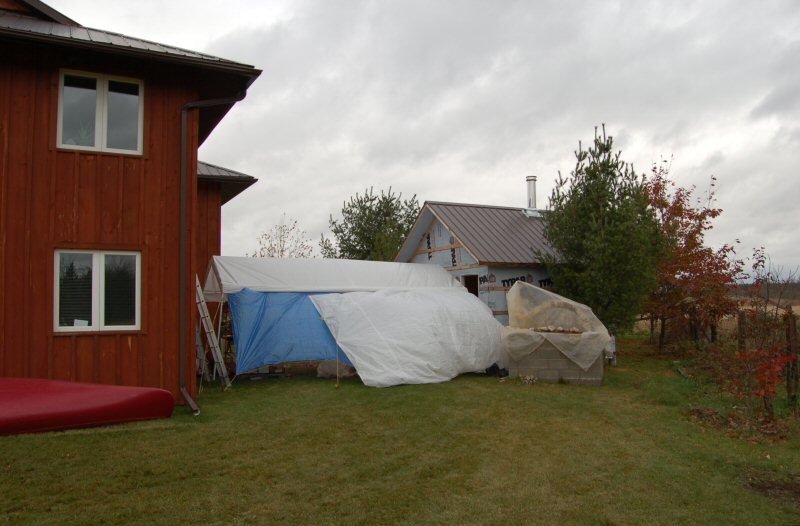
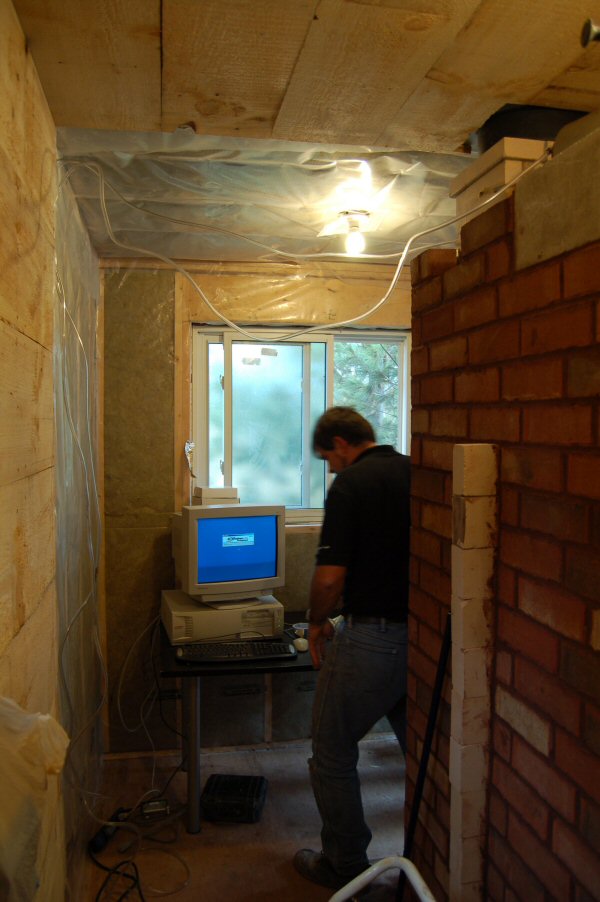
The new heater testing lab directly behind the house is well insulated and will eventually become a sauna.
With a busy work and family life, it will make it easier for Alex to conduct automated testing.
It will become part of the Lopez Labs Co-operative.
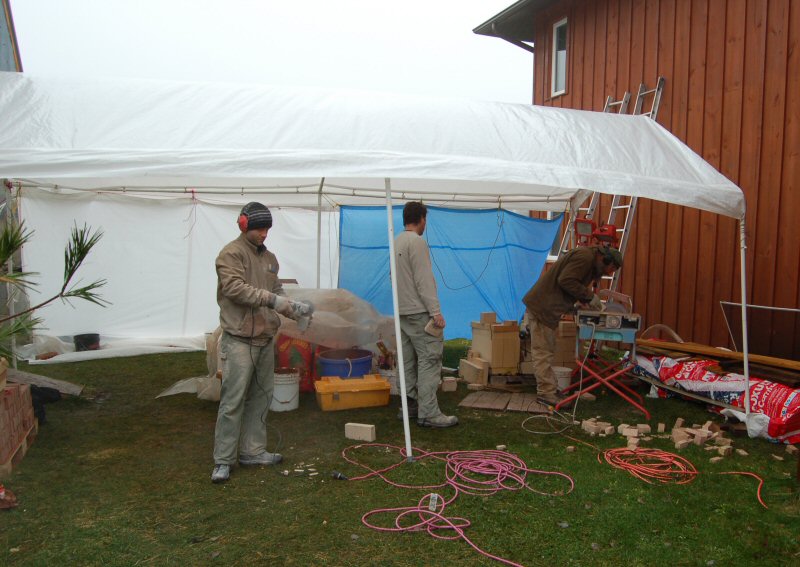
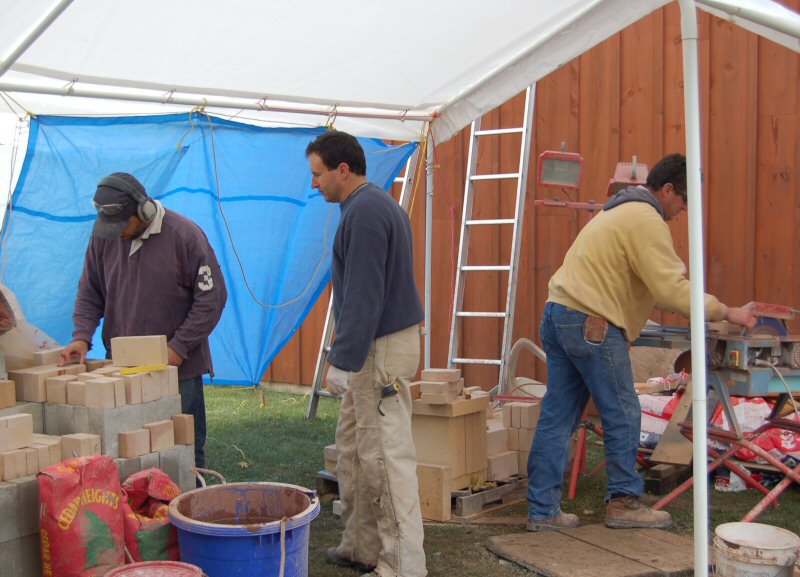
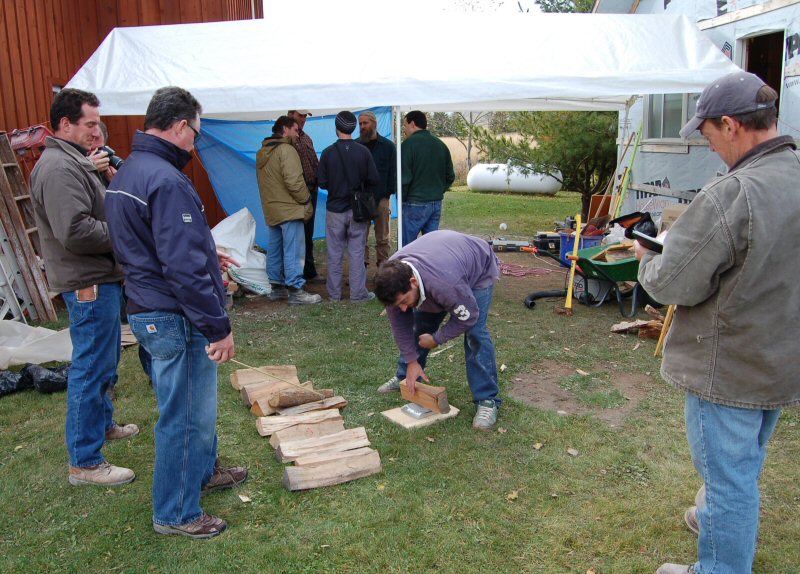
Weather on the first day was cold, rainy and windy.
Colin Coveny operates the brick saw, under a tent.
Alex's new design for a pizza oven sits covered in plastic to the right.
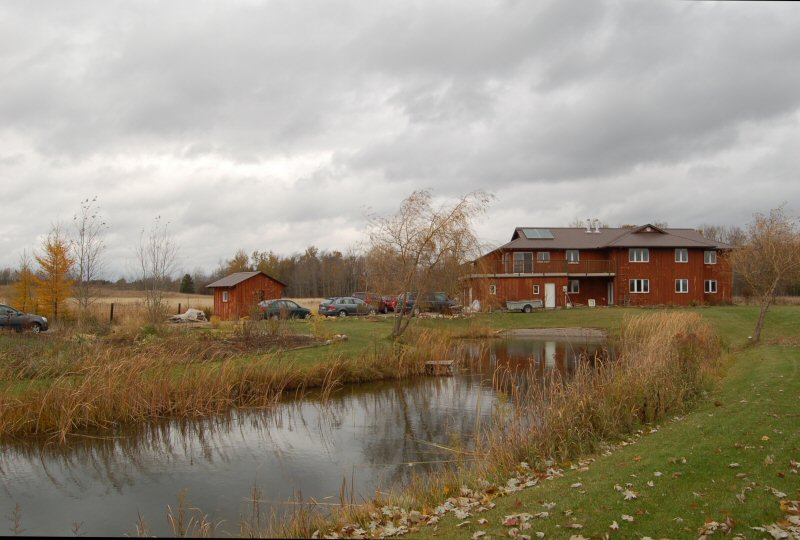
View of the main house. The lab is at the rear.
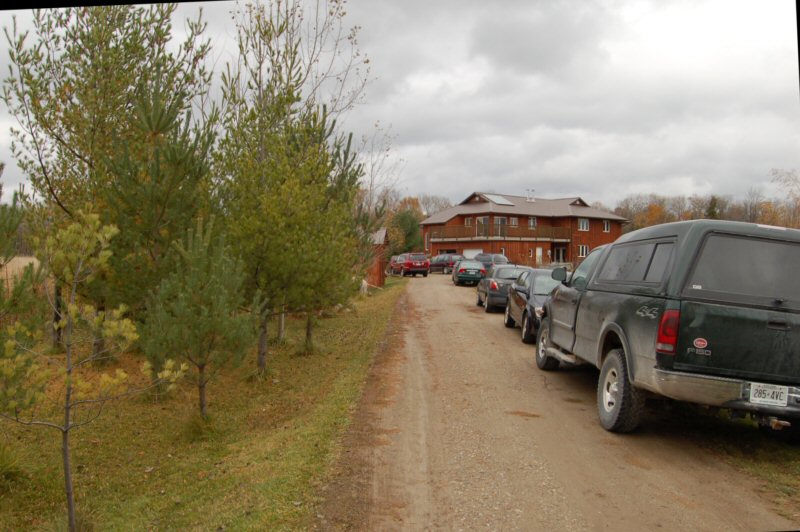
The workshop was limited to 12 people and sold out early. Attendees came from as far away as Washingon state.
After expenses, the workshop raised a total of $2540.00 for MHA.
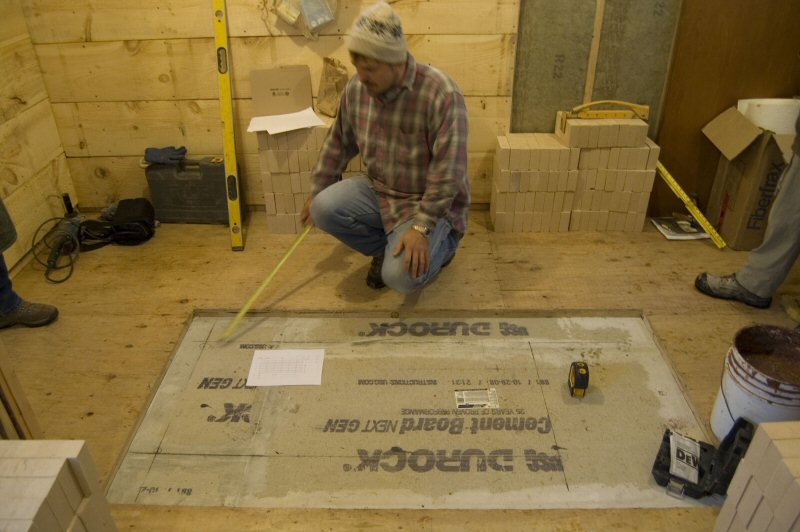
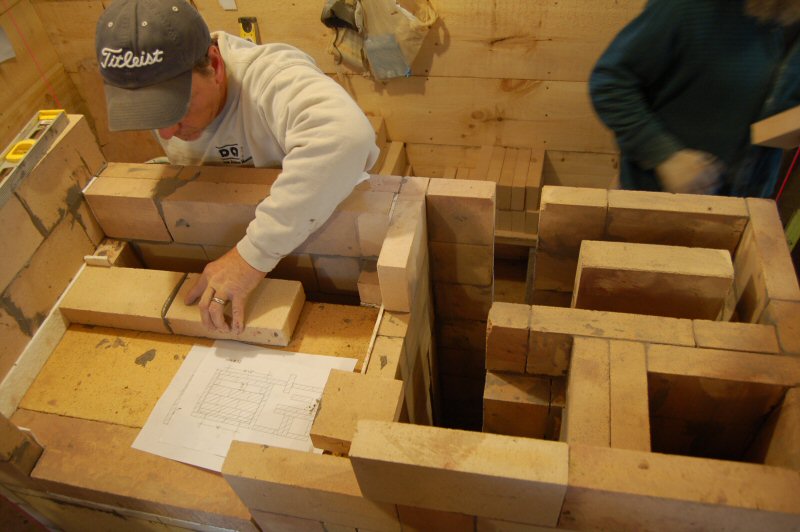
Layout.
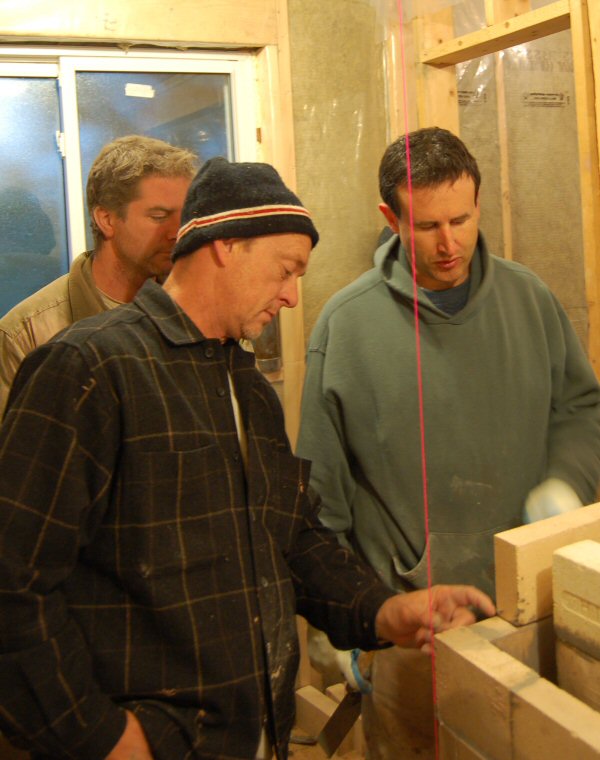
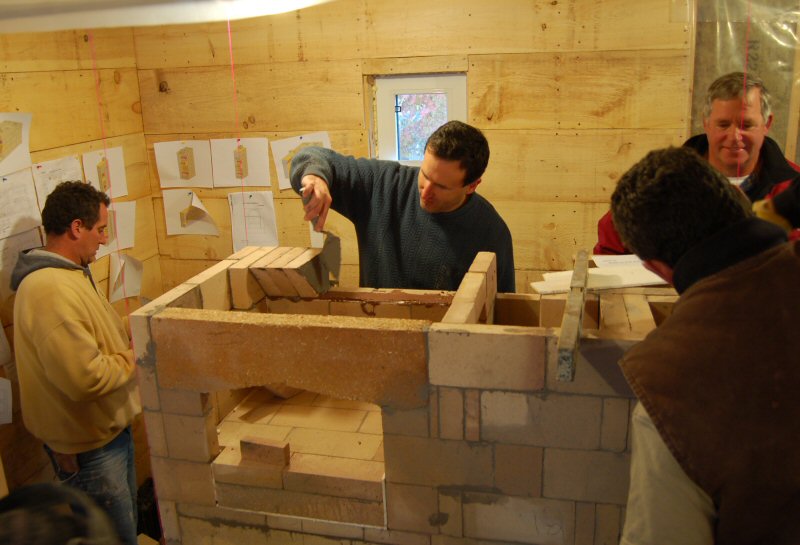
Paul Anderson contemplates the layout as Chris Springer and Alex get the bottom end started.
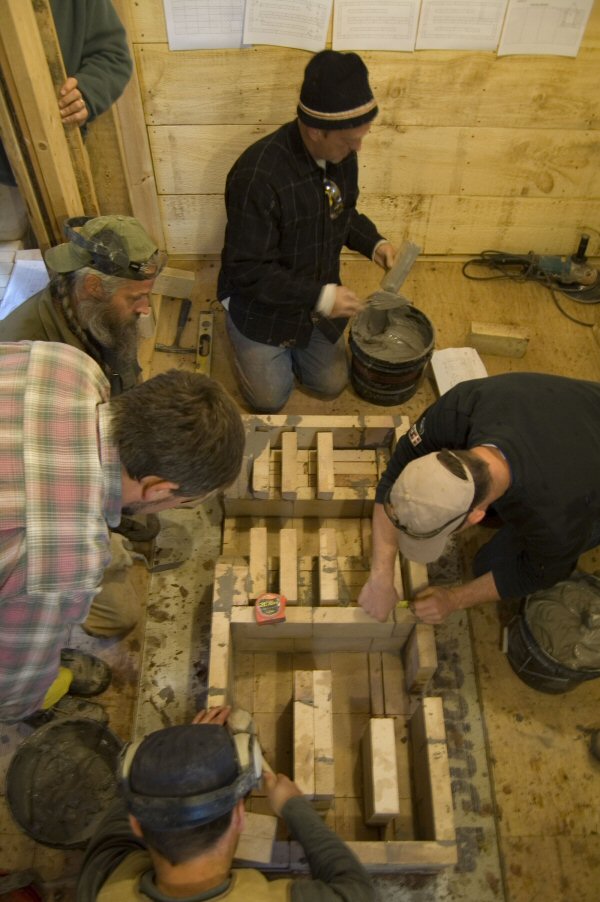
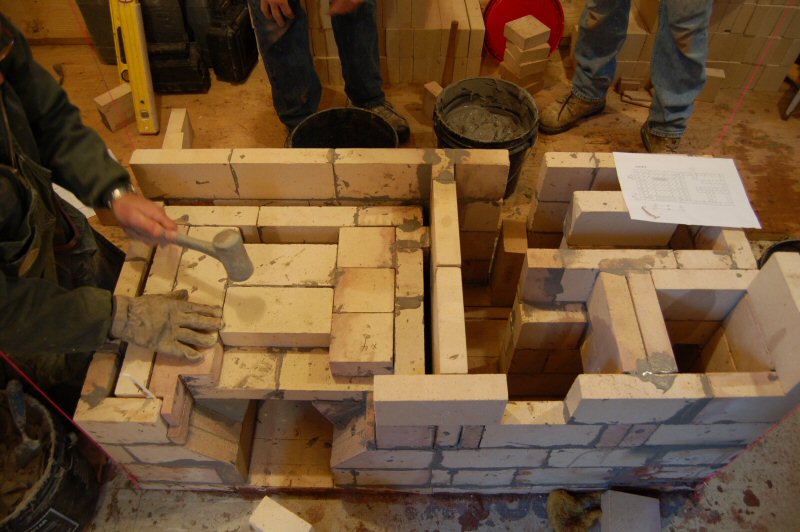
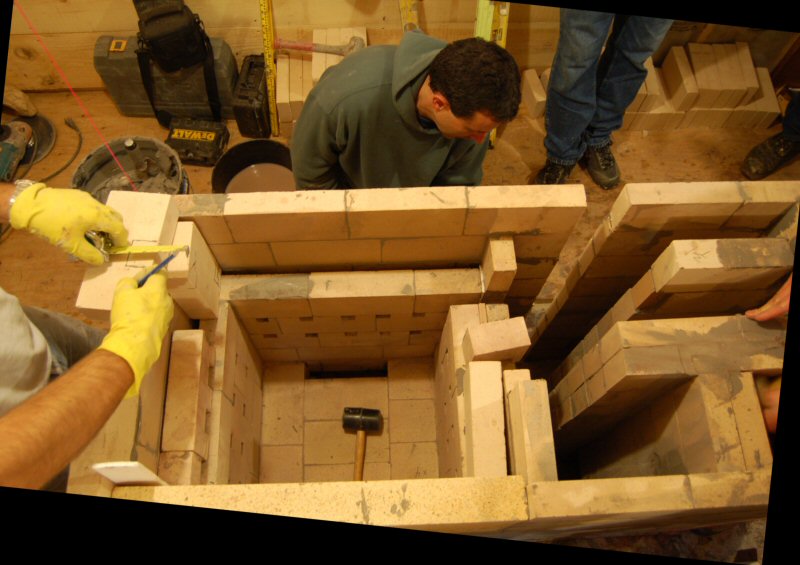
Firebox floor support and air channel (top)
Heat exchange section (bottom)
At the lower right corner, two inlets into the vertical duct that will connect to the upper bell.
Right rear wall: the open slot is to allow for an adjustable firebrick baffle. This will allow testing of different bell configurations.
Detail of the front grate support ledges.
Lineup at the brick saw.
Carsten Homstead does some freehand grinding.
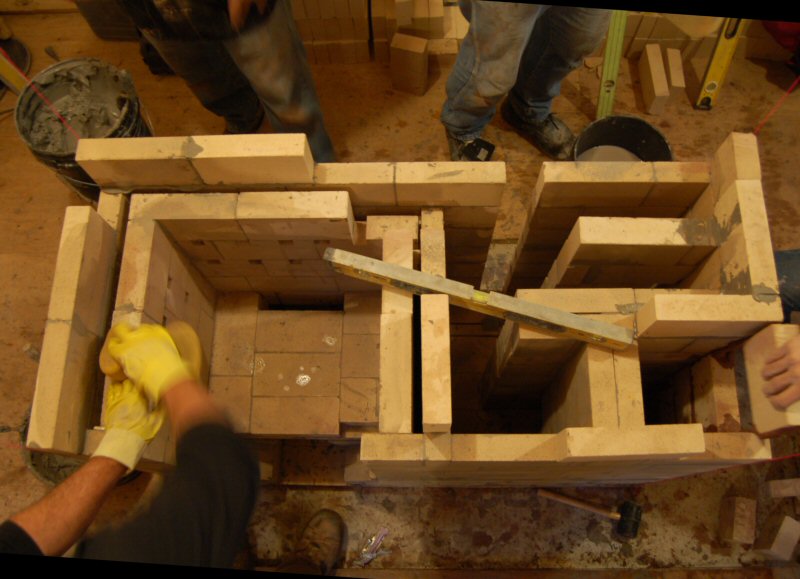
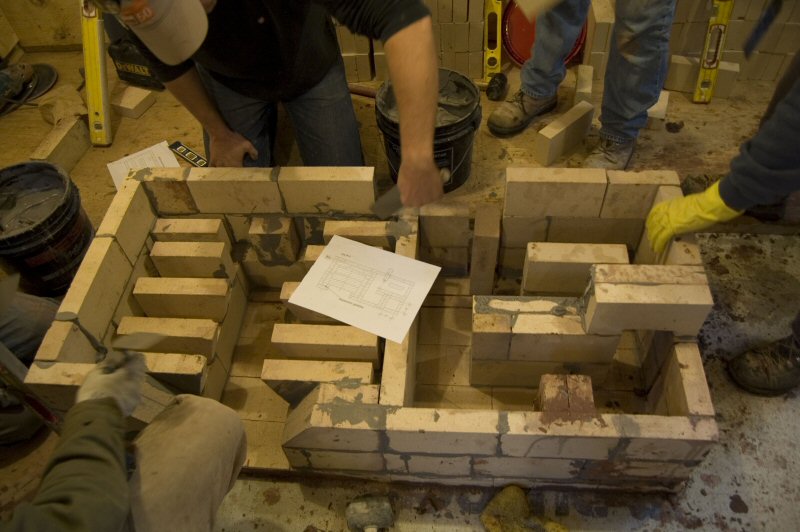
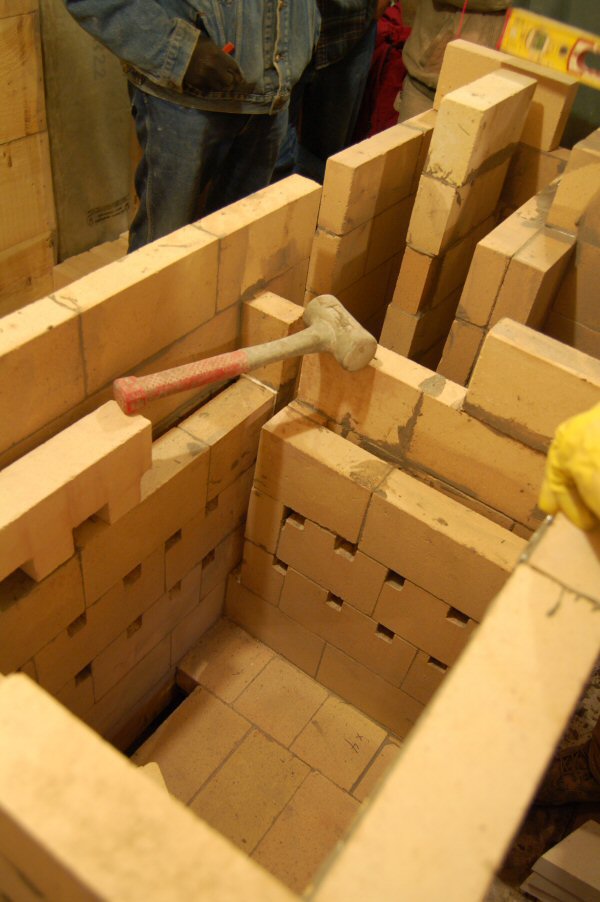
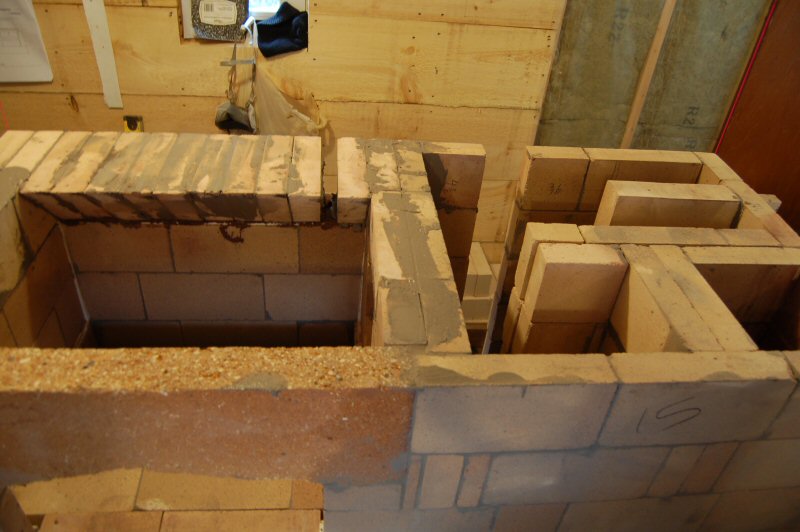
Sidewall air system.
Alex has recently changed his air system and no longer uses sidewall air in his production heaters.
Now, there is a small transverse grate at the rear, and a larger one in the front.
The test heater has sidewall air for testing. The holes can be closed off with ceramic fiber plugs to allow different configurations.
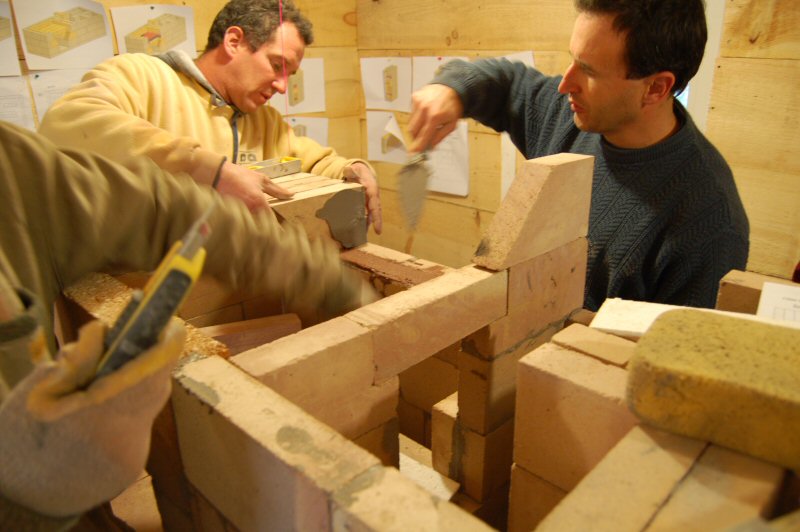
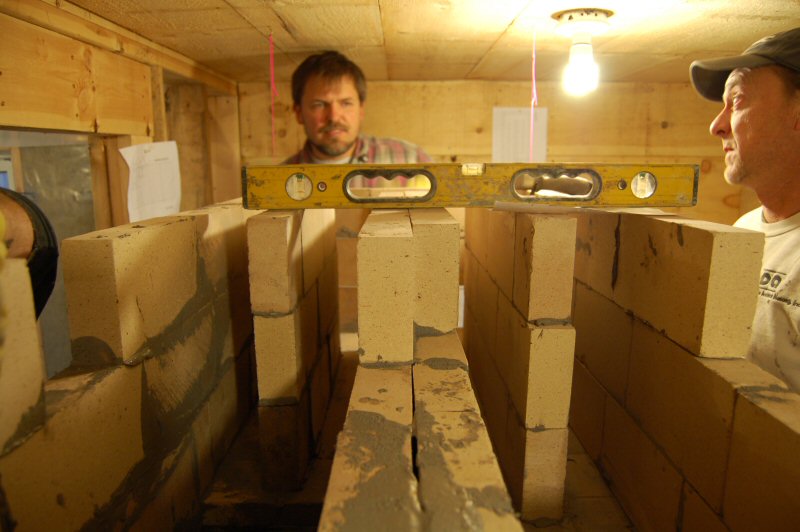
At the far right (with the hand on the brick) is a stacked joint, to allow for changing the size of the updraft channel for testing.
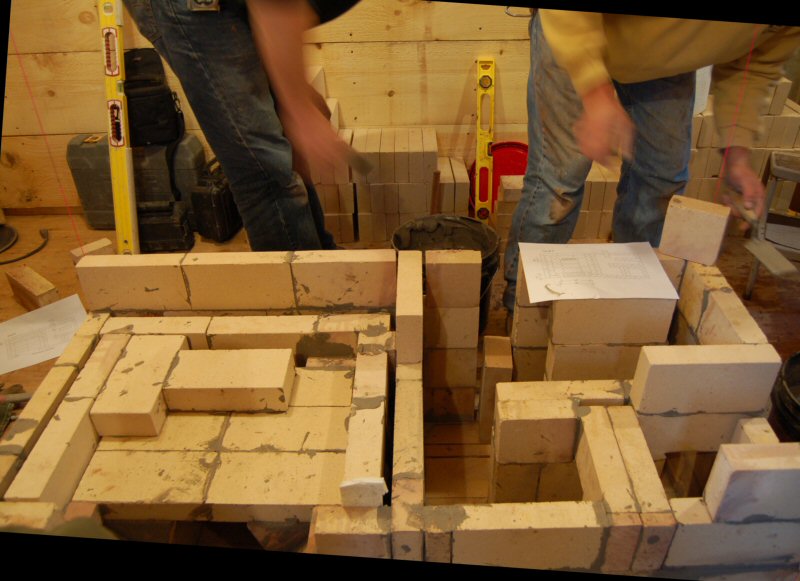
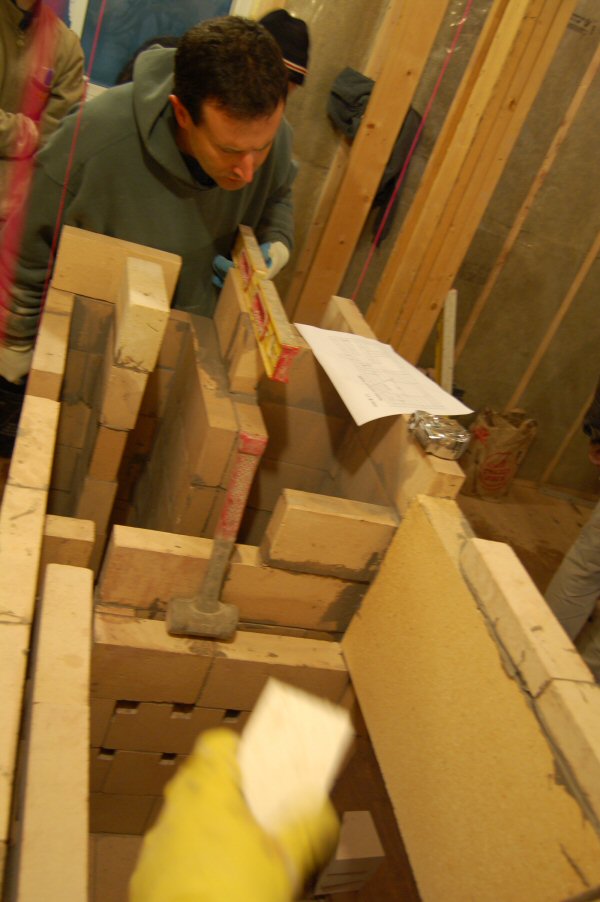
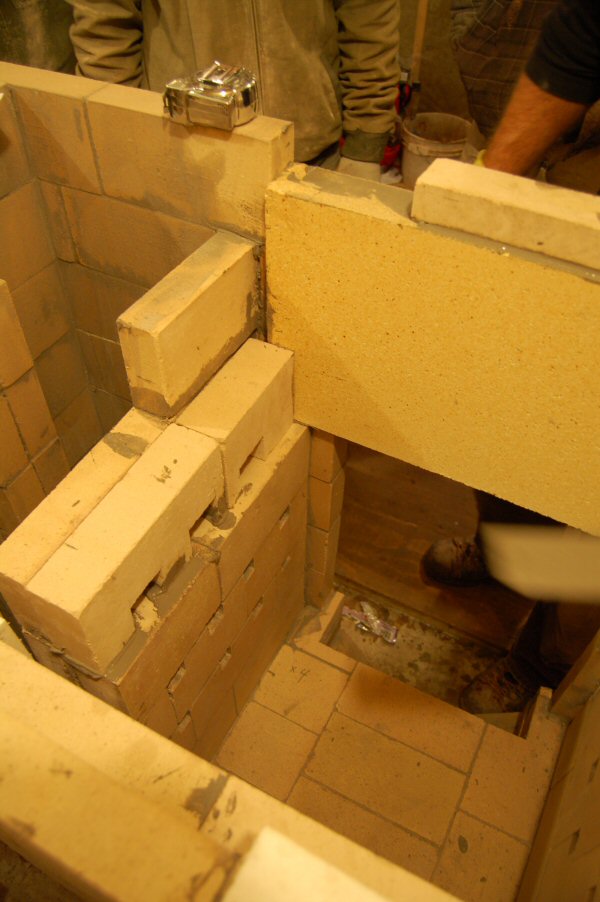
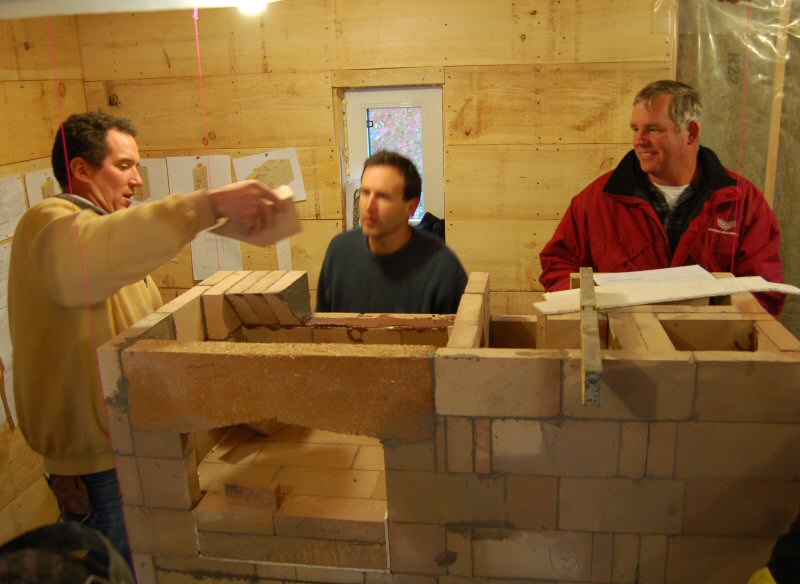
Firebox lintel slab.
The tall stack of single firebricks at the top right is extra mass and heat exchange surface in the lower
bell, and is not creating any channels.
Note the vertical slot at the right rear of the firebox. This is a feature of the Kuznetsov design and is
intended to balance the pressure between the firebox and the lower bell.
Richard Porter
Mathew Froud, Carsen Homstead and Jerry Frisch
Creating support for the bake oven floor slab.

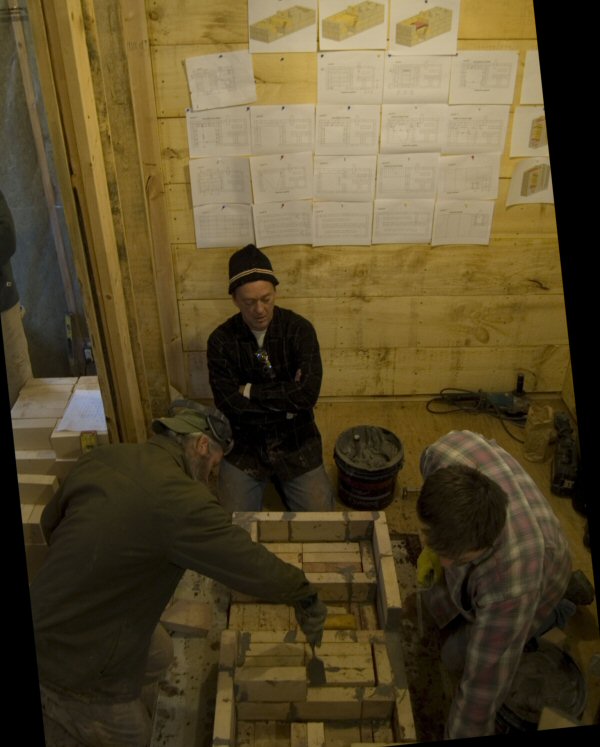
Hands on learning.

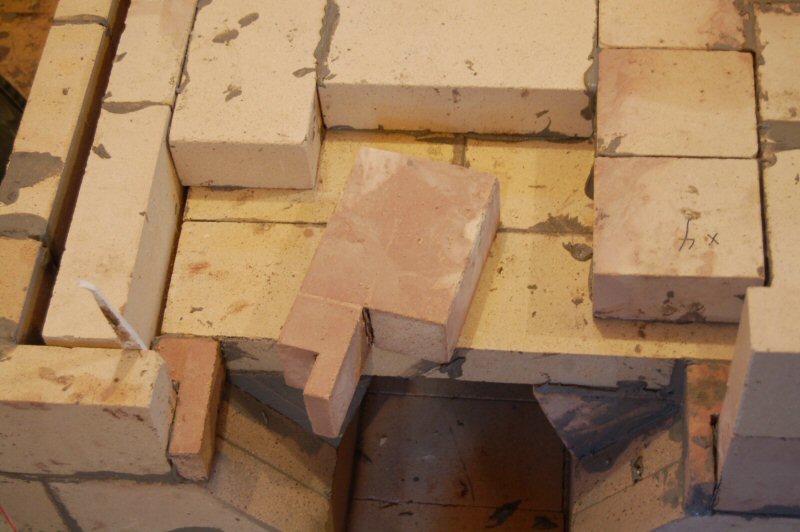
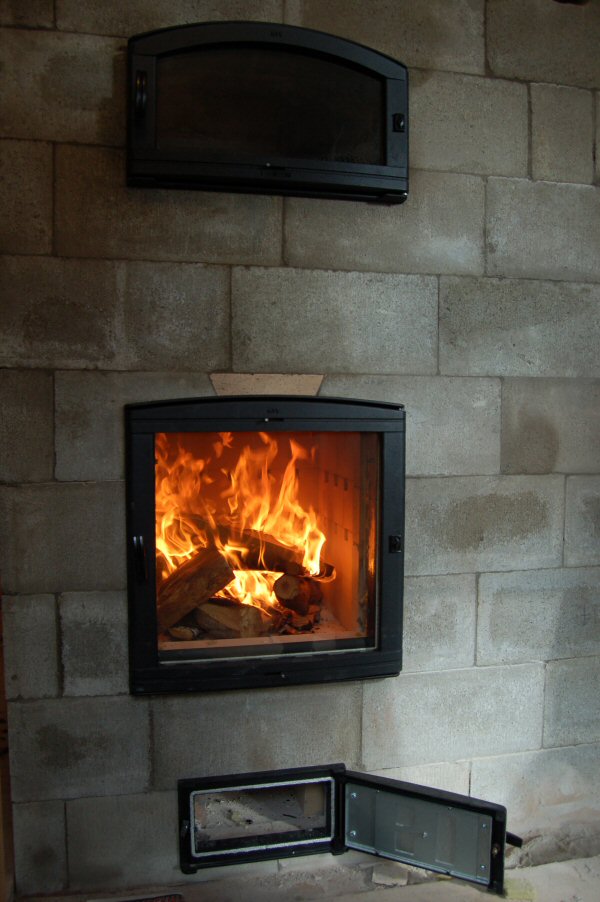
Firebox exit slot into the bakeoven.
It is a black oven with a "carburetor" based on Lars Helbro's design.
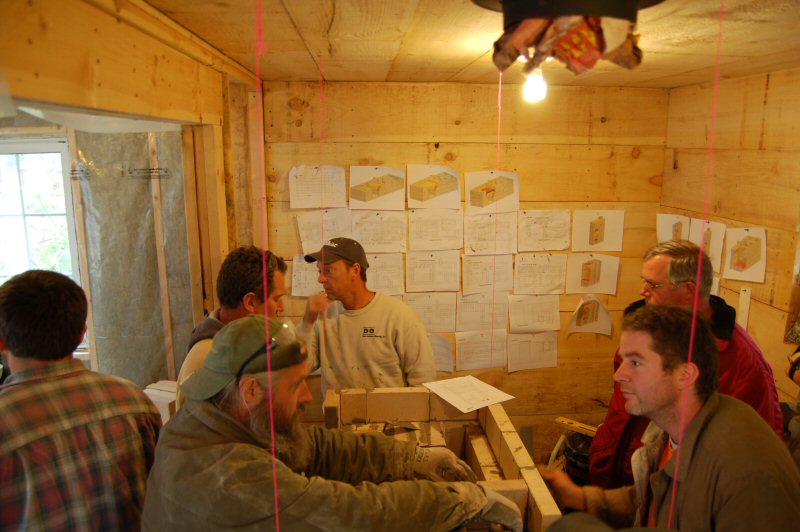
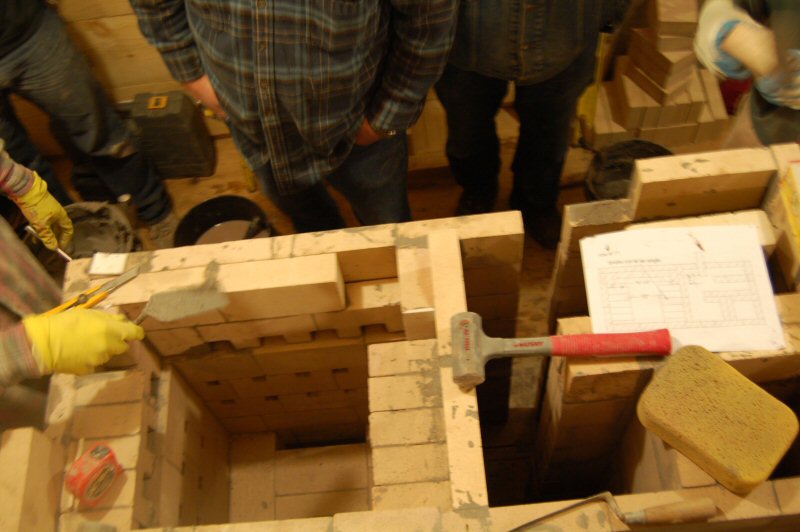
Course by course drawings are tacked up on the walls.
Chris Springer confers with Tristan Lebreton.

The Redart clay mud covers a ceramic paper expansion strip, to allow for vertical firebox expansion below the oven.
Bake oven door opening is in place at the front.
Doug Mayer, Richard Porter and Jim Frisch.
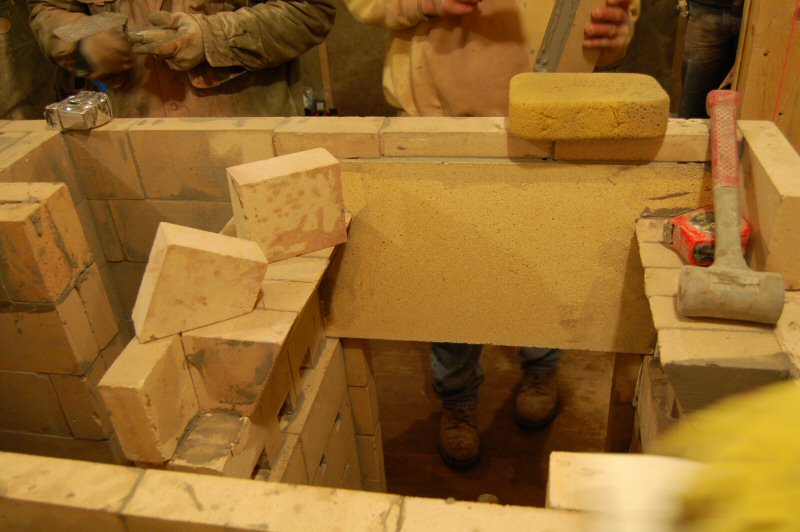
Ready for the lower bell capping slabs.
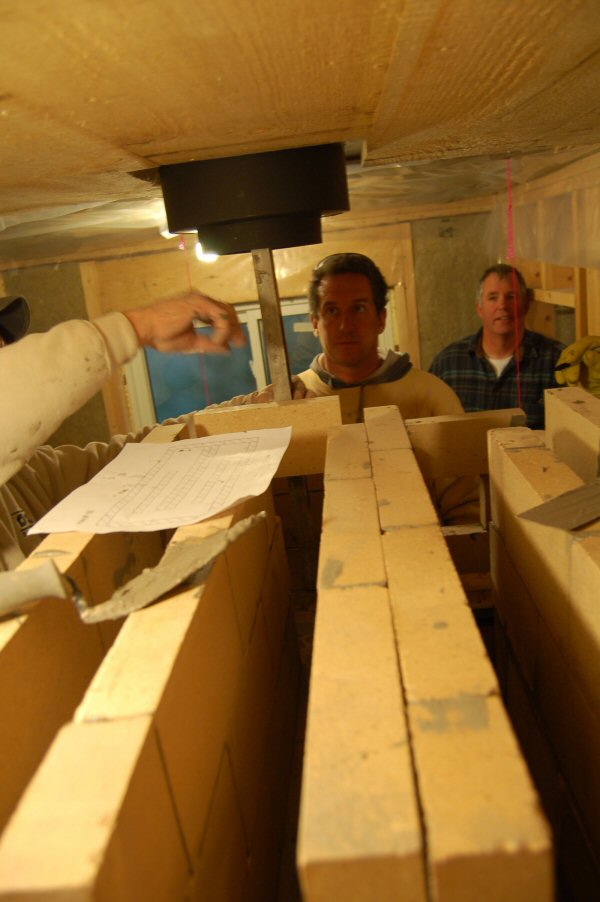
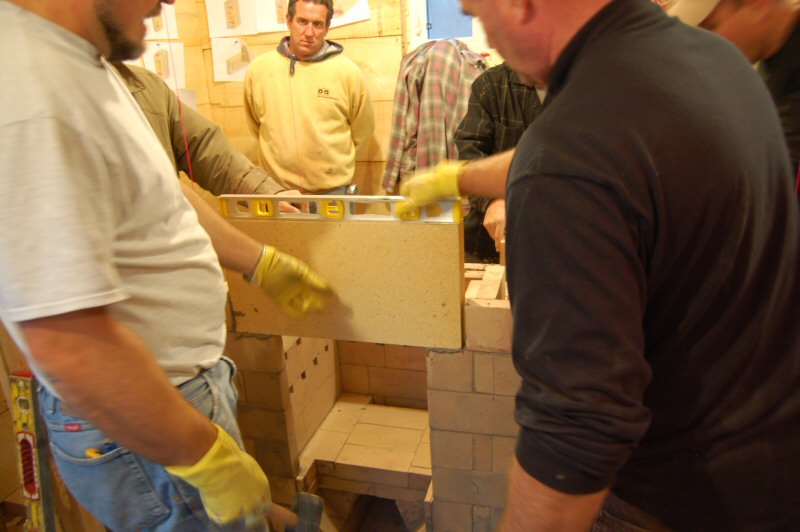
Upper bell.
Checking the plumb to the chimney connection.
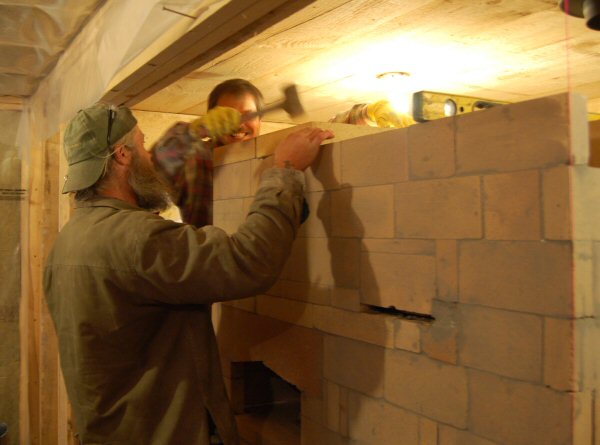
Slot on the right is for a bypass damper.
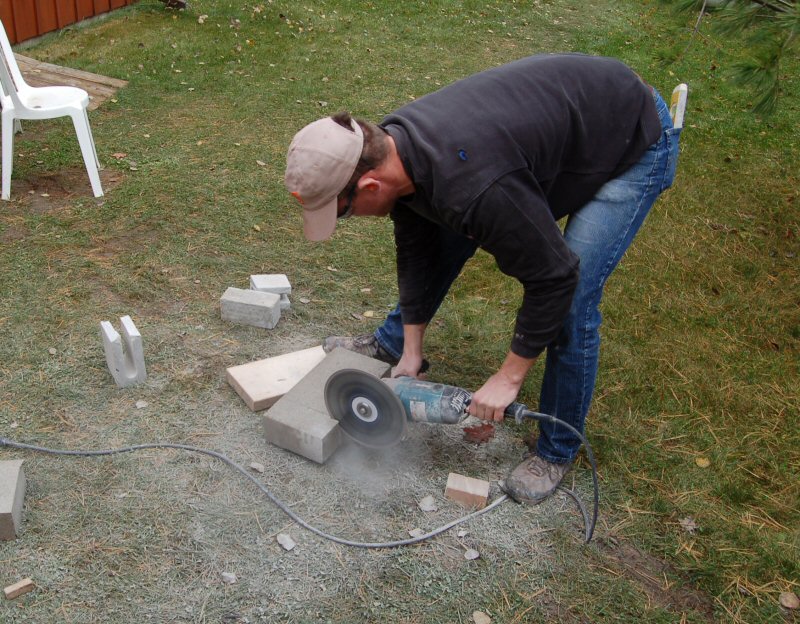
Joel Dick precuts the concrete block facing.

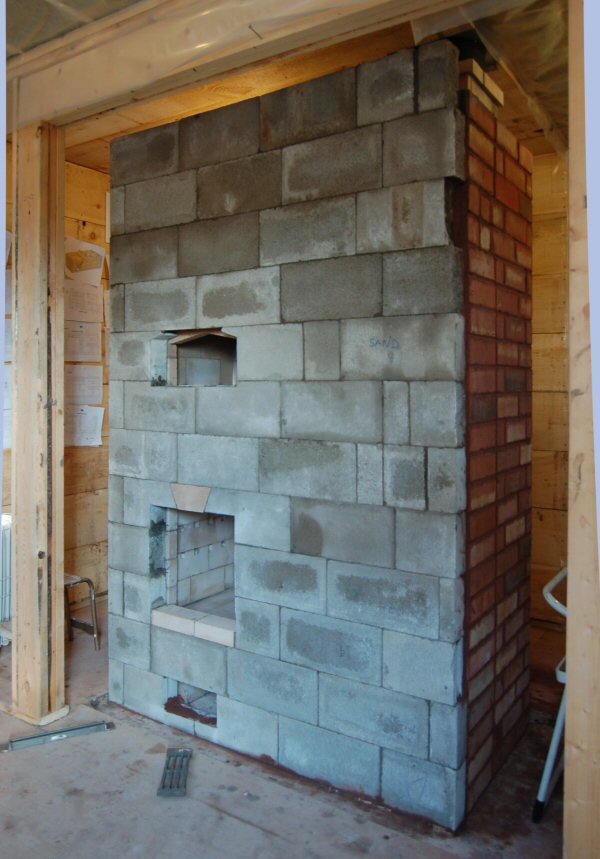
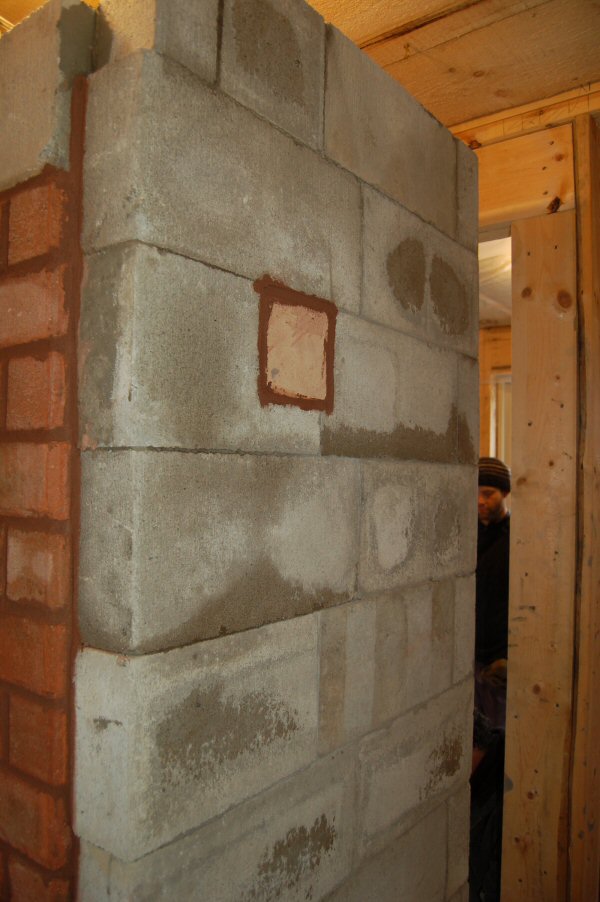
Dry layout of front facing. Half the heater was faced in concrete solid 4" blocks, half in clay bricks, to allow comparison of heat transfer.
The block facing was laid up in fast thinset, which sets up in half an hour.
Note the tight joints.
The brick facing is laid up in Redart/sand mortar.
The stacked joint in the brick facing covers a similar stacked joint in the core.
This will allow reconfiguration of the updraft channel that connects the two bells.
One way to do a cleanout opening. The firebrick plug is set in clay/sand mortar.

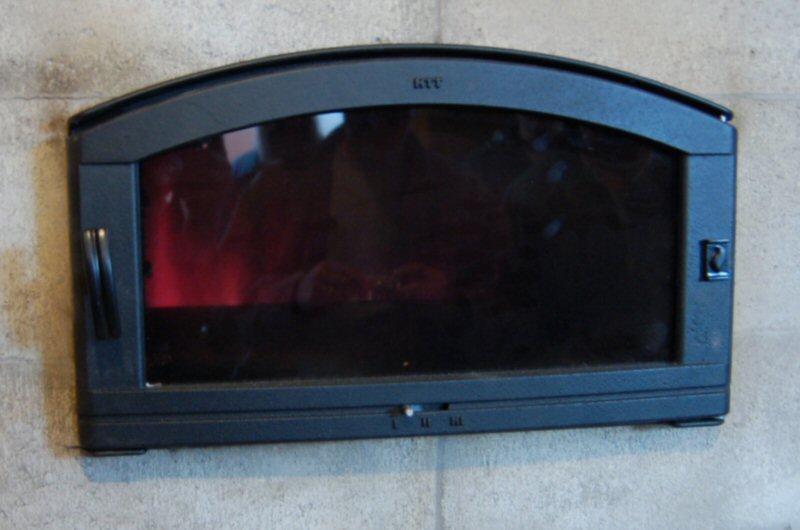
Installing the Pisla 501 firebox door.
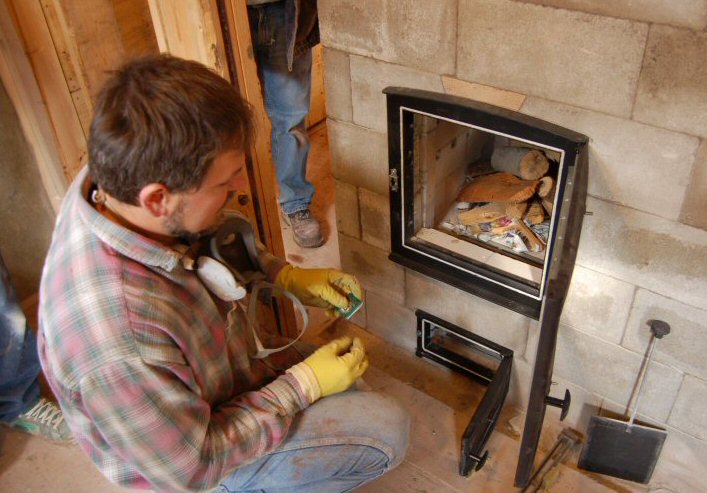
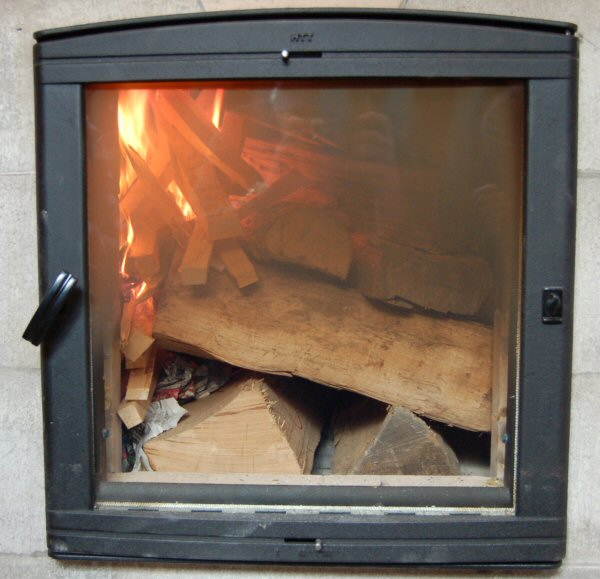
Lighting the curing fire.
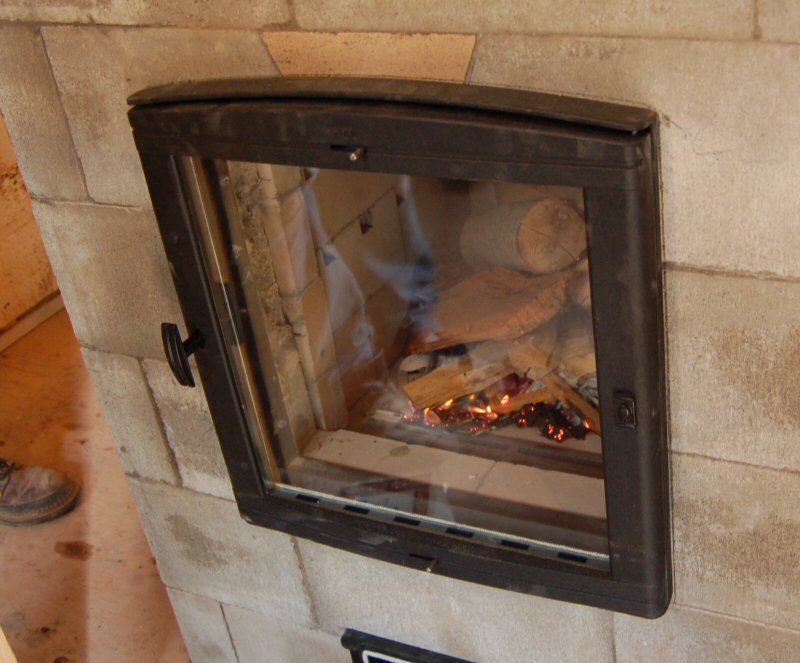
Everything was cold and wet, making the fire slow to start.
It took a few extra minutes to get going, but drafted immediately and started clean, with minimal smoke from the chimney.
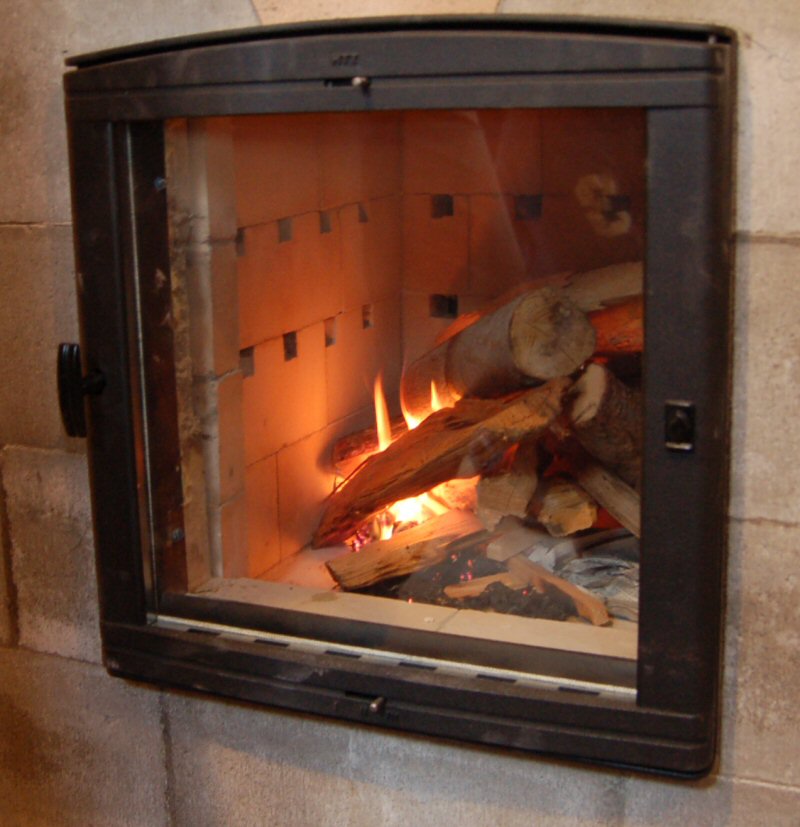
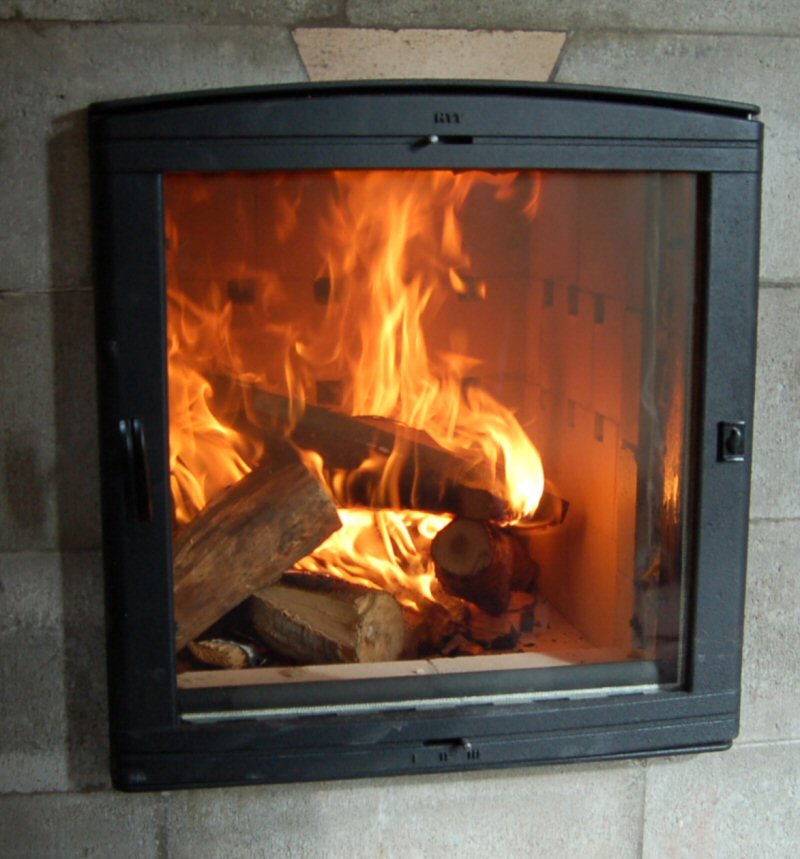
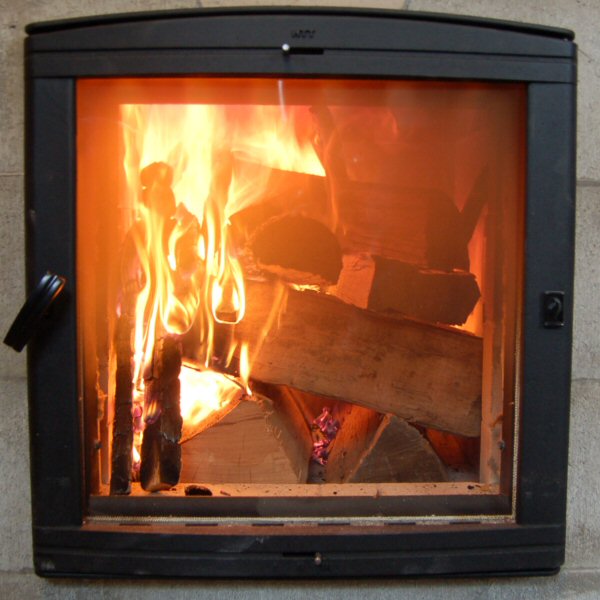
Burning well after 10 minutes.
Air intake is through the ashbox door, which is left wide open.
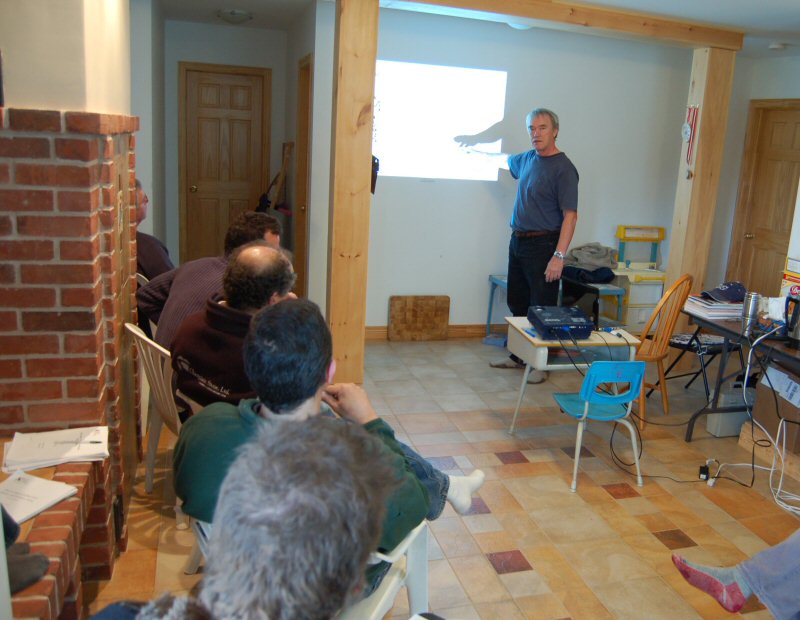
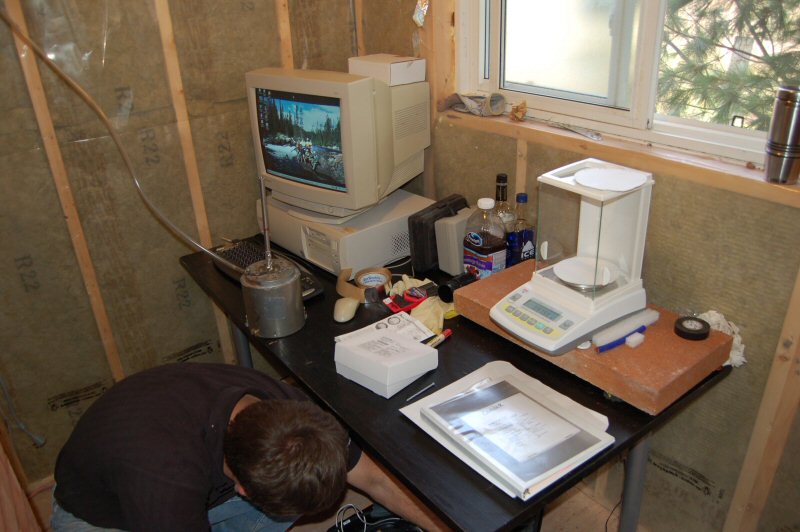
While the heater was warming up with the first fire, we looked at some previous testing results from Lopez Labs.
including a Web page of example burns demonstrating various conditions.
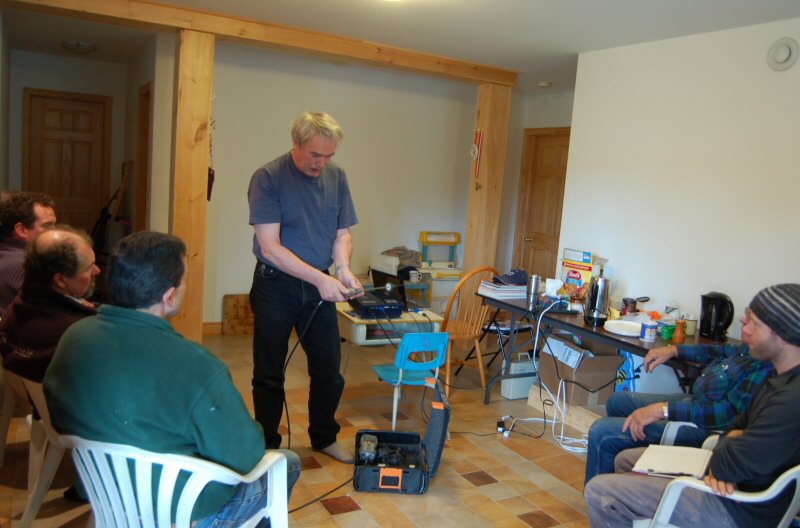
Demonstrating the Testo 330-2 flue gas analyzer.
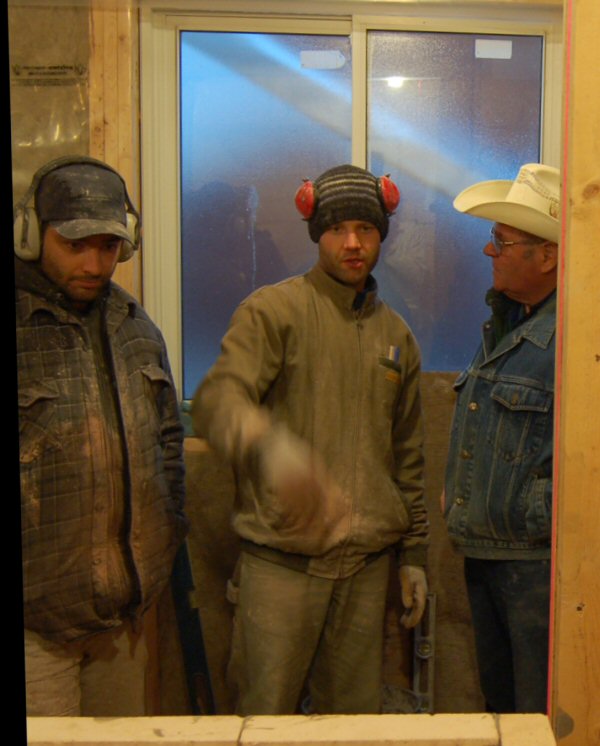
October 27/09: Discussion with Lars Helbro about measuring particulates with the Condar method
This was the second classroom session on the testing component.
The first session was on theory.
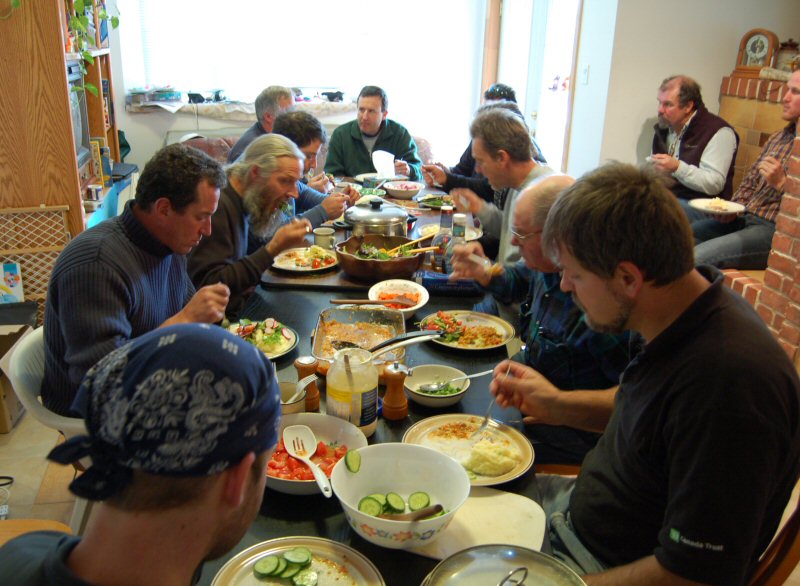
Alex's mother-in-law cooked fabulous Russian lunches for all three days.
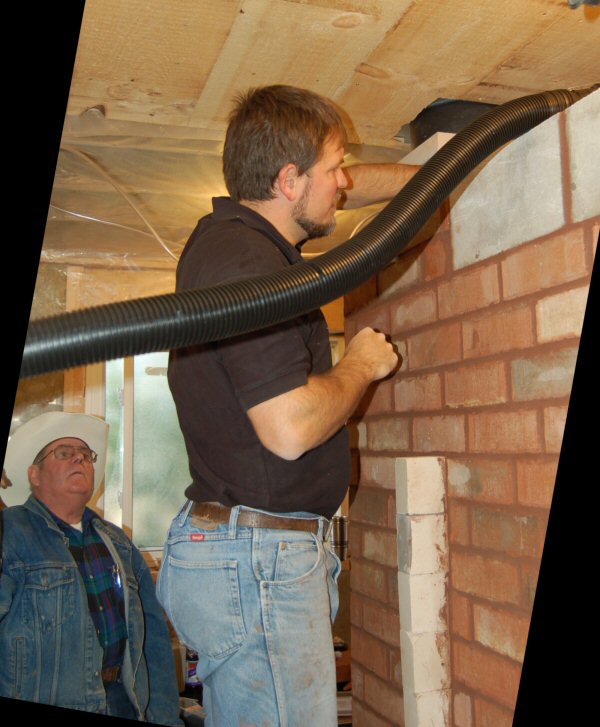
After construction cleanup, setting up the testing gear.
Pressure tap into the chimney for the Condar portable dilution tunnel

Recording fuel load data.
Each piece is weighed individually. A moisture reading was taken from 3 pieces on a split face and averaged.
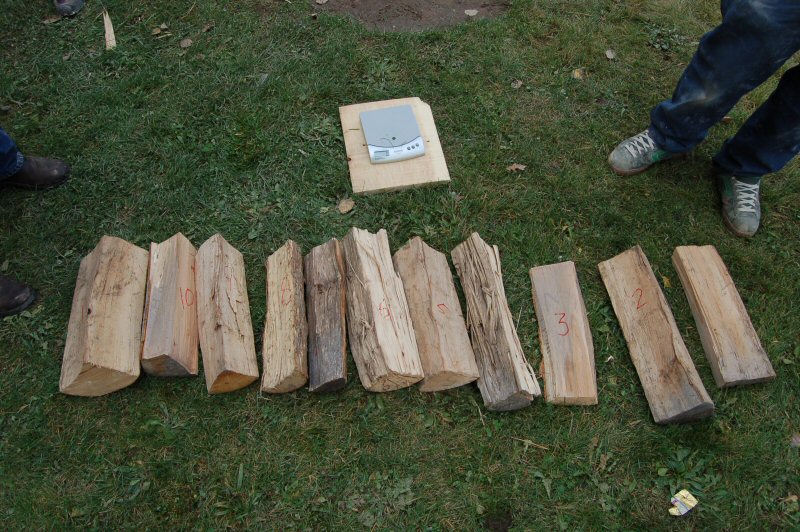
Fuel load. Pieces are numbered 1 - 11, from right to left.
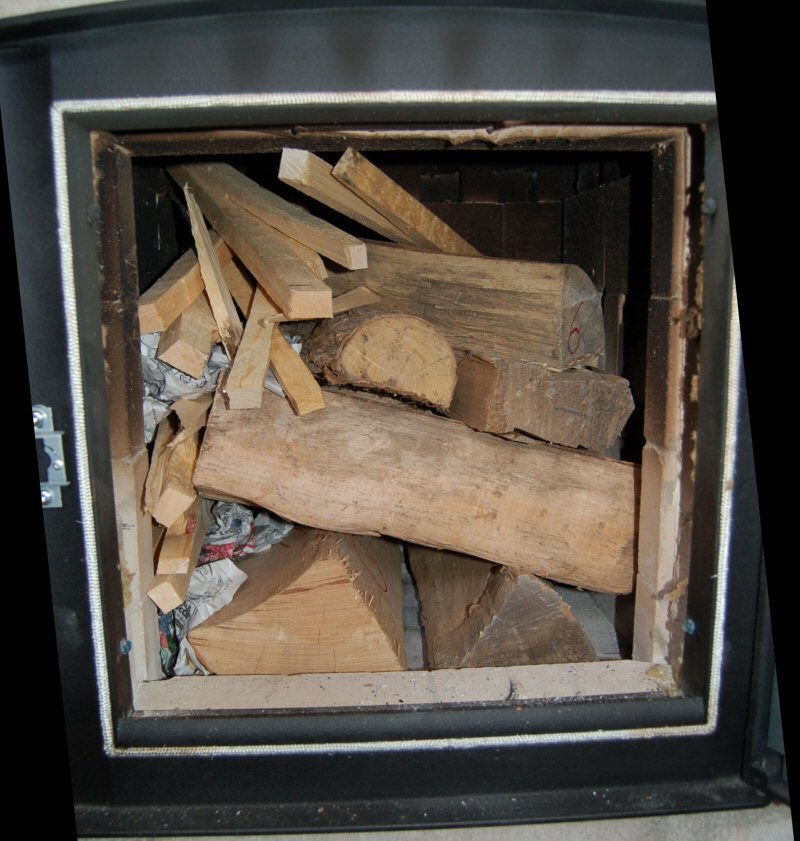
Fuel load stacked in heater, ready for the test.
The firebox was quite warm, and the wood was at 14% moisture.
Kindling from the side, with top ignition.
Vacuum hose to the Condar.
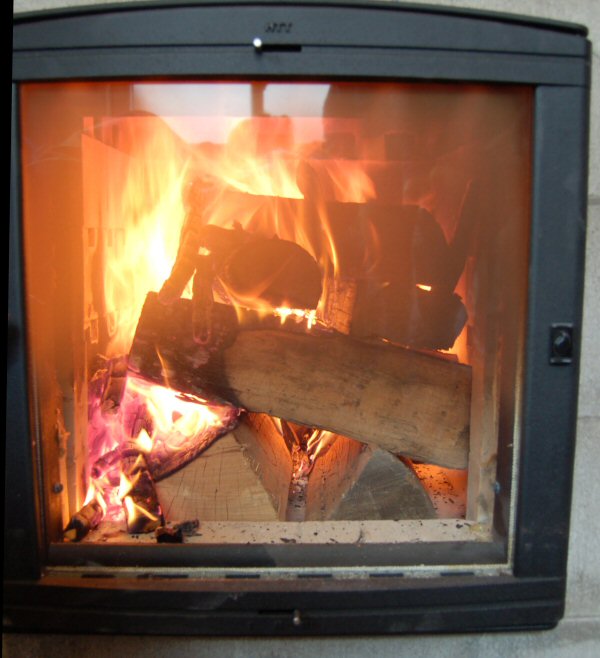
Just after ignition. The fire started fast, because of the warm firebox and dry wood.
Nice staged start.
Flames visible through oven door.
Workshop Participants:
1) Steve Bushway
2) Joel Dick
3) Tristan Lebreton
4) Colin Coveny
5) Carsten Homstead
6) Chris Springer
7) Paul Anderson
8) Doug Mayer
9) Jerry Frisch
10) Jim Frisch
11) Mathew Froud
12) Richard Porter
Instructors:
Alex Chernov
Norbert Senf
Check back for test results.
Initial indications were of an excellent burn:
- almost no smoke at startup
- low CO, low oxygen, low stack temperature, high efficiency.
October 27/09: Discussion with Lars Helbro about measuring particulates with the Condar method
October 28/09: Workshop Feedback from Chris Springer
Nov 1/09: Preliminary Test Results from Alex Chernov
Nov 1/09: Technical Discussion with Dave Misiuk on Efficiency Definition and 95% Oxygen Recovery |