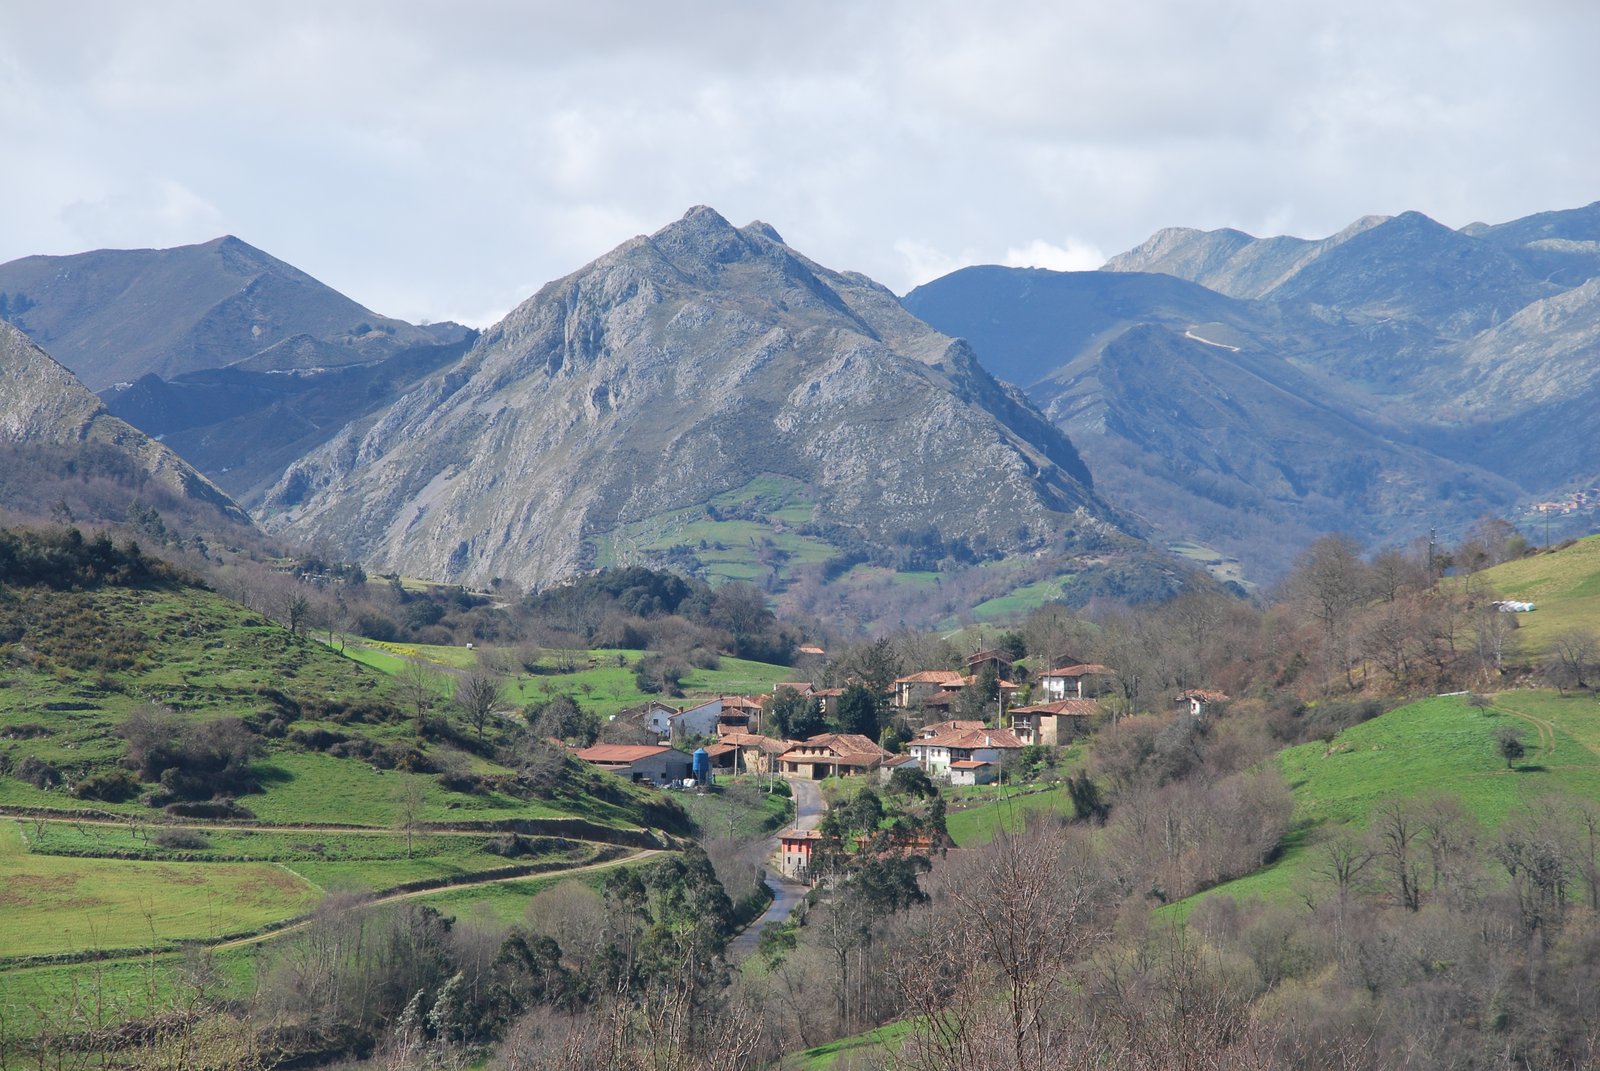
The lay of the land.
The following notes outline the construction of a bell cookstove in the village of El Mazuco .
For more detailed notes see:
Bell Cookstove.
Bell cookstove Construction Notes.
Cocina Economica. El Mazuco
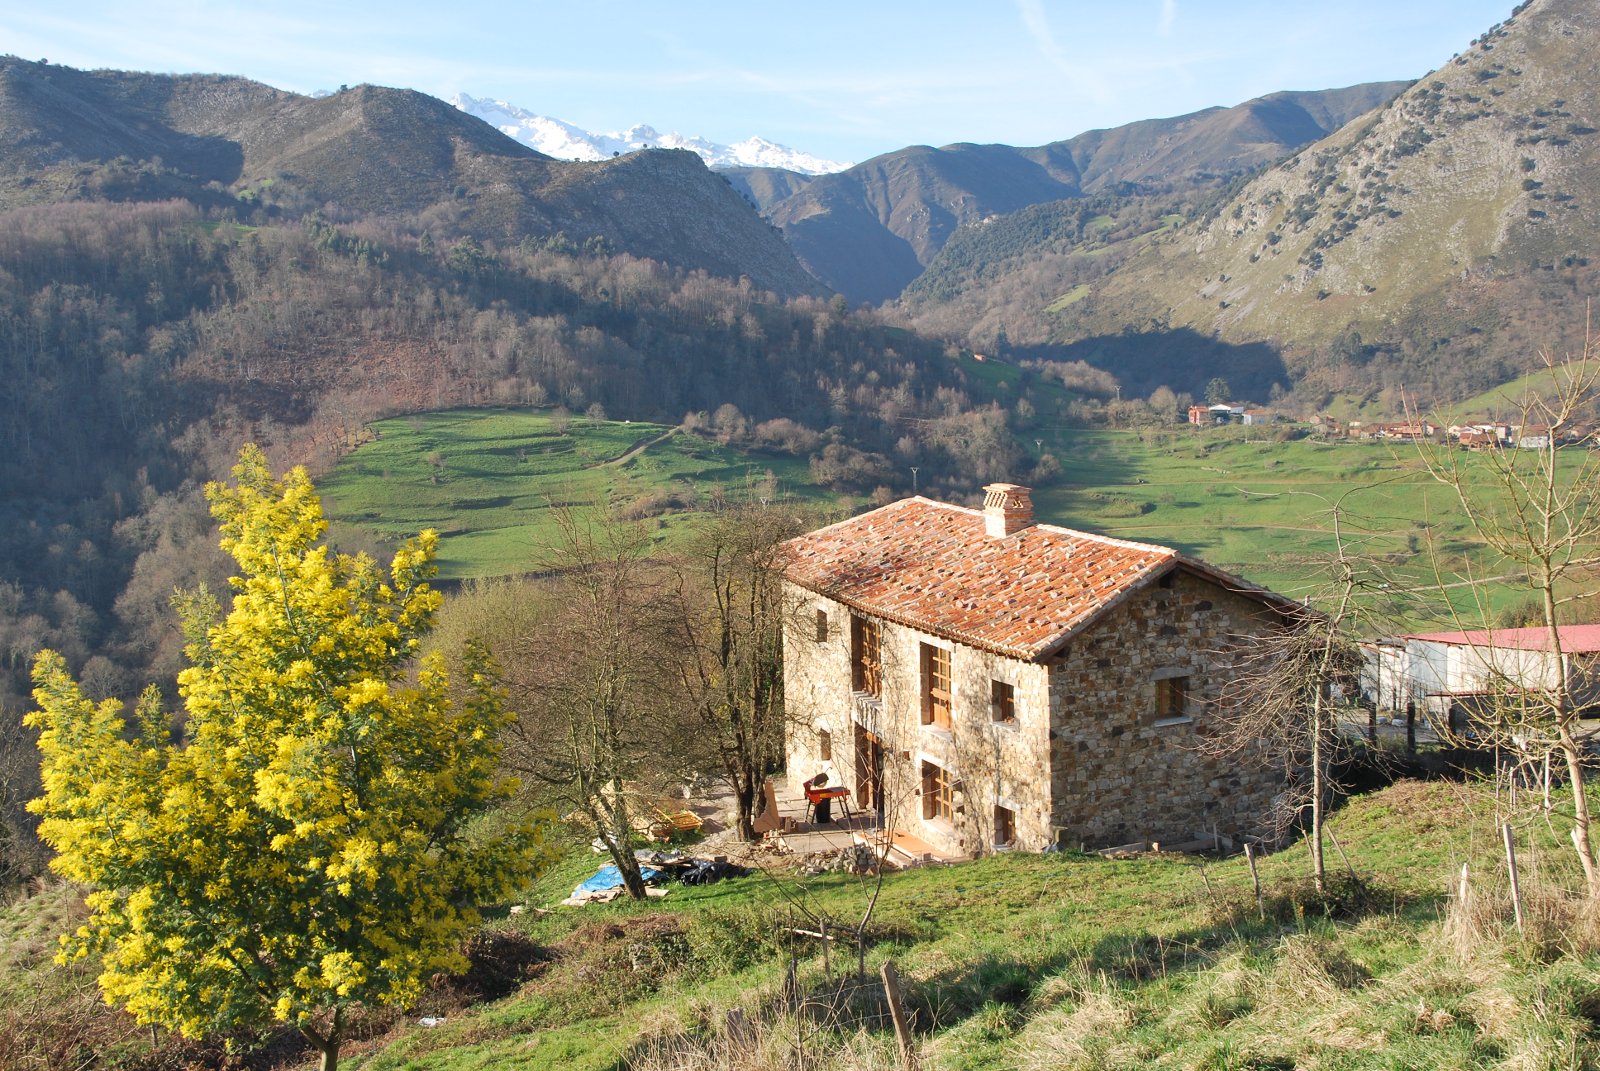
The site, in the Sierra de Cuera, beneath Los Picos De Europa. 7 km, as the crow flies, from the Cantabrian Sea on the Atlantic coast.
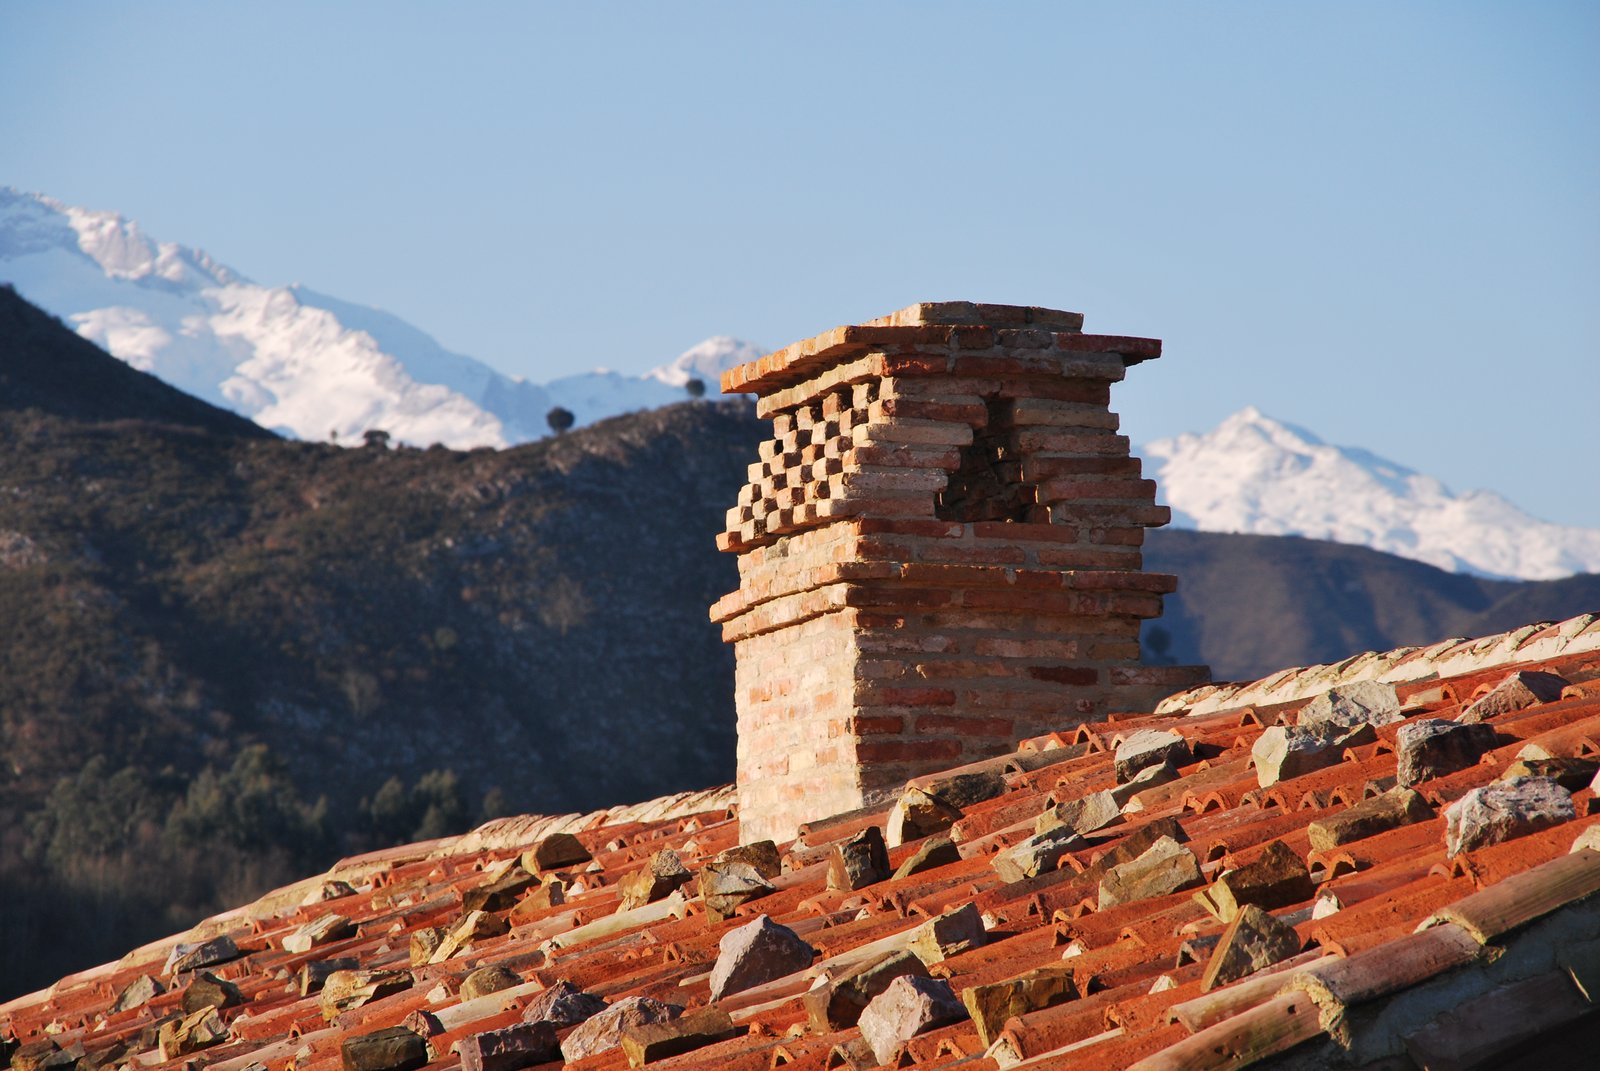
The chimney built by Benaissa Sefiane will serve both a contra-flow masonry heater and the cookstove.
Materials
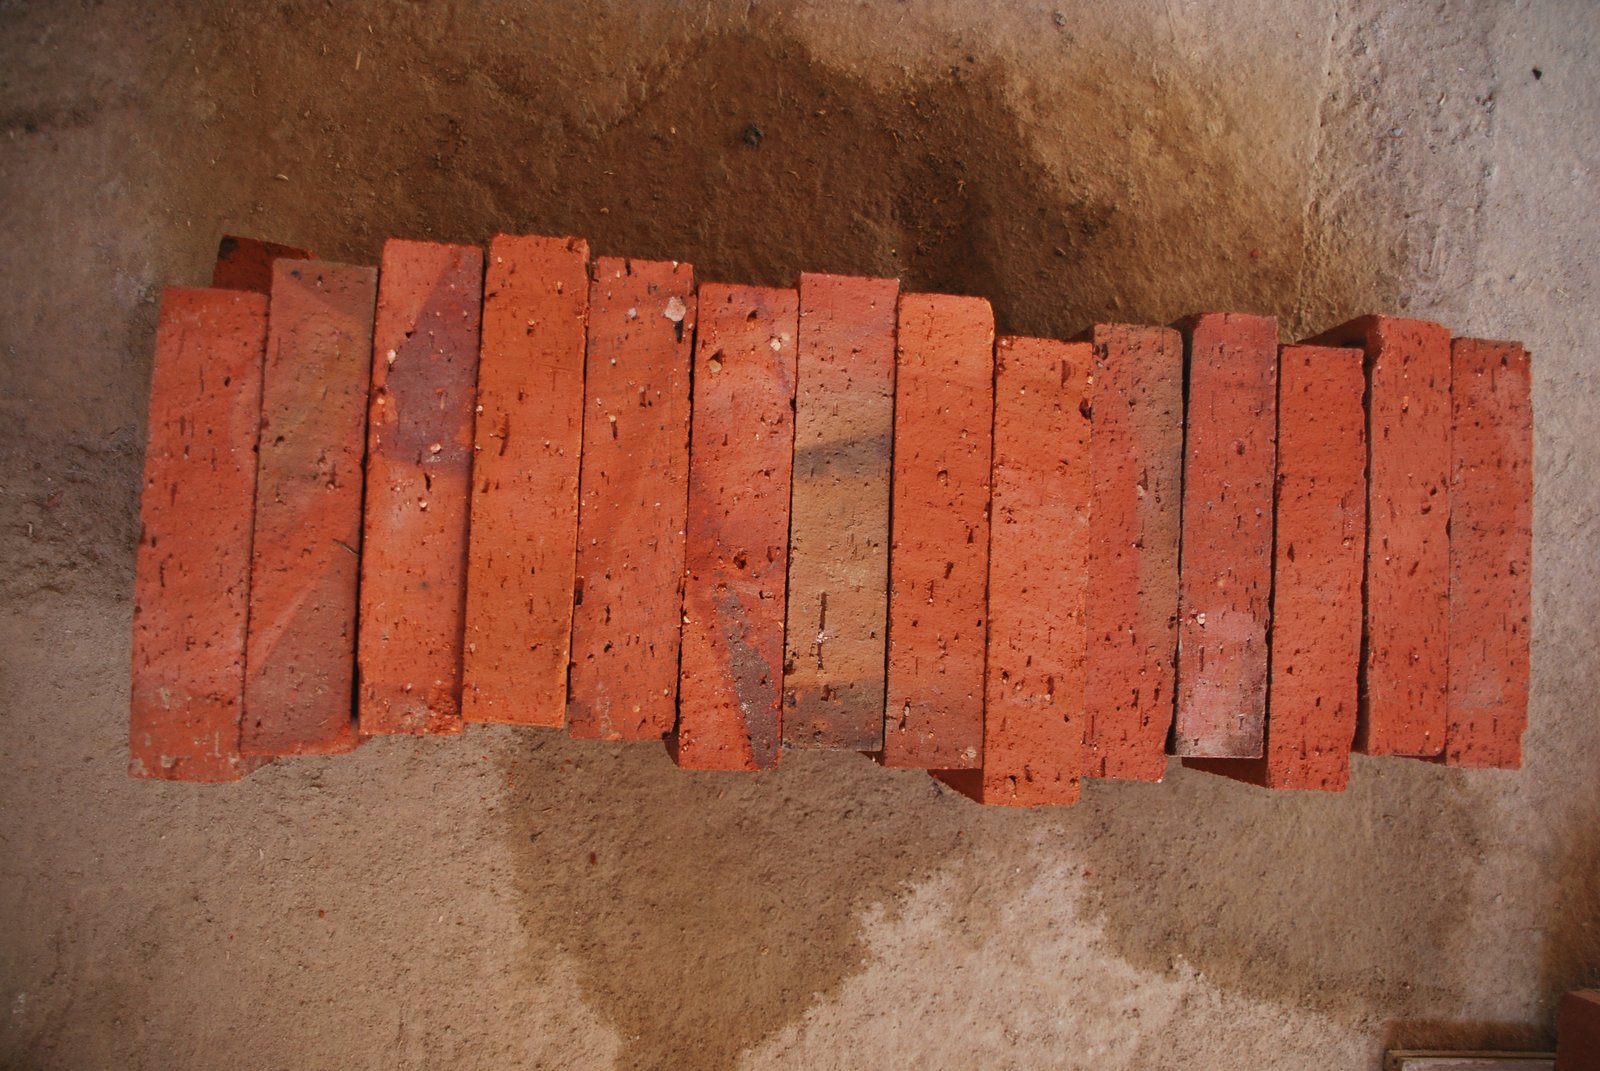
Facing Brick:
Made in Segovia, extruded and wire cut across the face.
Facing mortar:
1.5 sand, 1.5 crushed stone dust, 1 hydrated lime.
Extremely fine yellow sand was mixed with course stone dust in equal proportions as there was no alternative.
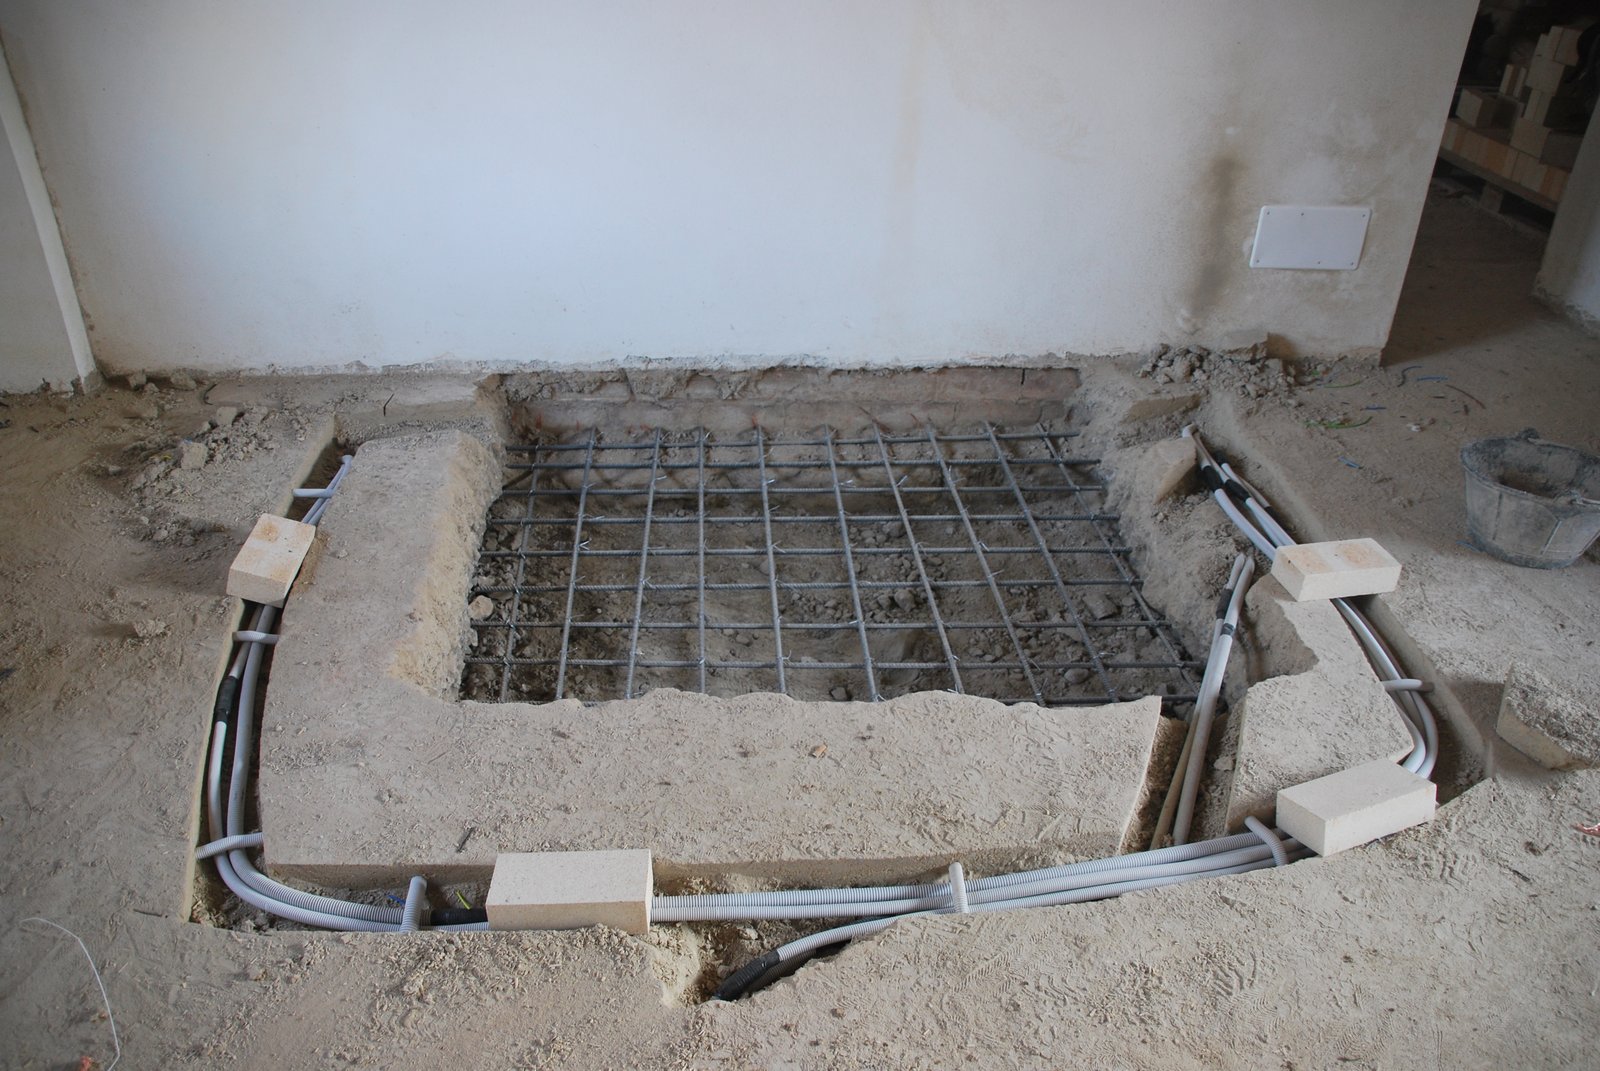
The existing lime, and hemp slab was removed and the electrical wiring re-routed before pouring a reinforced concrete footing.

A chase is cut through the hemp plaster to allow the chimney to be partially recessed in to the wall and the stove to protrude less into the room.
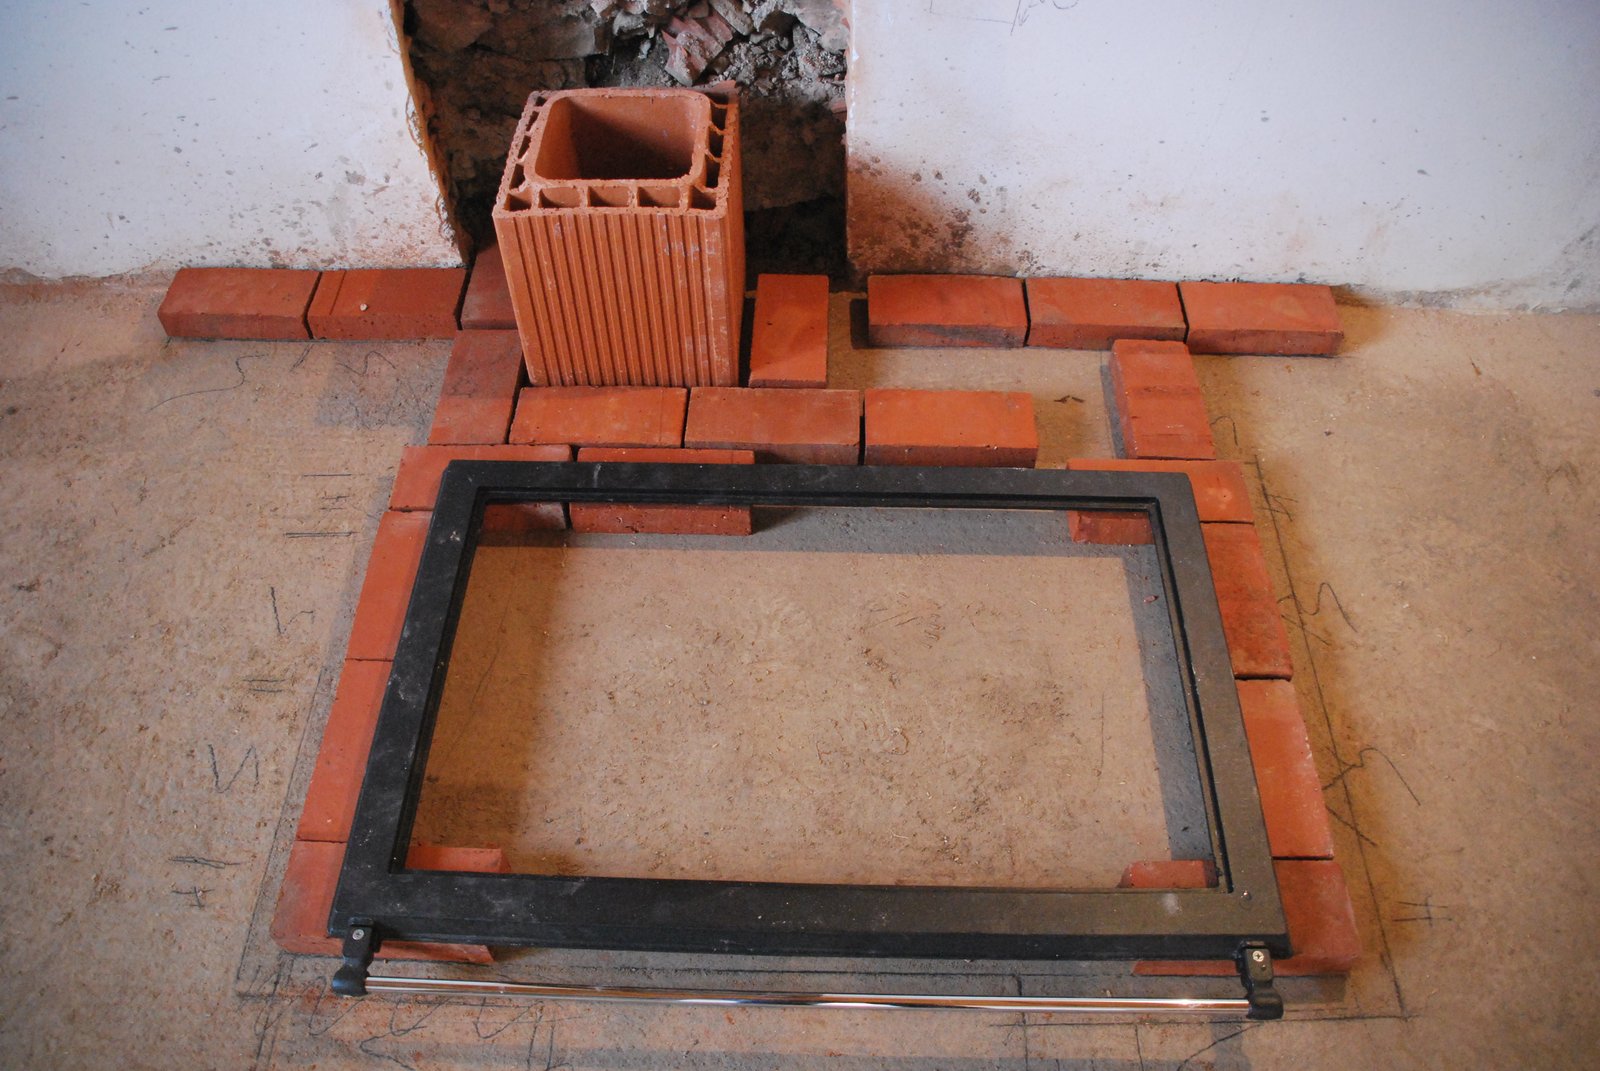
The footprint layout of the stove, chimney and rear wall. It is the dimensions of the cook top that largely dictate the size of the stove. In this case the standard exterior dimensions of the stove are expanded in order to allow room for the stove to be completely double skinned. This, along with omission of the oven provides room for a more robust fire box.
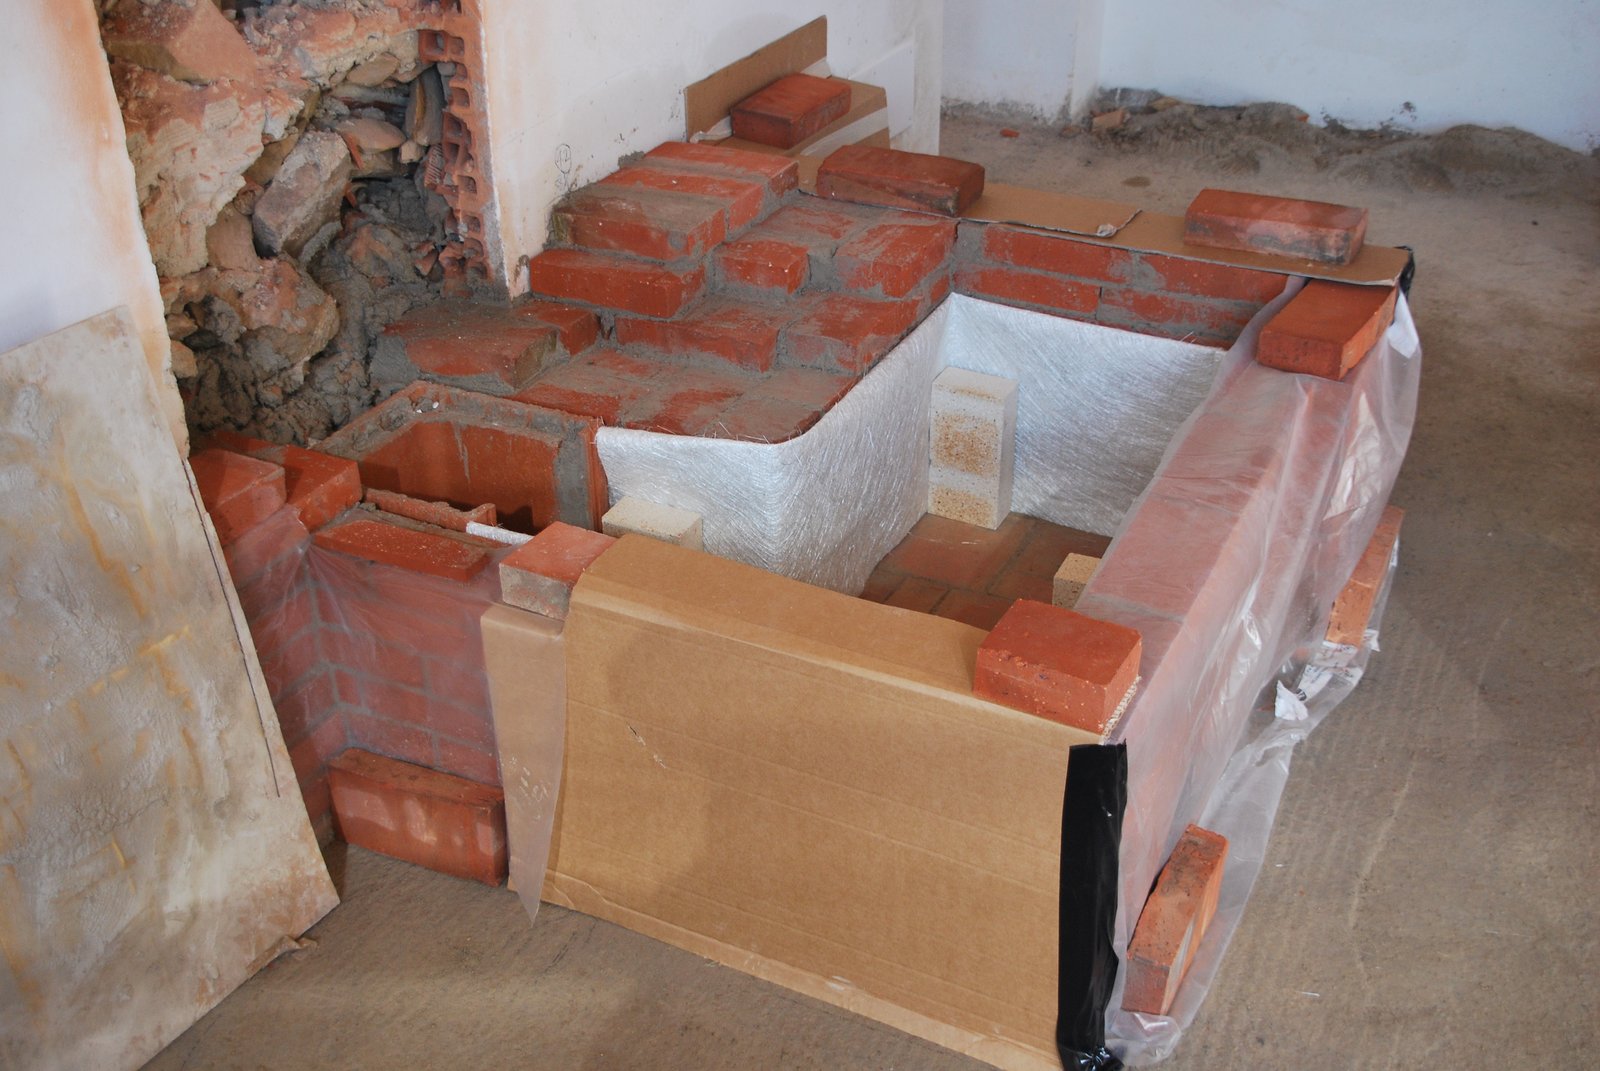
The first 7 courses of facing are layed and protected before building the core.
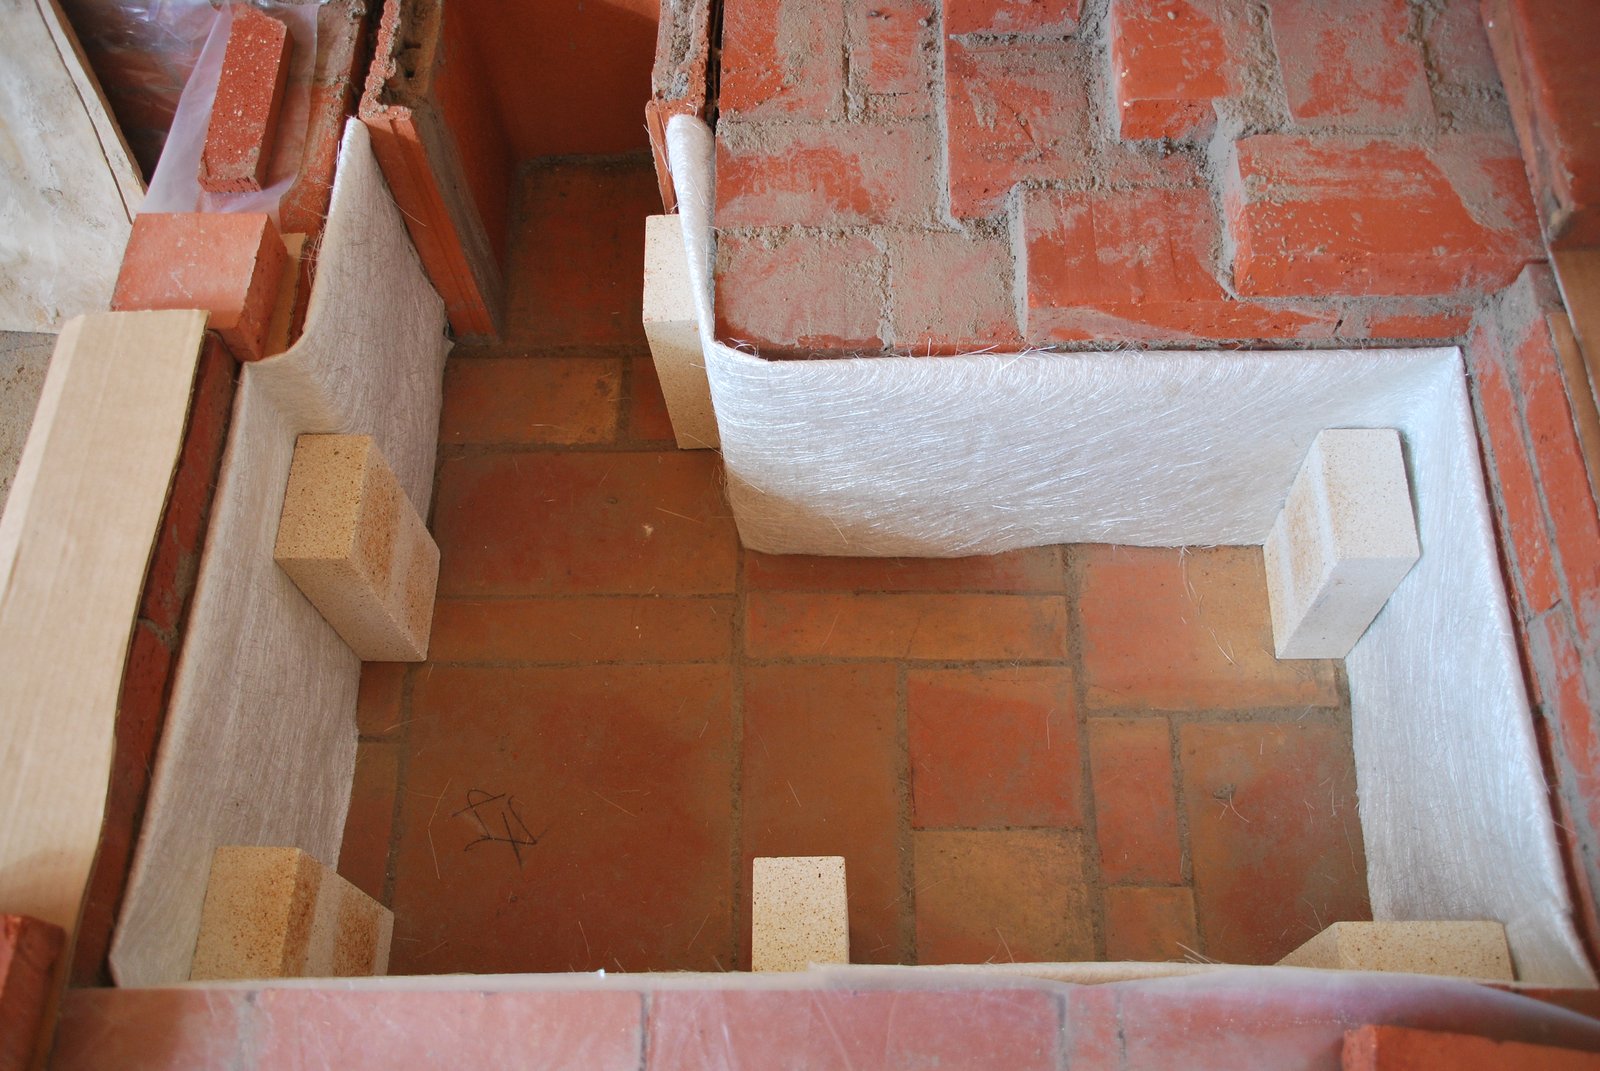
450 g rough woven fiberglass mat is doubled and used as an expansion gasket between the core and facing.
The walls of the bell and its exit into the chimney.
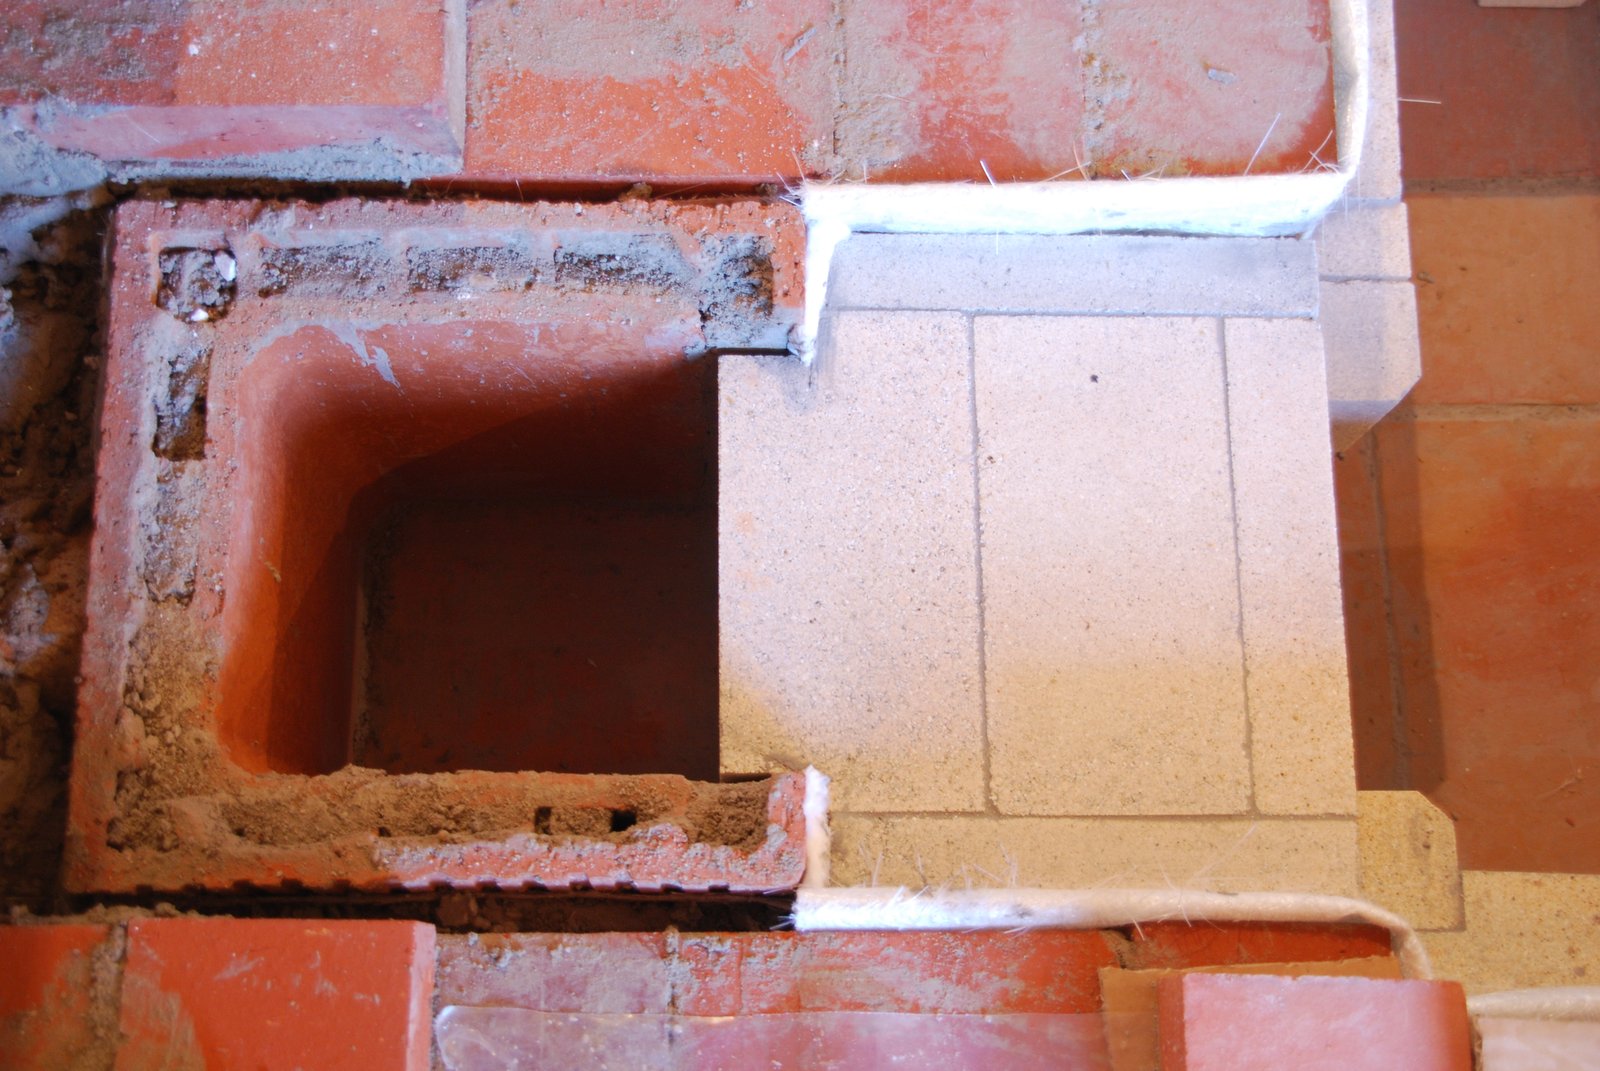
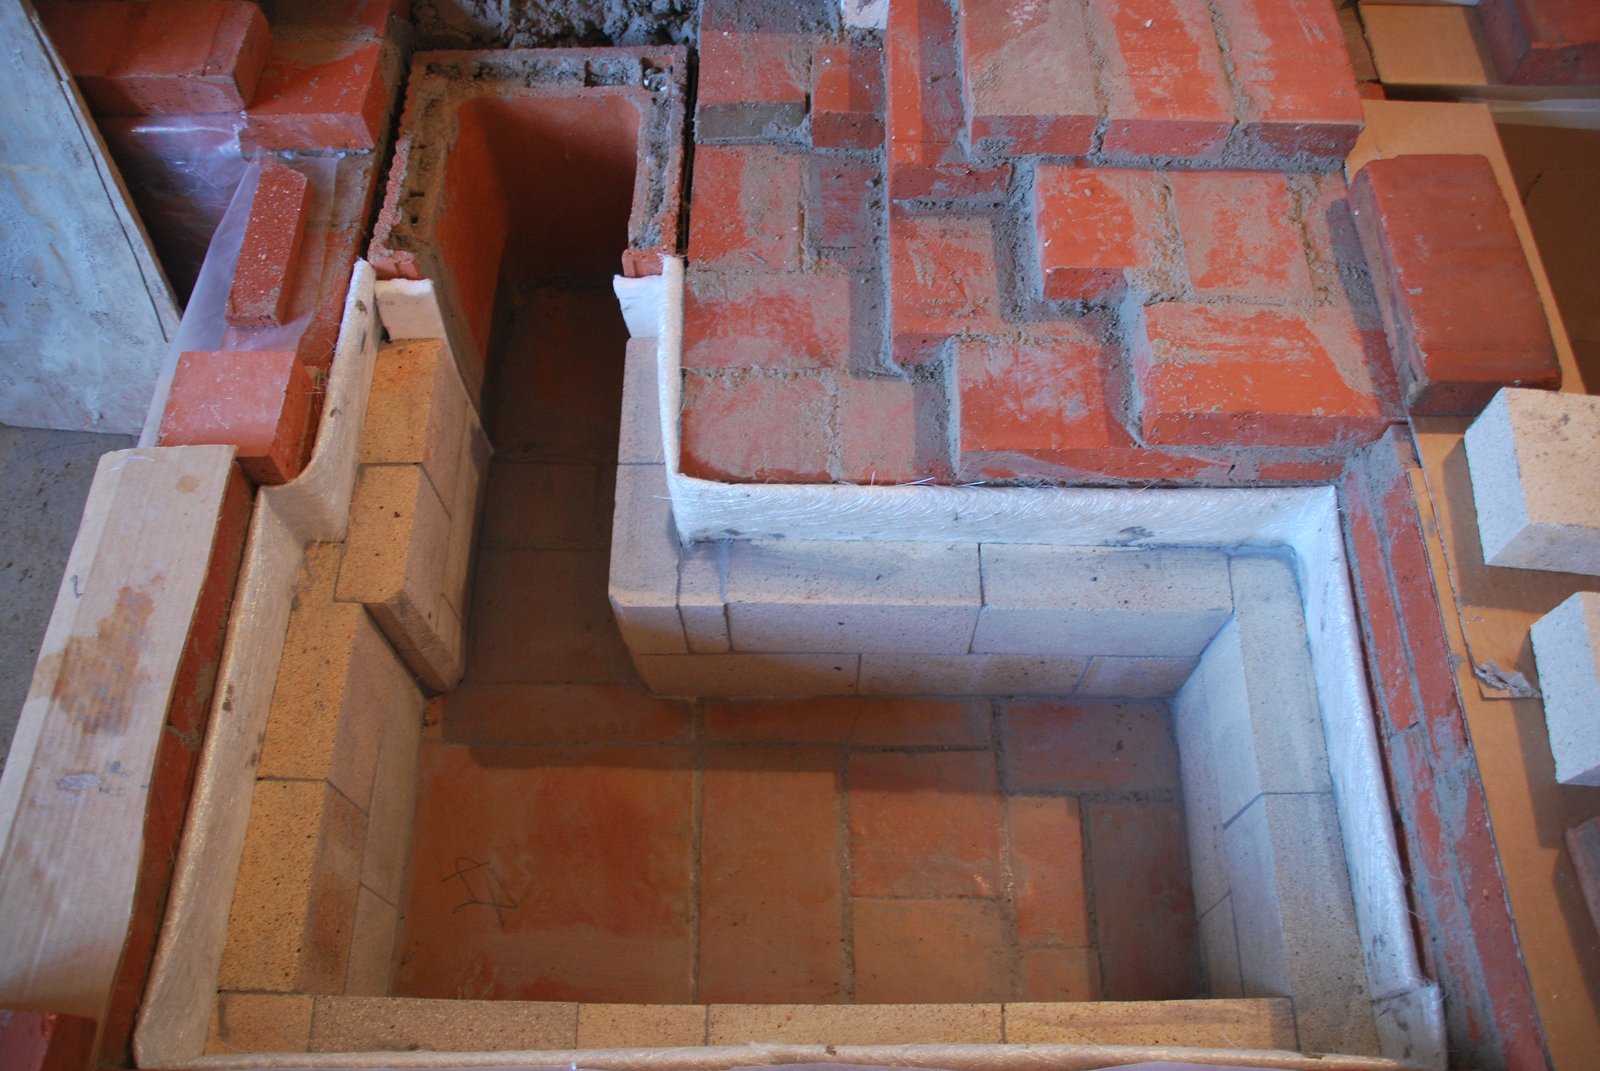
The chimney connection. The flues tiles cores are filled with mortar to increase transfer.
The support pillar and start of the down channel to the right of the bell.

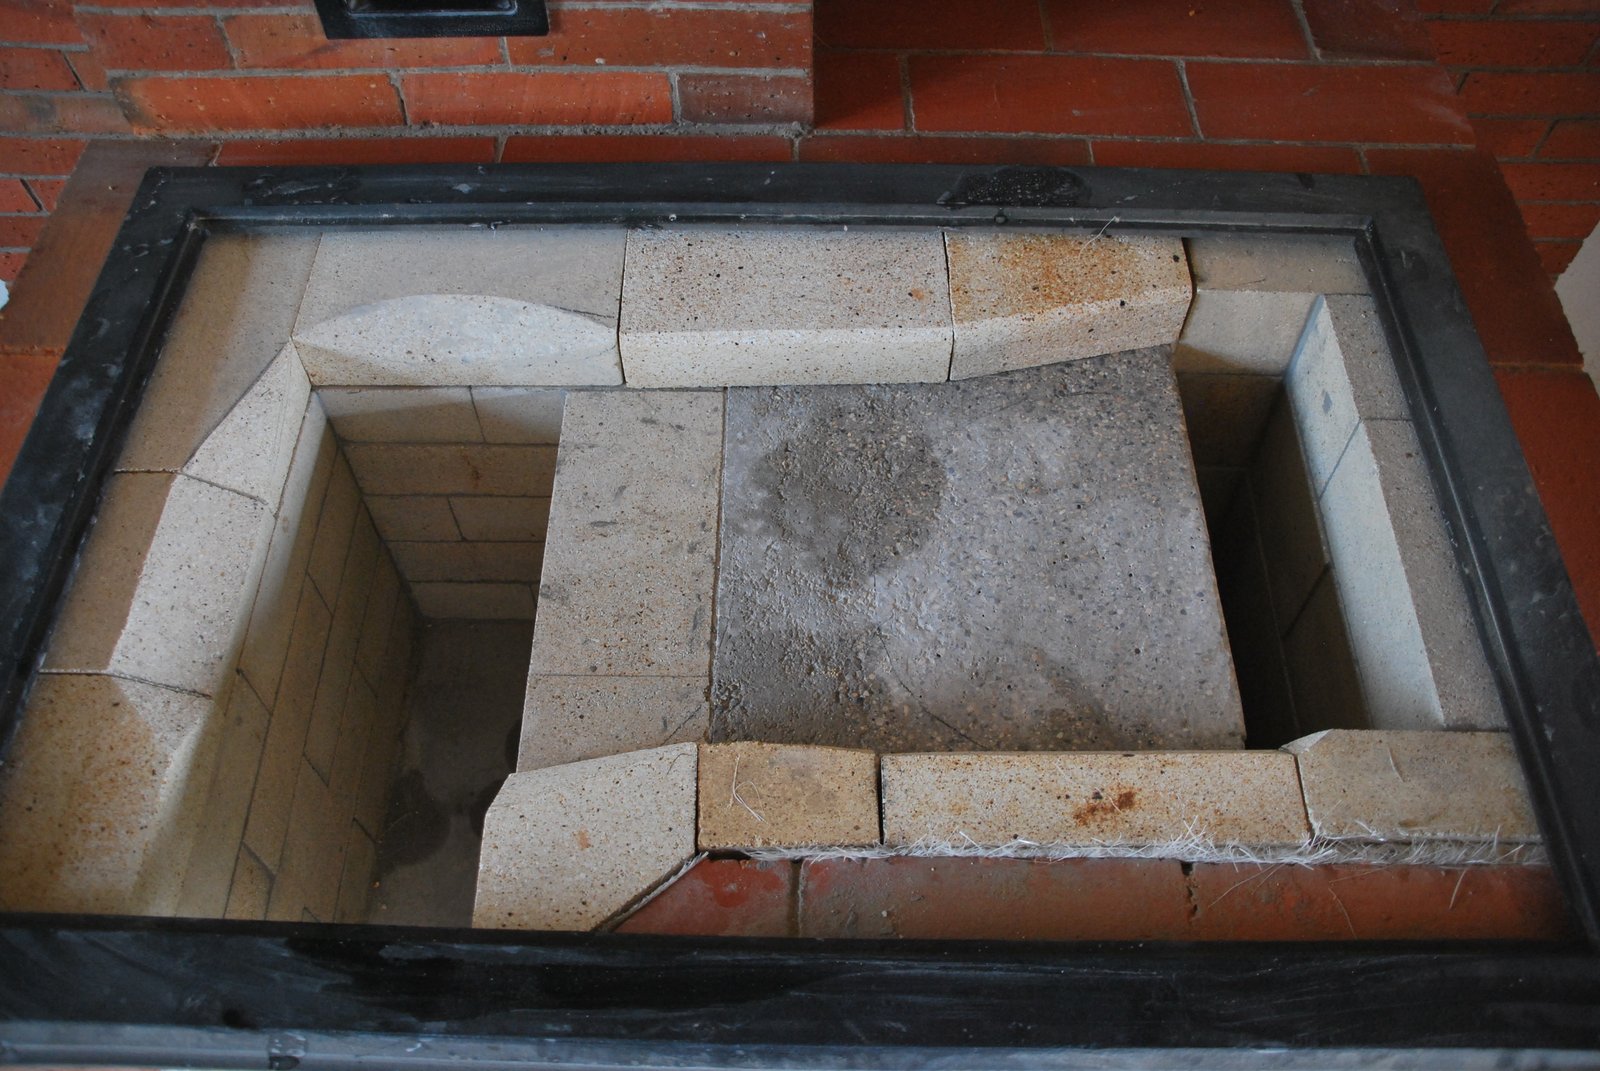
The castable refractory concrete slab on which the fire box will rest. At this point, as the height was available, an extra half course was added to the height of the bell making its ceiling 1 and a half shiner courses above the height of the in- flow and out- flow openings.
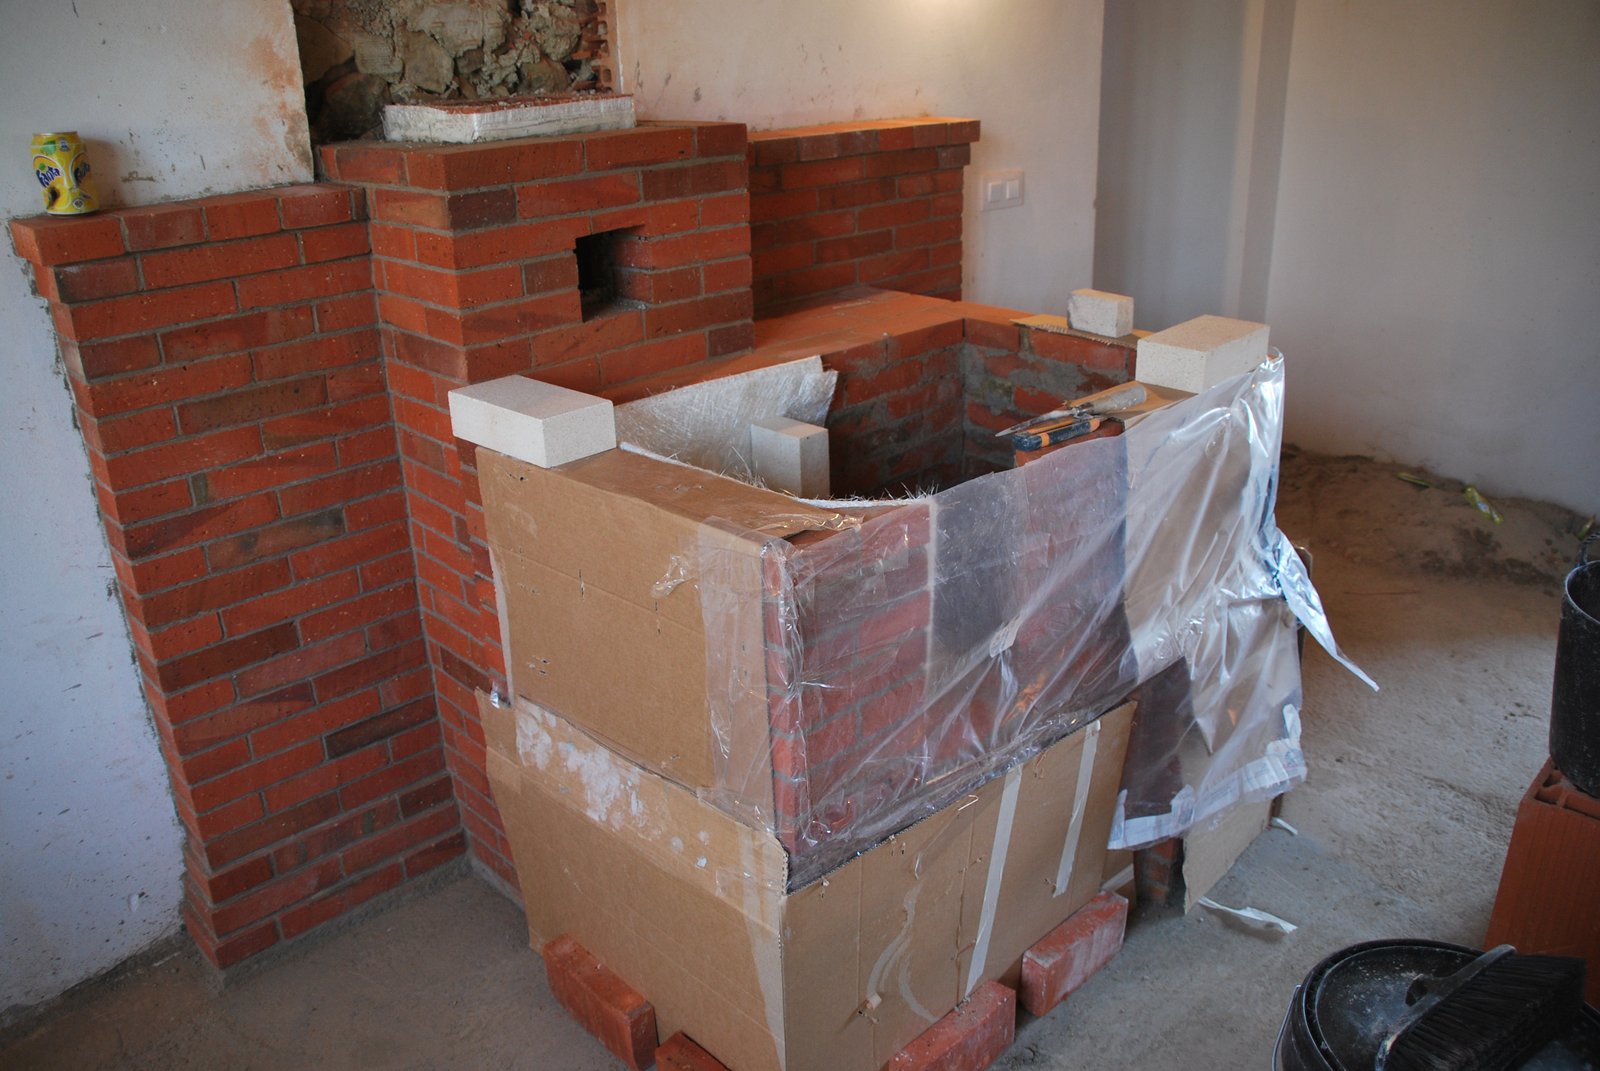
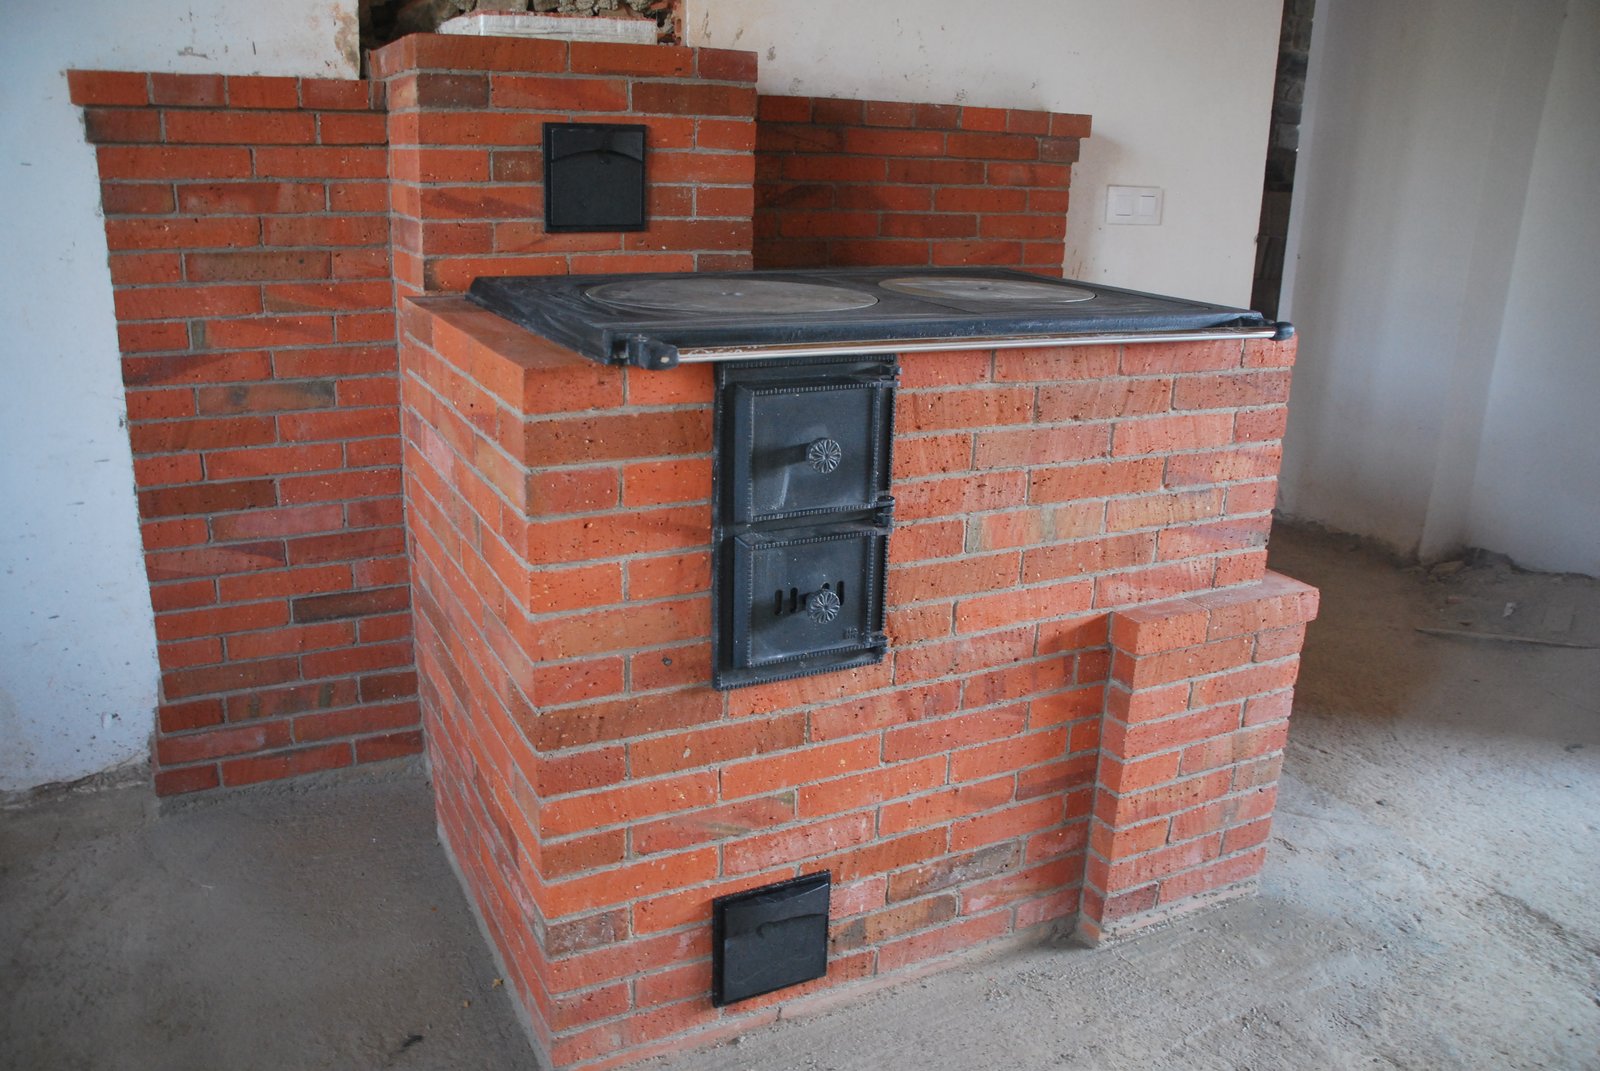
The facing is completed and protected.
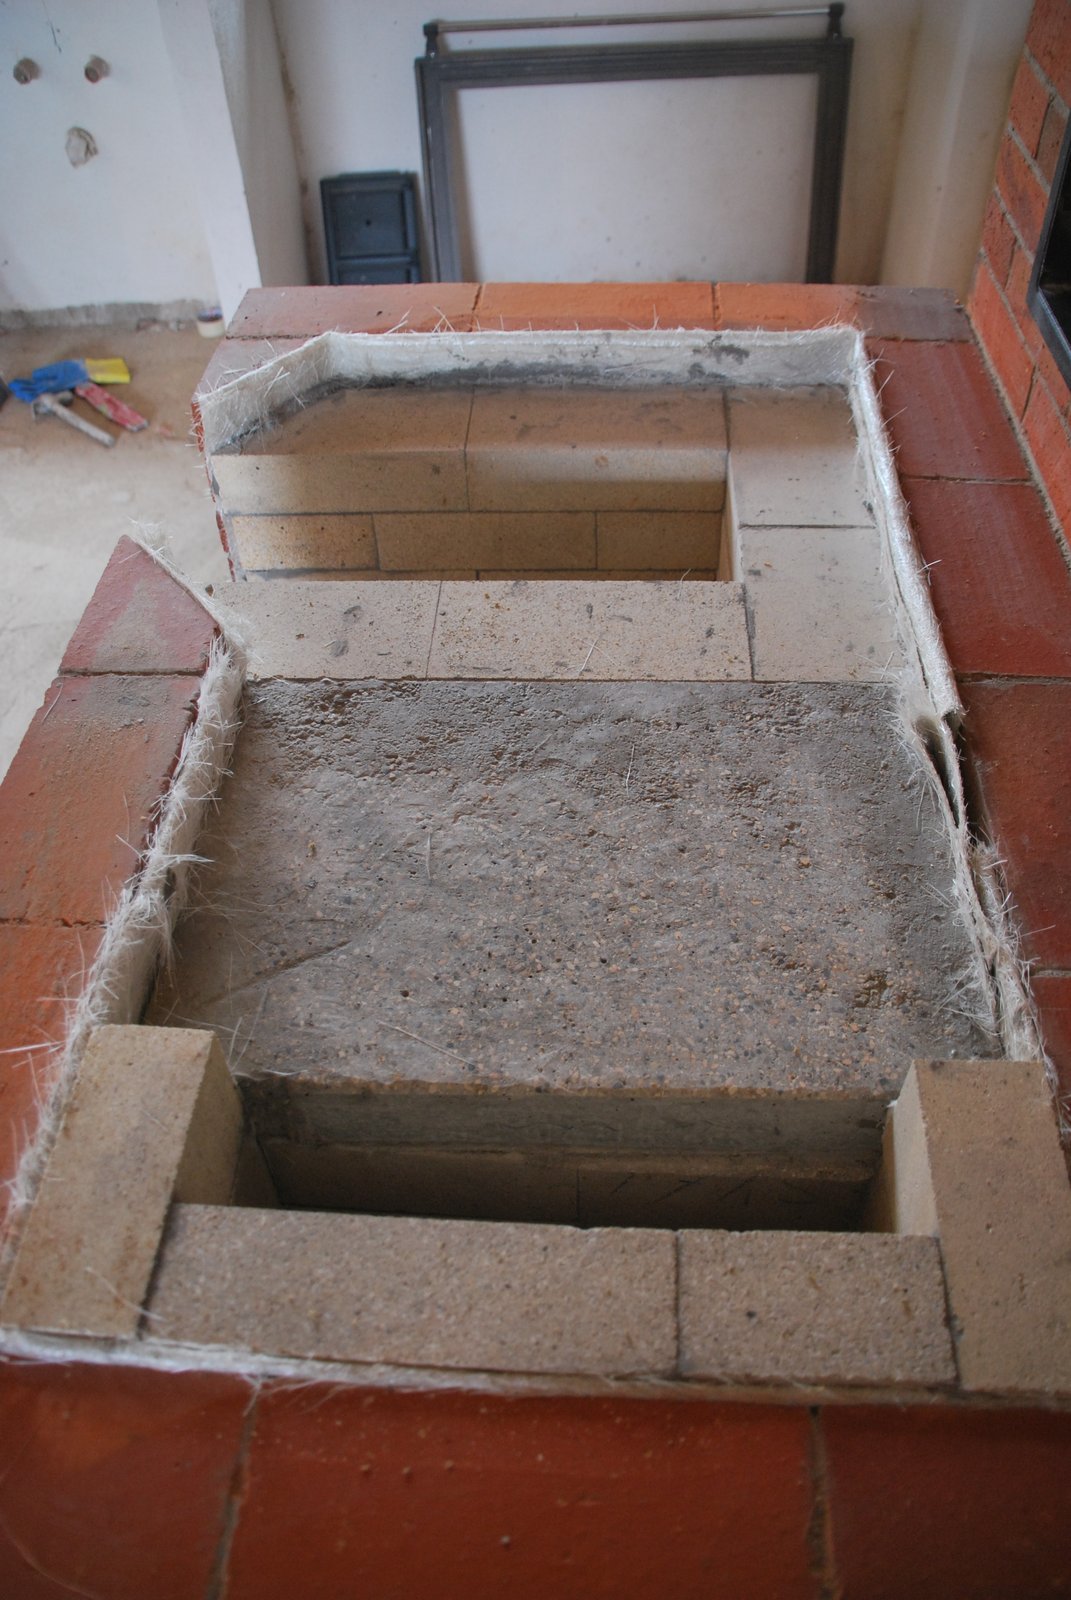
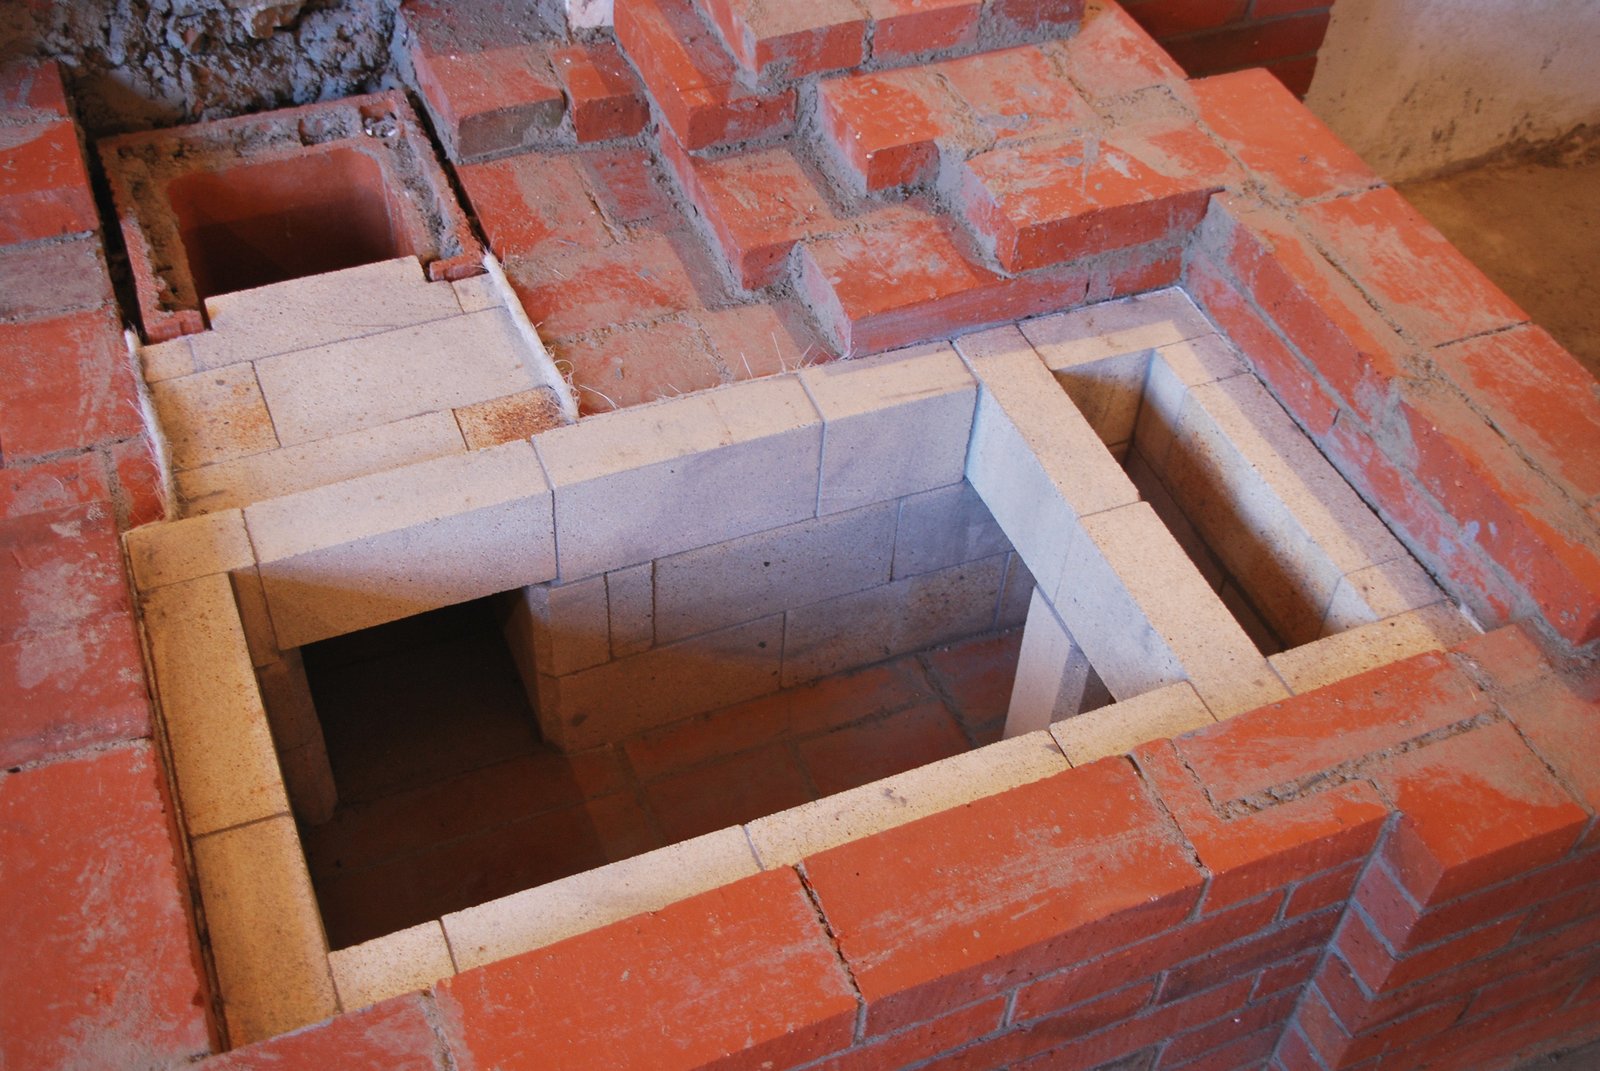
The last course layed in HTC . The final course will be dry layed. The down channel is at bottom, the castable refractory concrete slab of the upper portion of the bell at center, and fire box at top of image.
A detailed description of what is not outlined in these notes, i.e. construction of the fire box and upper portion of the bell, can be found on the links at the top of the page.
A detailed description of what is not outlined in these notes, i.e. construction of the fire box and upper portion of the bell, can be found on the links at the top of the page.

The cook top frame is placed on the stove multiple times during its construction to assure that everything synchronizes as envisioned. No. 1 plate should ideally be slightly to the rear and down stream of the center of the fire box.
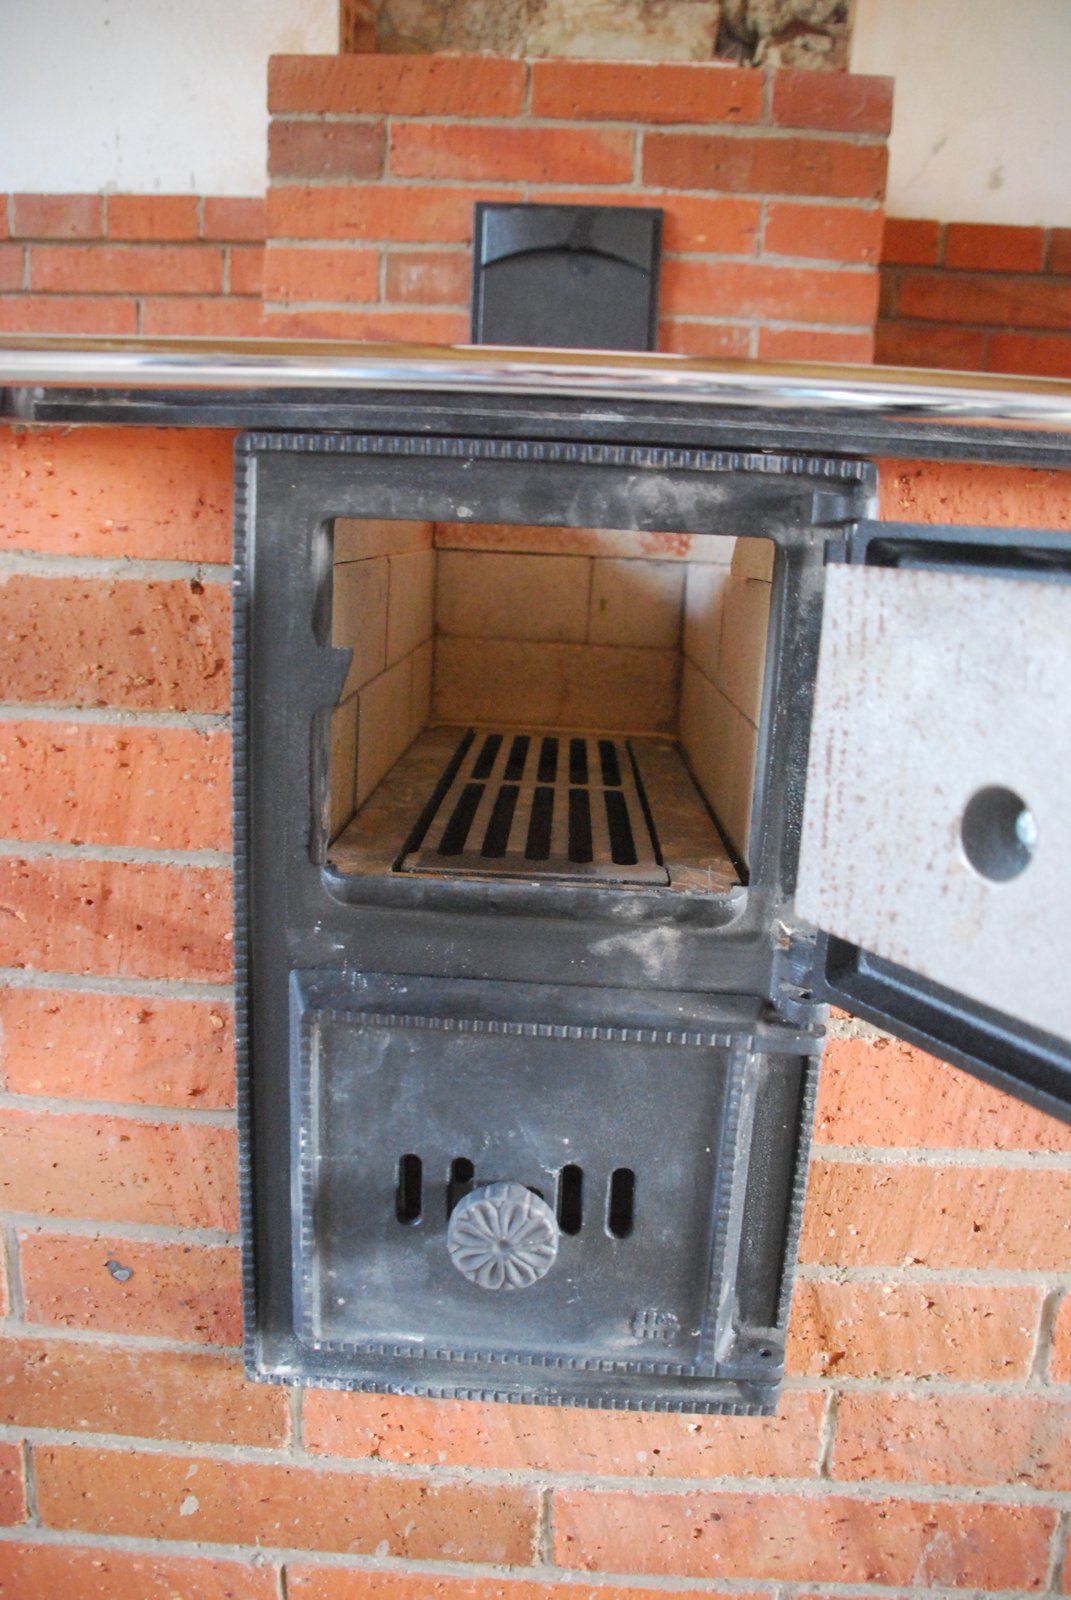
The fire box – ash box door and grate.
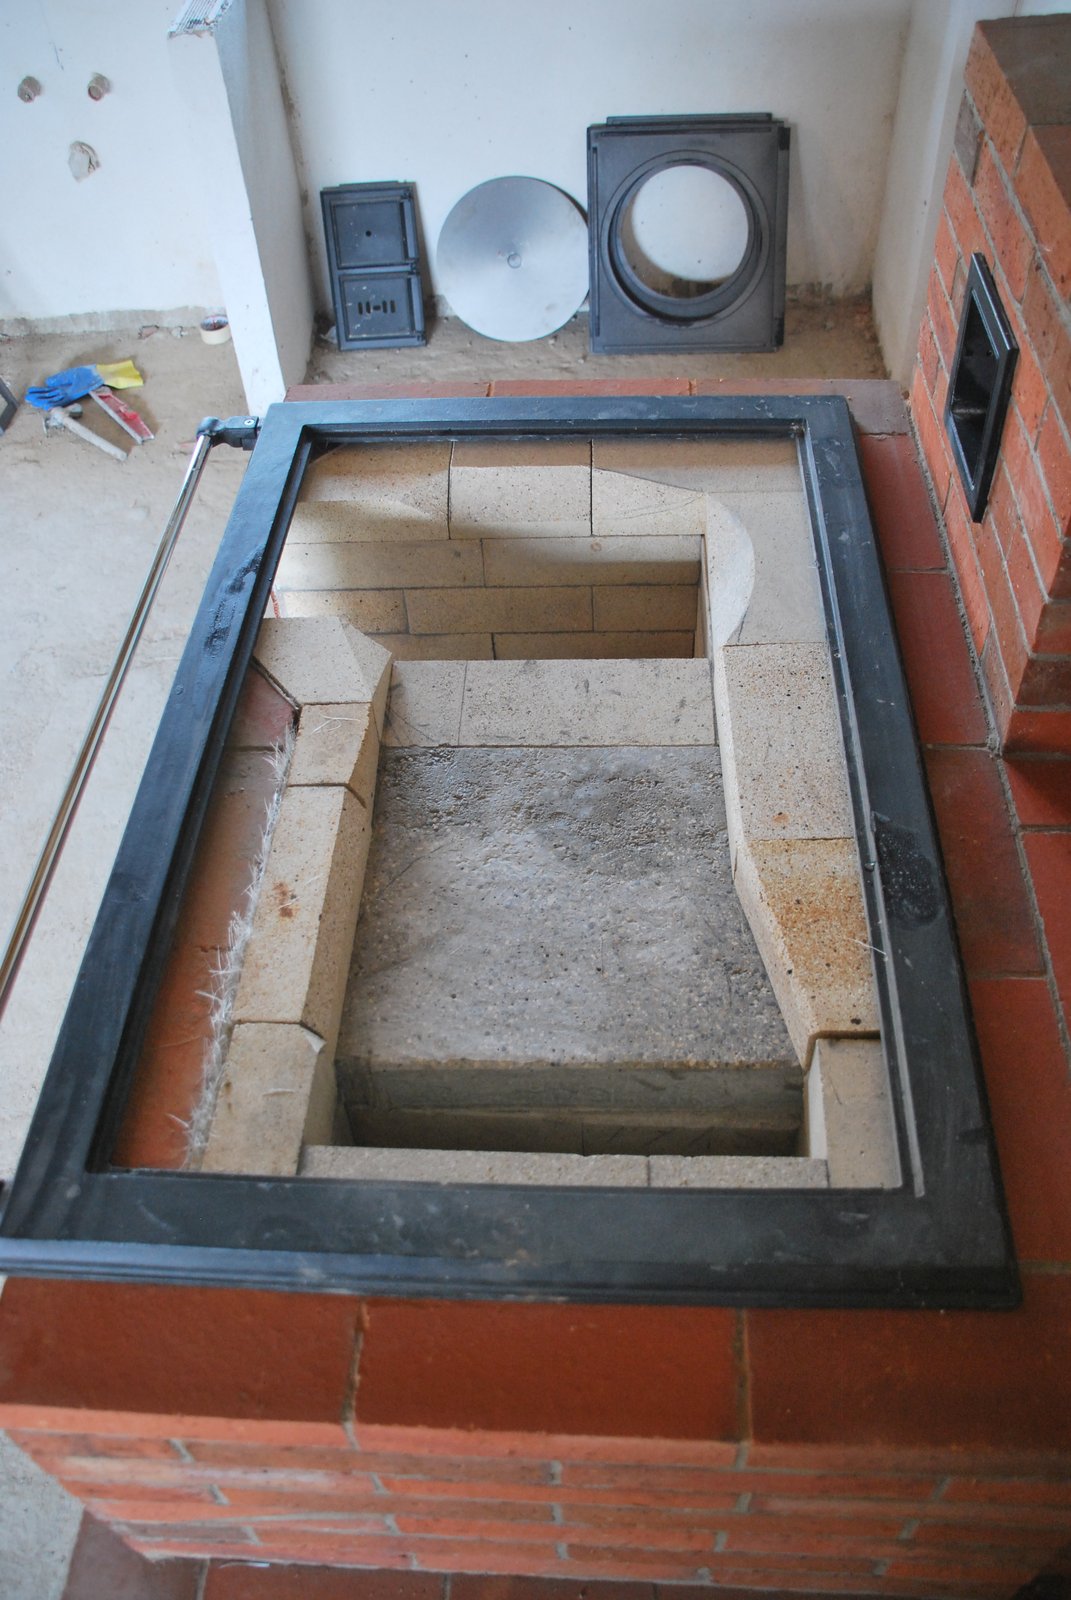
The last course of the core is layed dry. This stops it separating and becoming loose and enables any damaged elements to be easily replaced. This also permits moving the brick that rest on top of the bell to direct the flow beneath the hot plates.
The objective is to force as much flow as possible beneath the hot plates, and as little as possible beneath the cook top, and hot plate frame.
The objective is to force as much flow as possible beneath the hot plates, and as little as possible beneath the cook top, and hot plate frame.
Note that the inside corner on the top of the fire box wall at right, is not rounded to assist flow. Drag or turbulence at this point will cause mixing as the gases and flame pass through the heat exchange fins of plate No. 1.
The opposite corner on the down channel wall is also, contrary to regular practice, not rounded. In this instance a rounded corner would cause the smoke path to drop below plate No.2 slightly sooner than the sharp corner. Past this point though all corners are rounded.
The opposite corner on the down channel wall is also, contrary to regular practice, not rounded. In this instance a rounded corner would cause the smoke path to drop below plate No.2 slightly sooner than the sharp corner. Past this point though all corners are rounded.
The finished project.
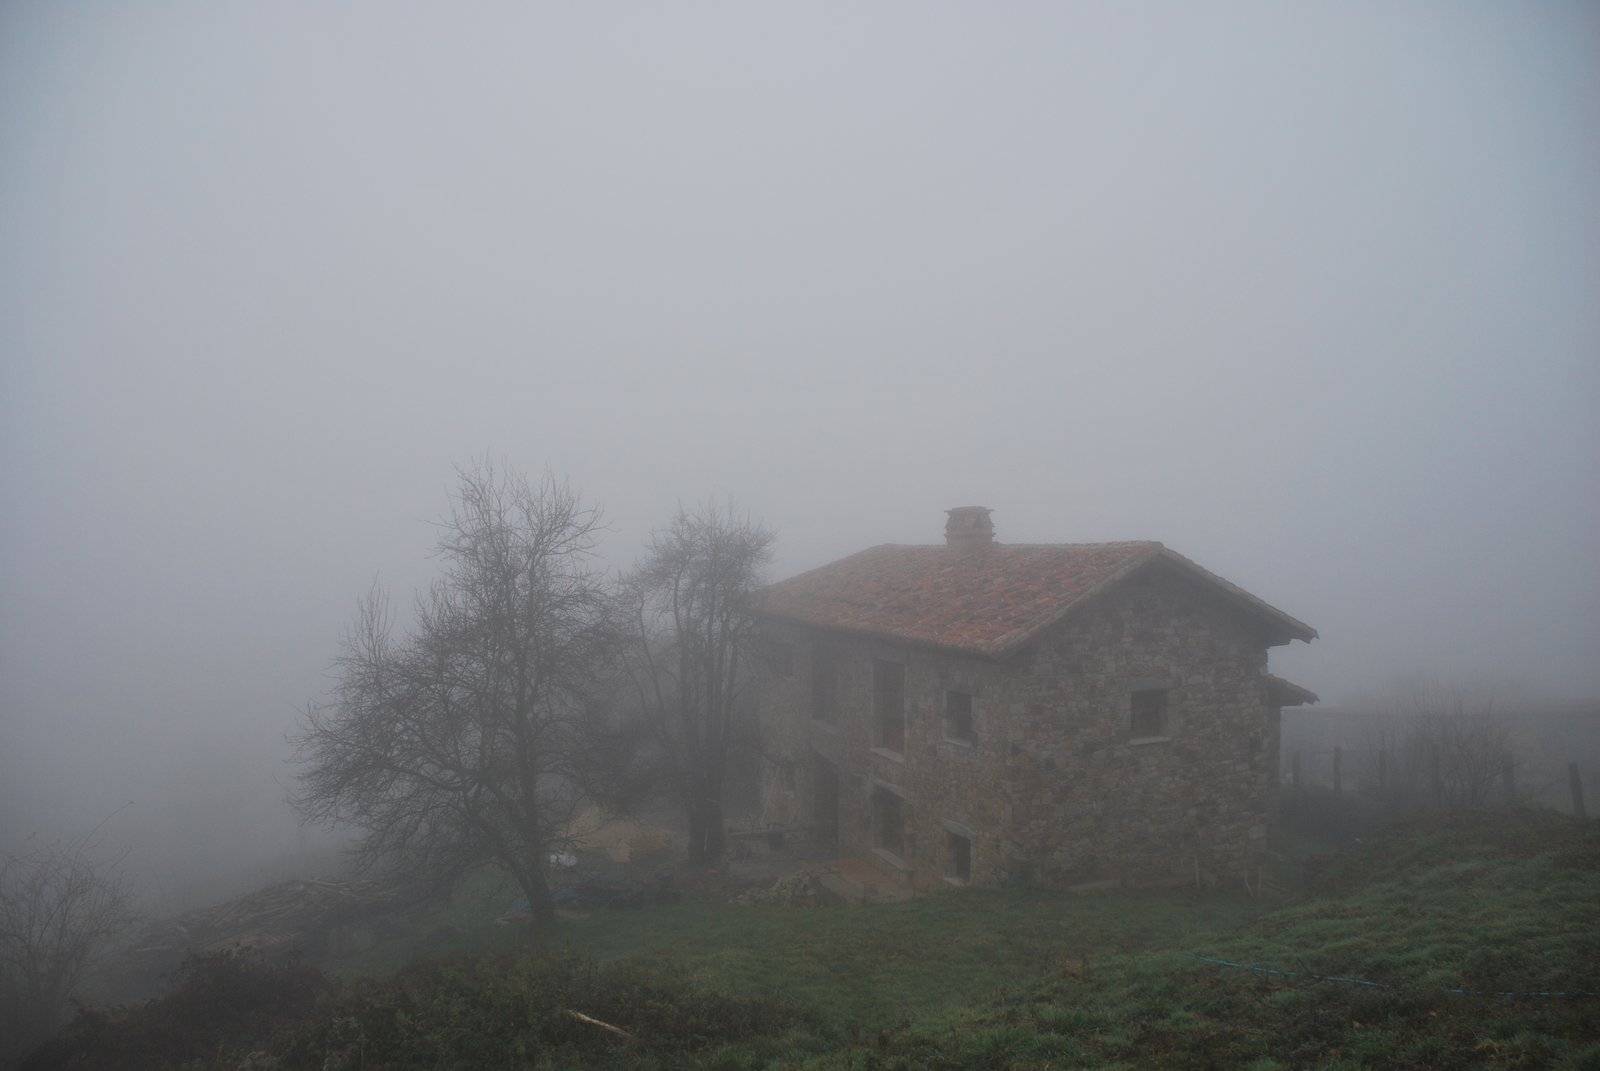
Almost obscured by clouds.
Marcus Flynn
2012
