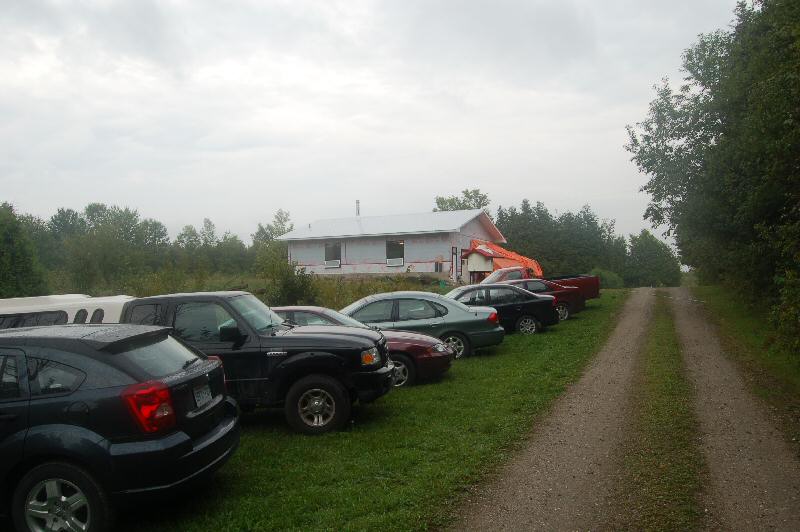
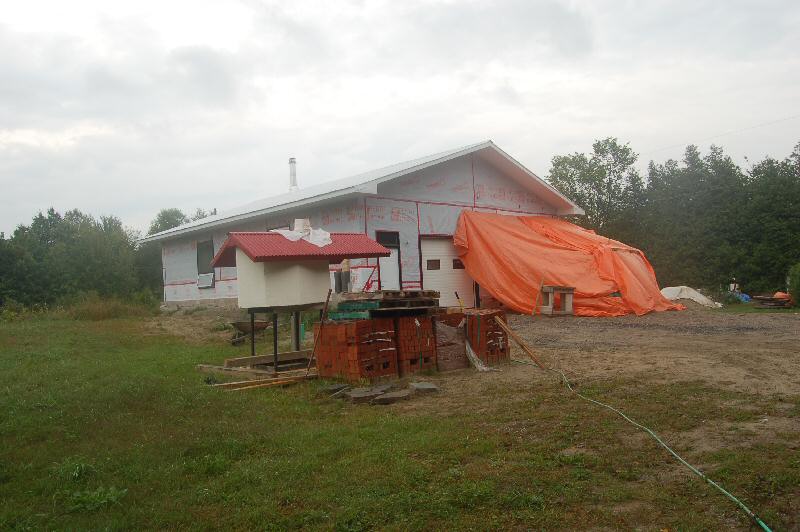
John McDougall's new shop near Perth, Ontario.
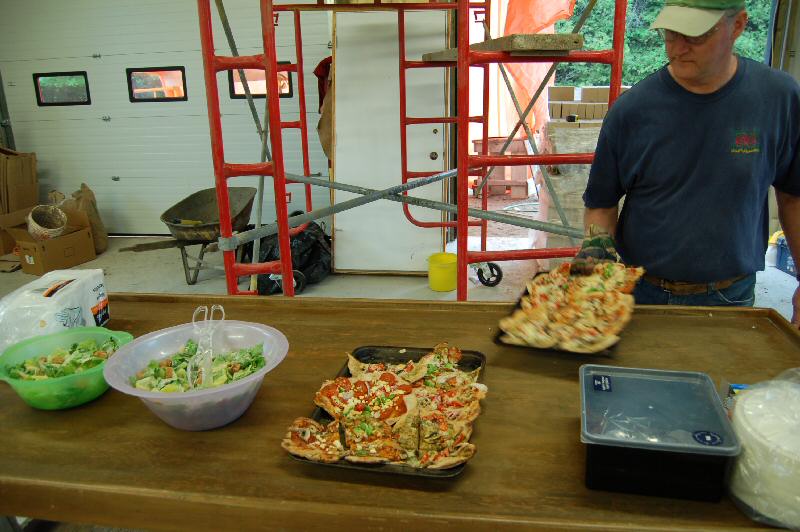
Le Panyol bake oven was moved outside for the workshop. It cooked some excellent food.

The shop has a hydronic floor. The intent is to heat it with a batch burning masonry stove designed
exclusively to heat water.
Results will be reported on this page as they become available.
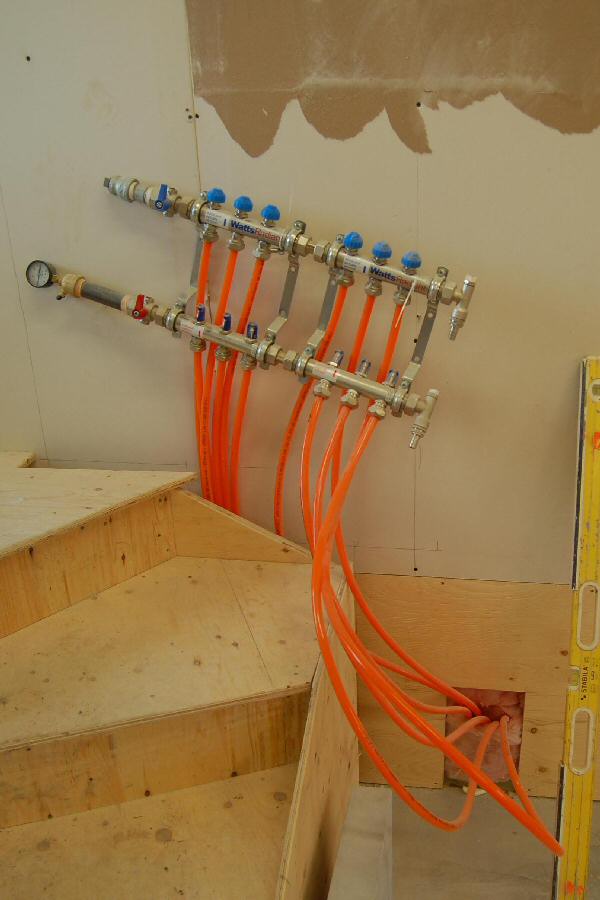
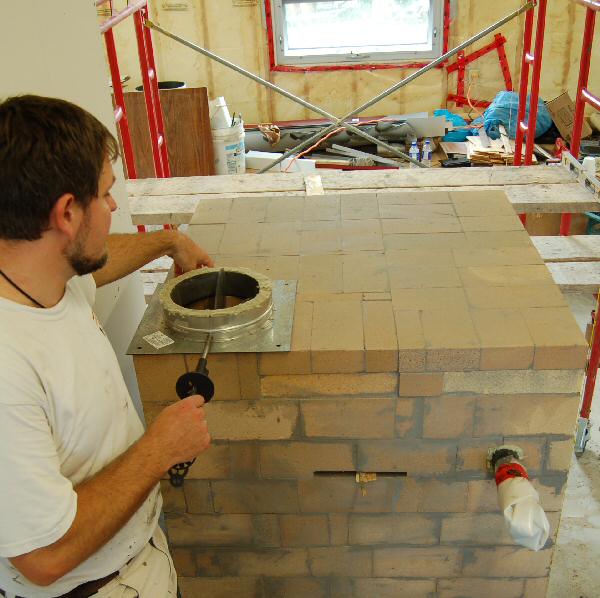
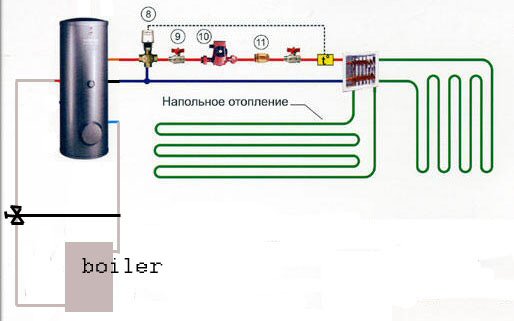
Supply and return headers. A mixing valve will be installed to mix cool return water with the supply
water, to prevent overheating of the PEX tubing.
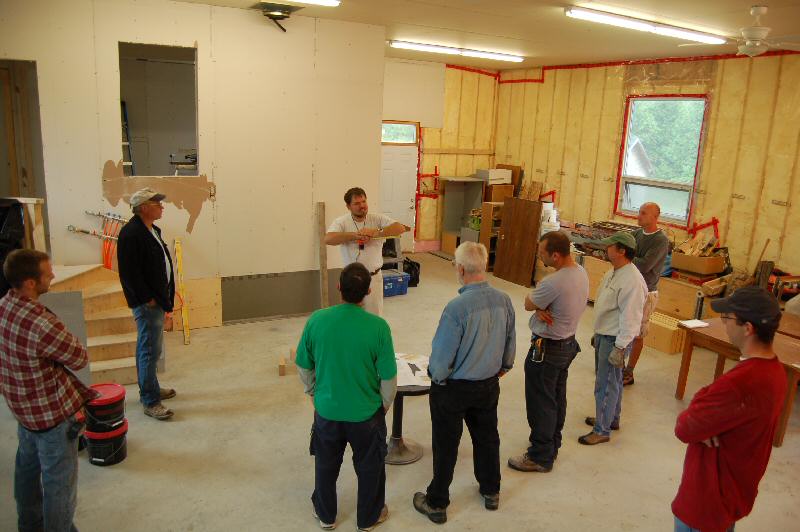
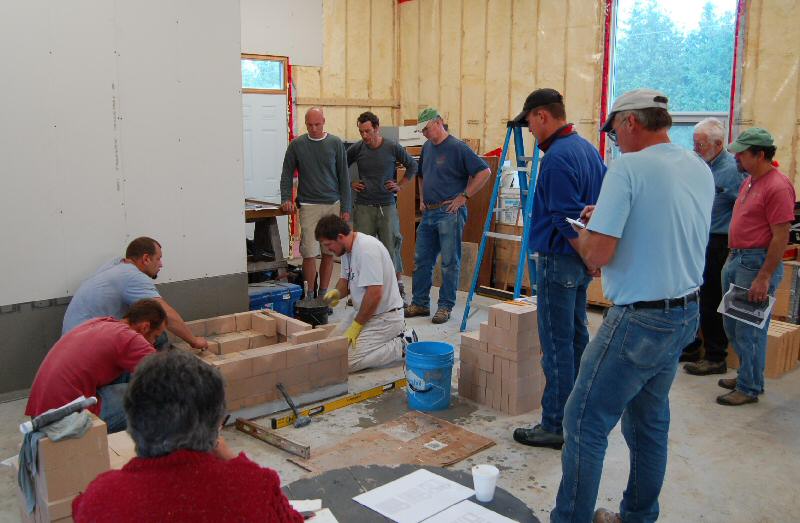
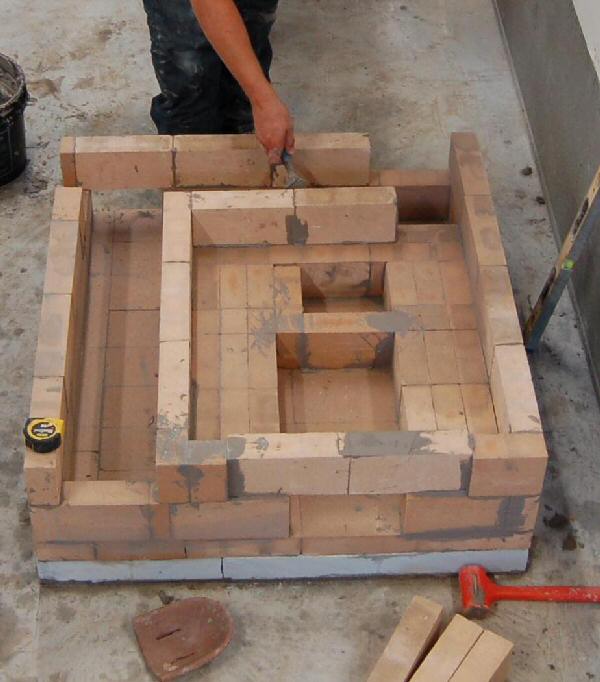
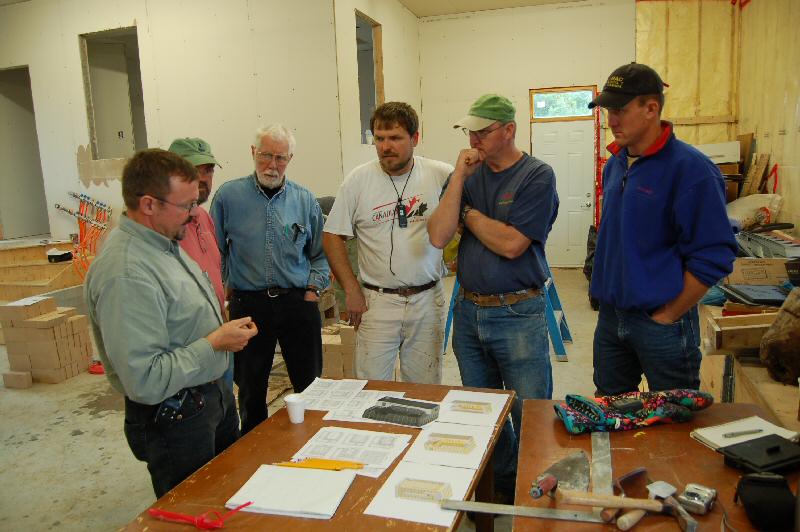
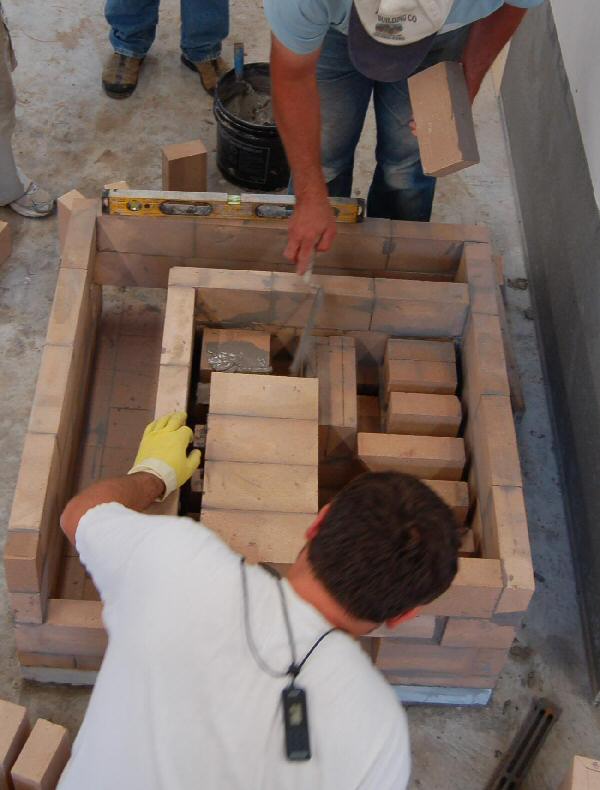
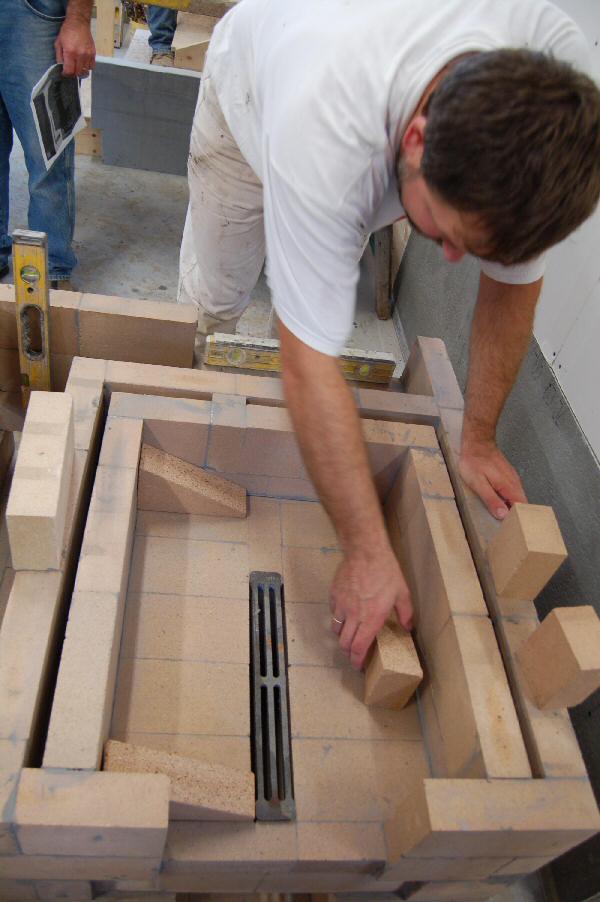
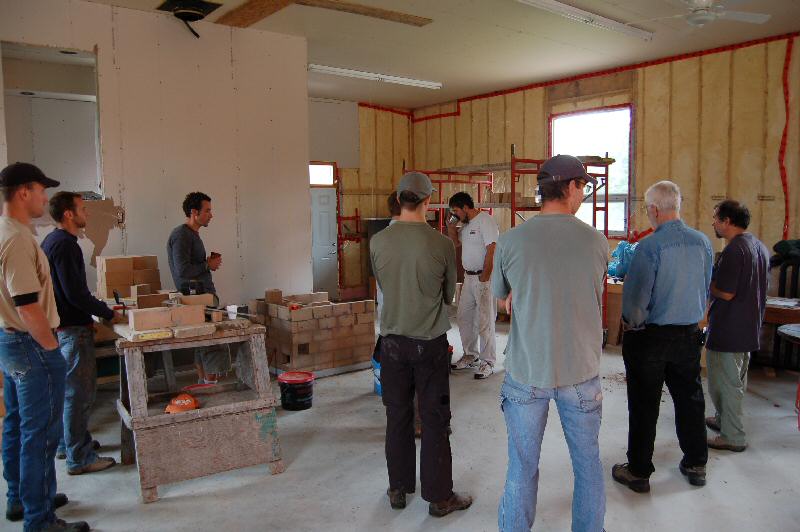
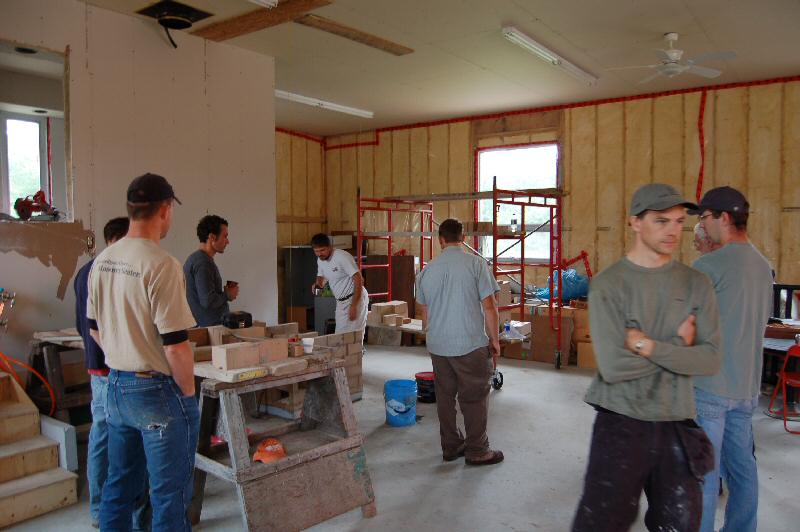
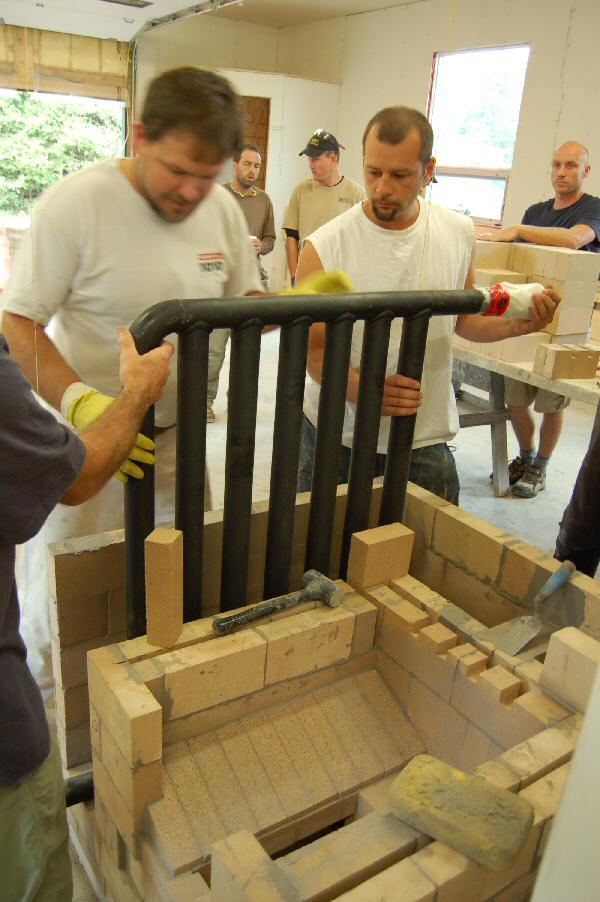
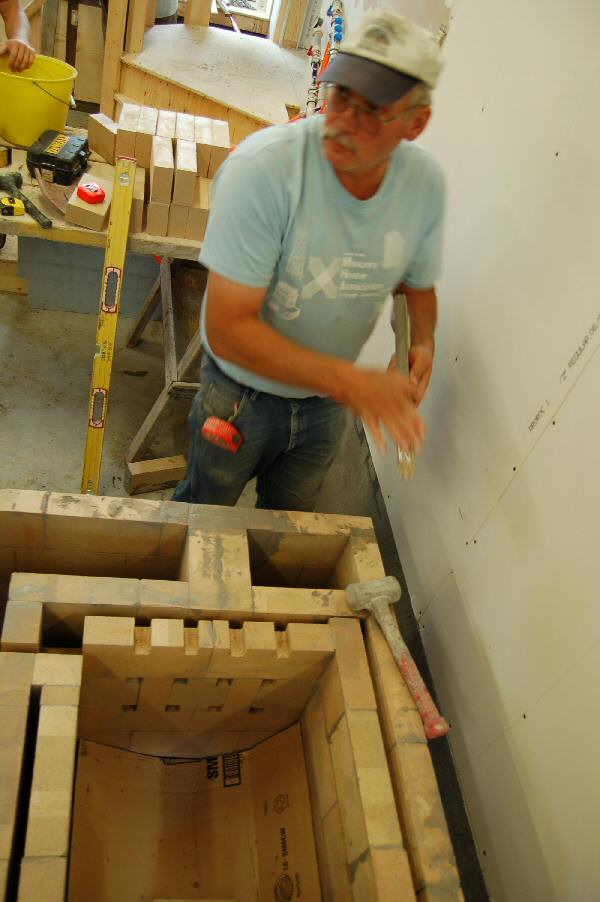
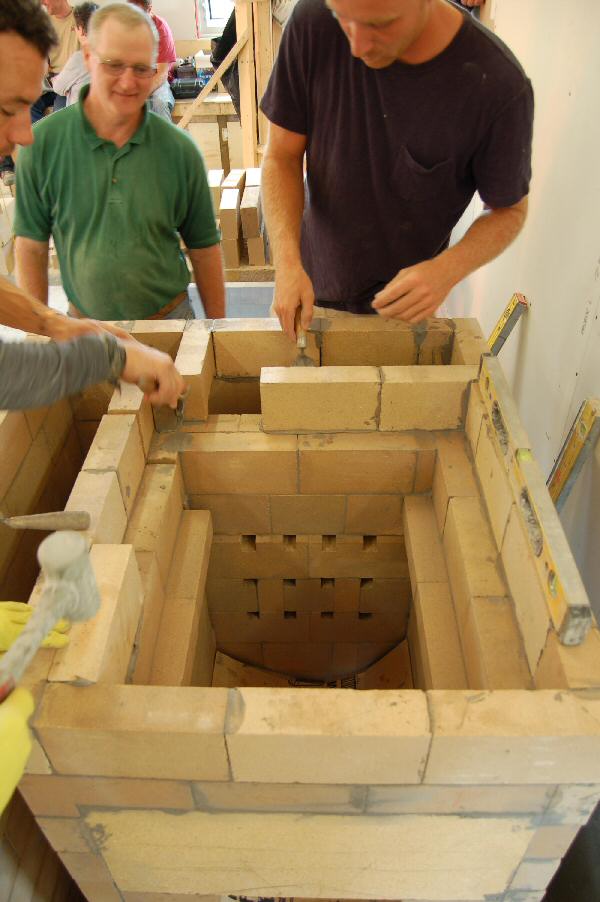
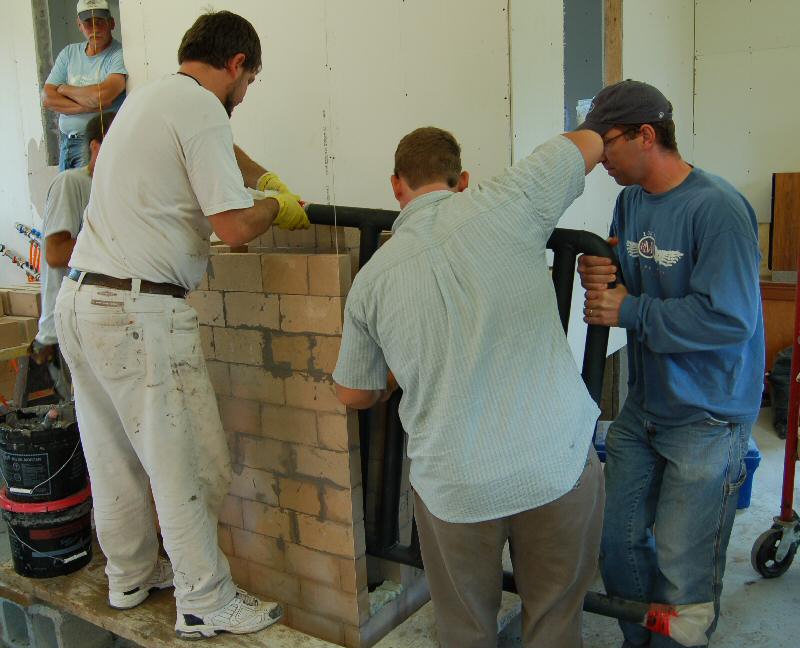
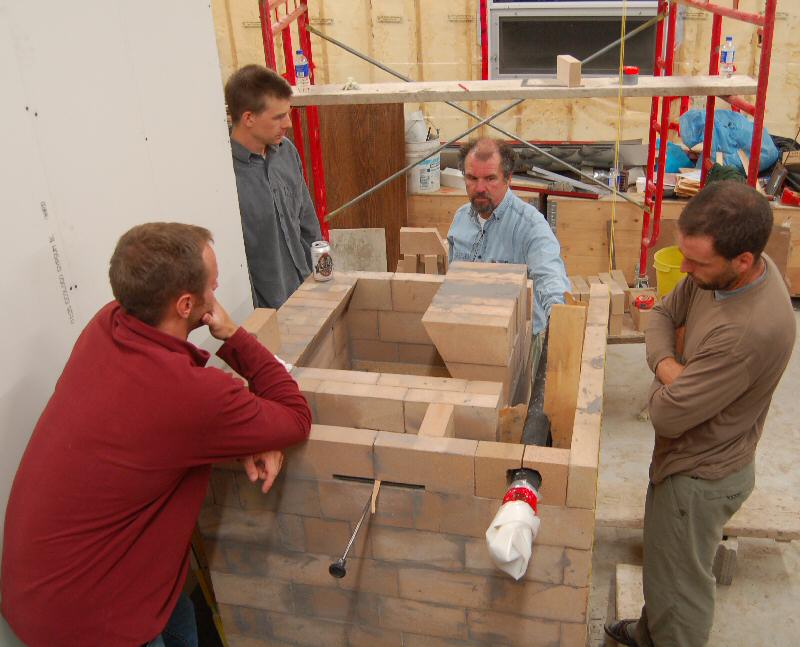
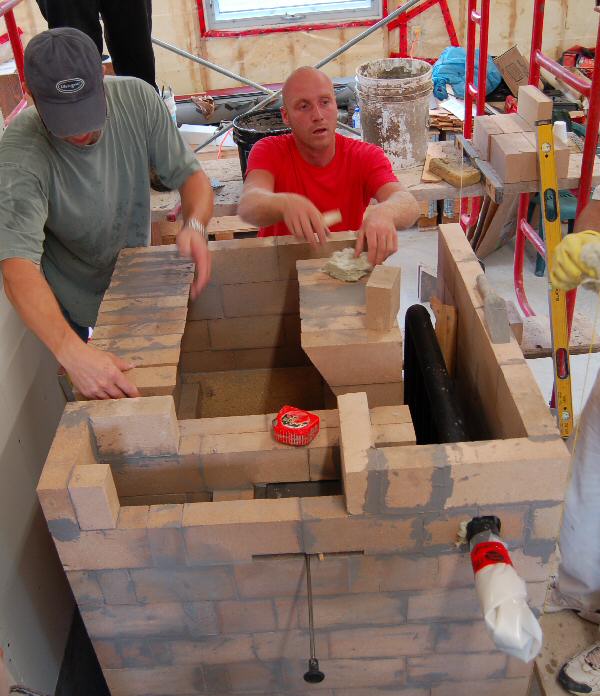
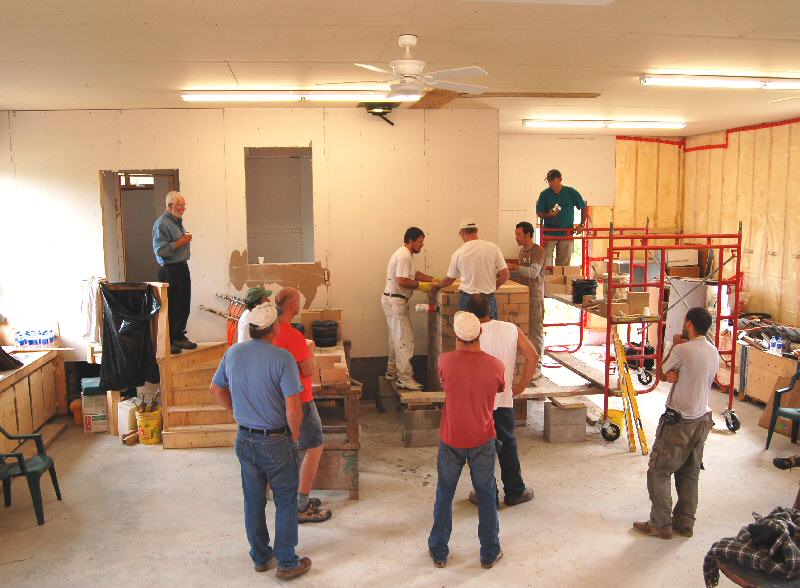
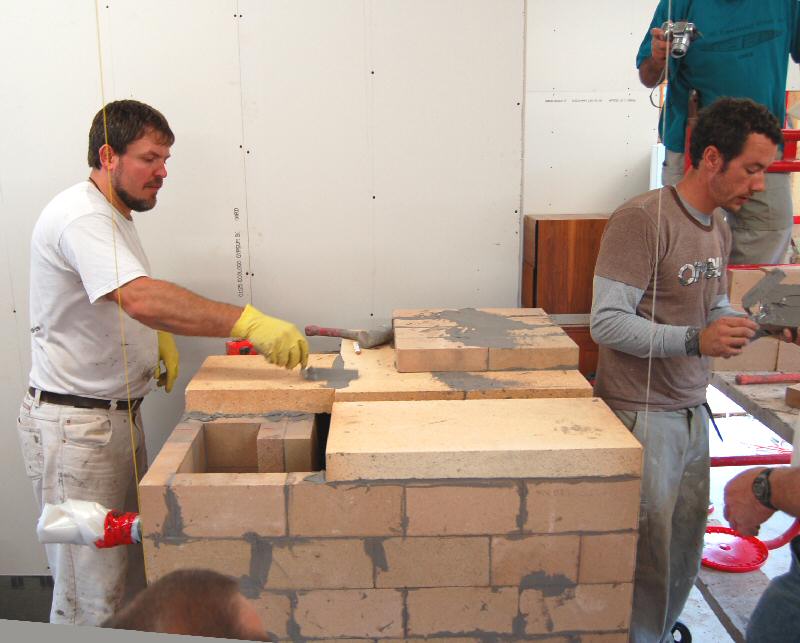
John organized a workshop with Alex Chernov. Alex consulted with Igor Kuznetsov on the design.
The workshop was limited to 15 attendees, and local students from Algonquin College were given an opportunity to attend.
The campus in Perth offers a heritage trades program including programs in carpentry, masonry and greebuilding.
Nine invited MHA members attended, from as far away as Alaska.
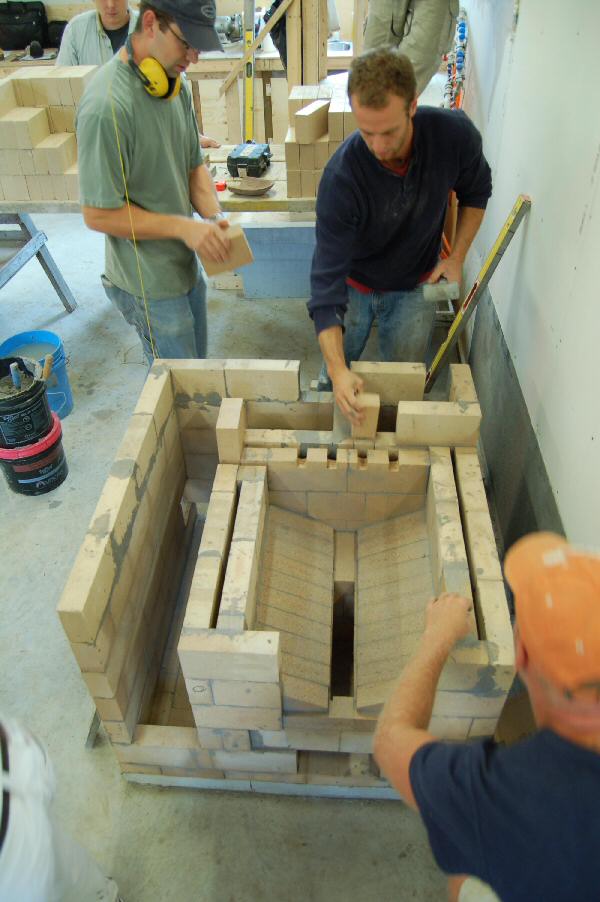
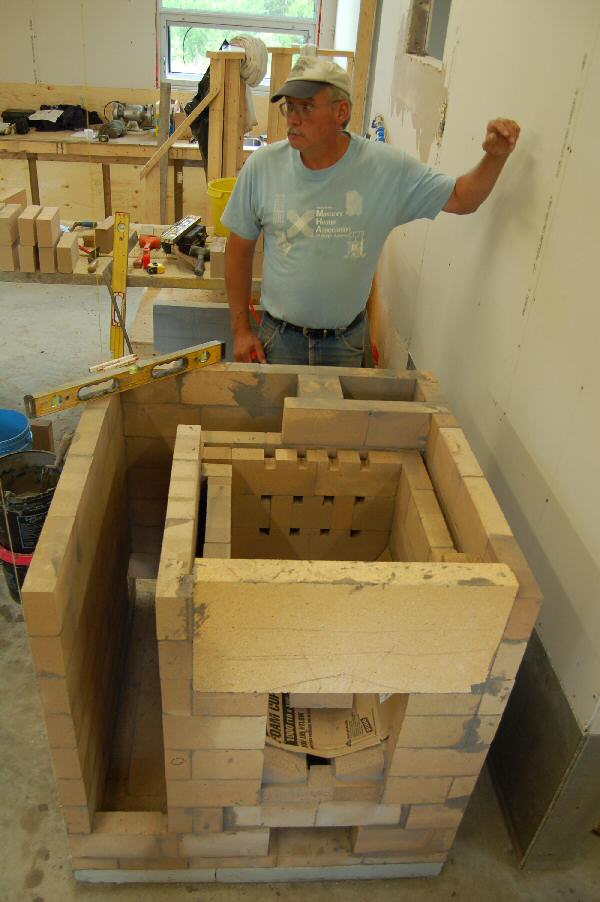
This unit is known as a Kuznetsov boiler.
It is based on a design solution provided by Igor Kuznetsov, designed in accordance with the System of Free Gas Movement.
Igor provided the basic design, and Alex finalized all details and created complete drawings.
This system is well known and has been used successfully in numerous boilers built by Igor's team through the years.
See Igor's boiler article http://www.stove.ru/index.php?lng=1&rs=109
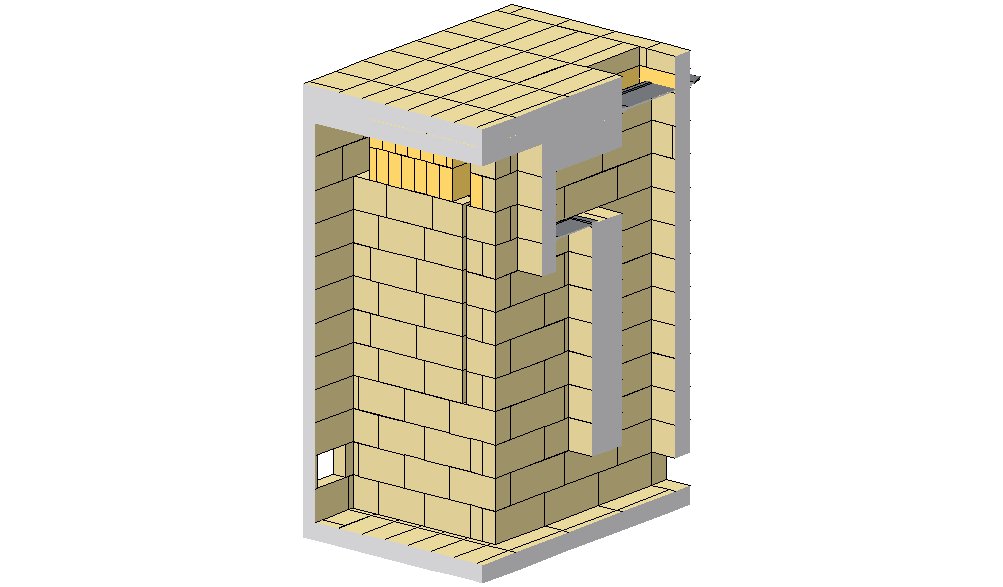
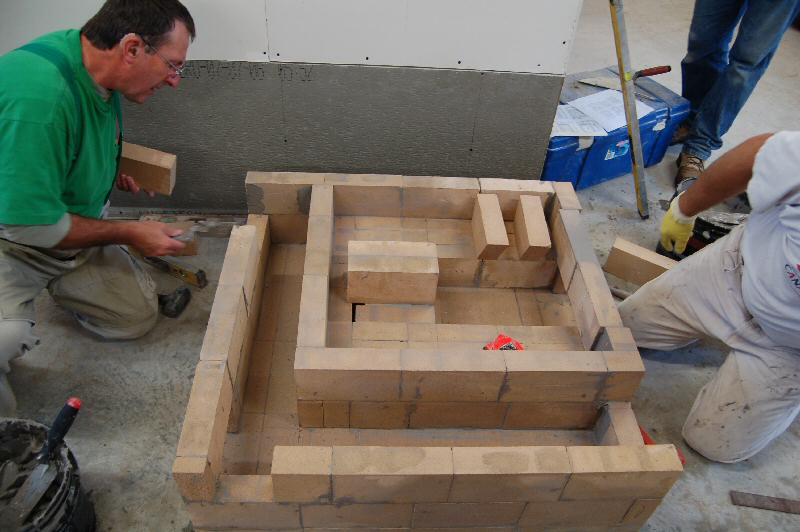
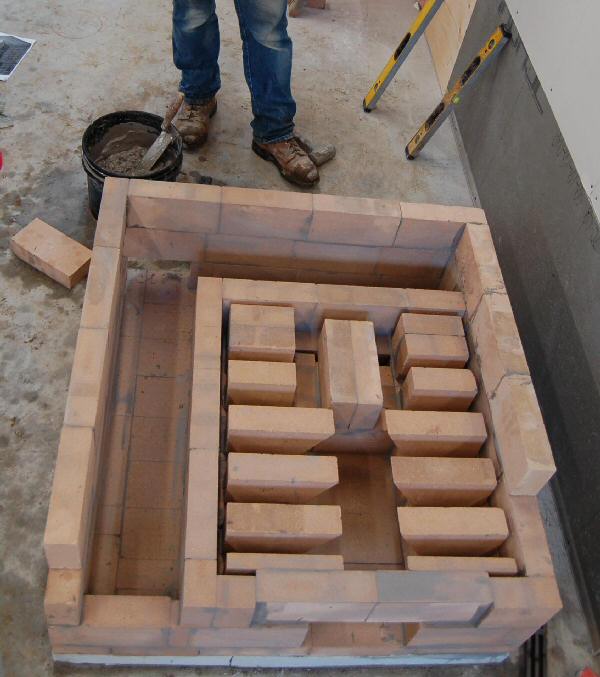
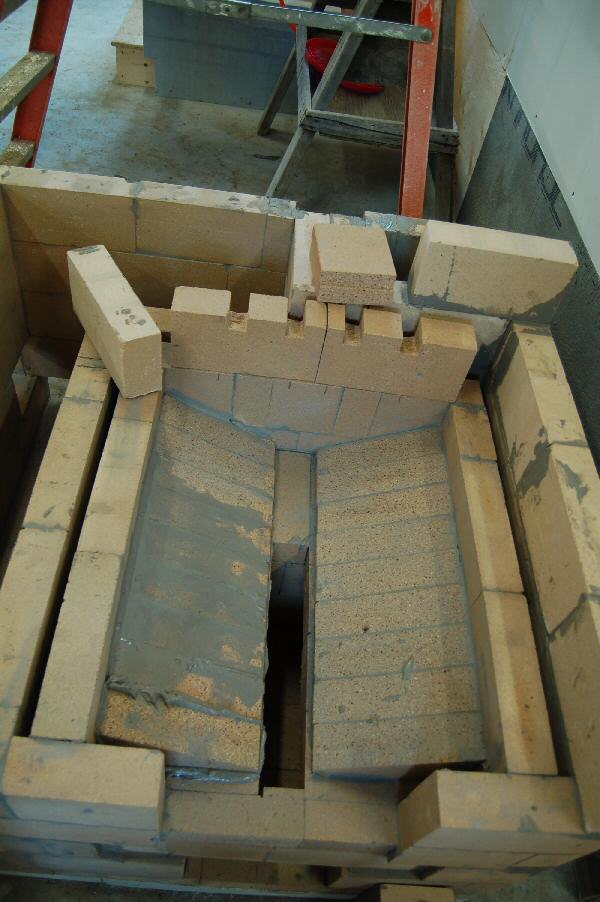
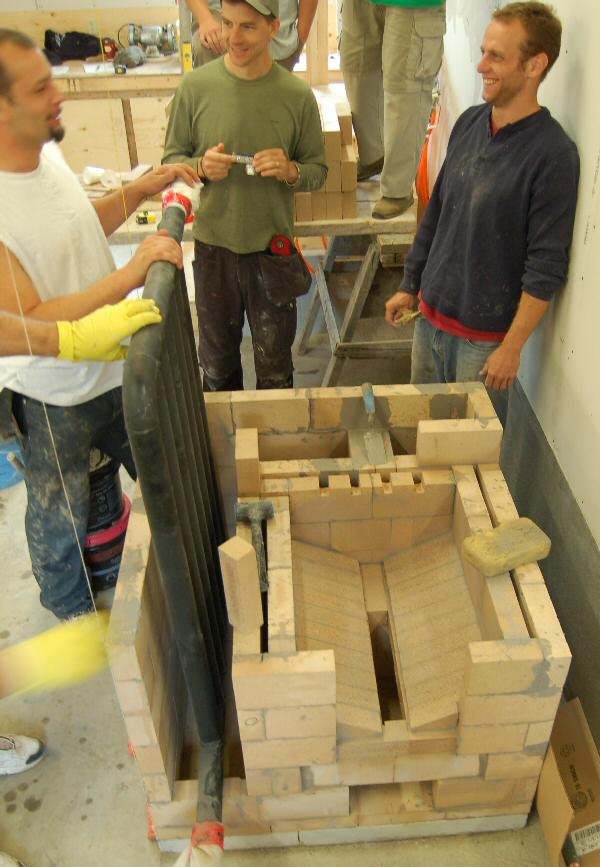
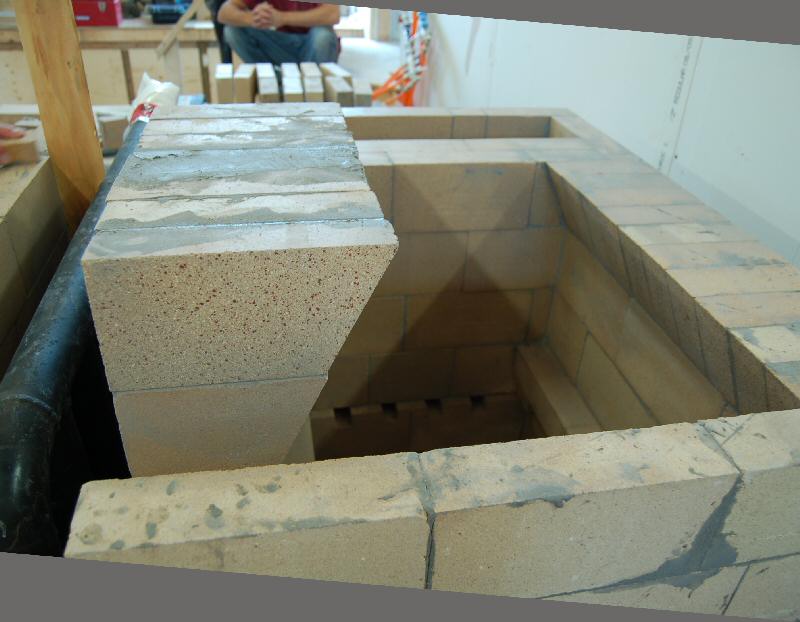
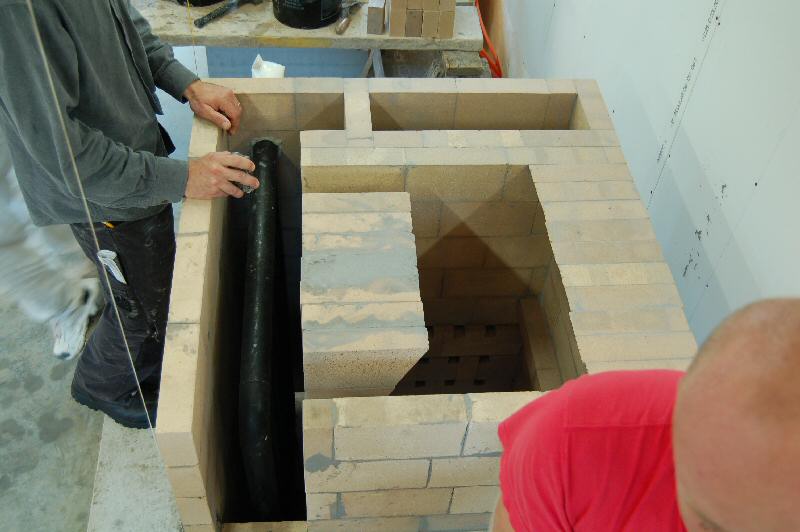
The heater was built as a mirror image of this model. The heat exchanger (not shown) sits in the front left cavity.
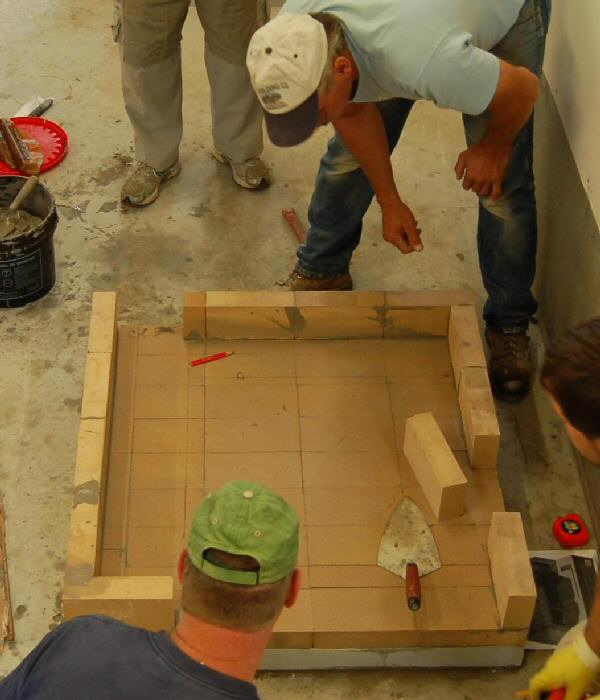
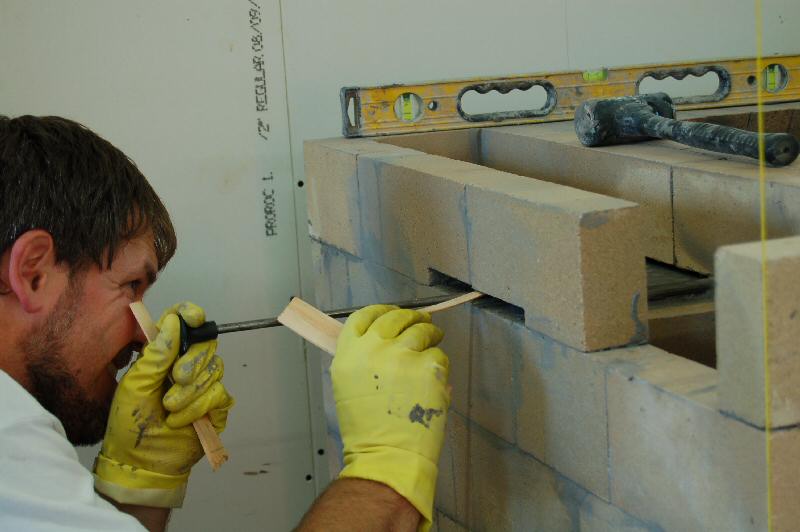
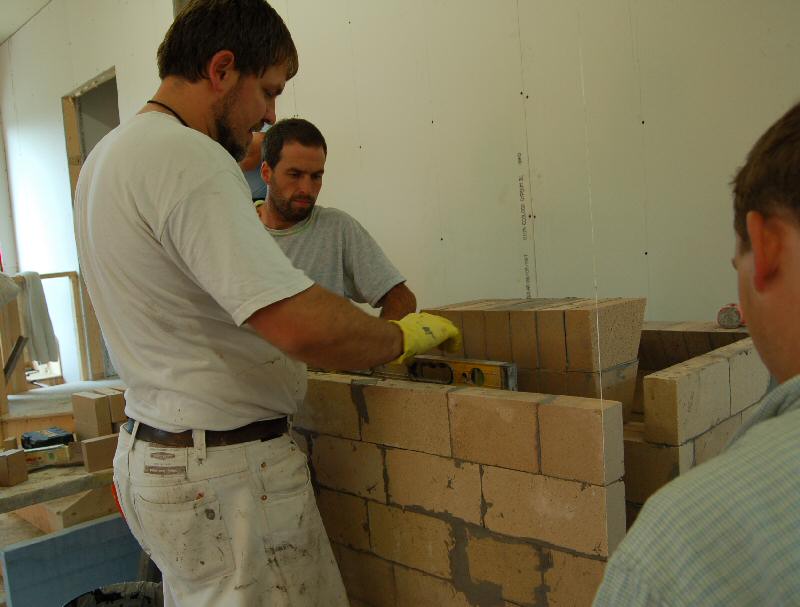
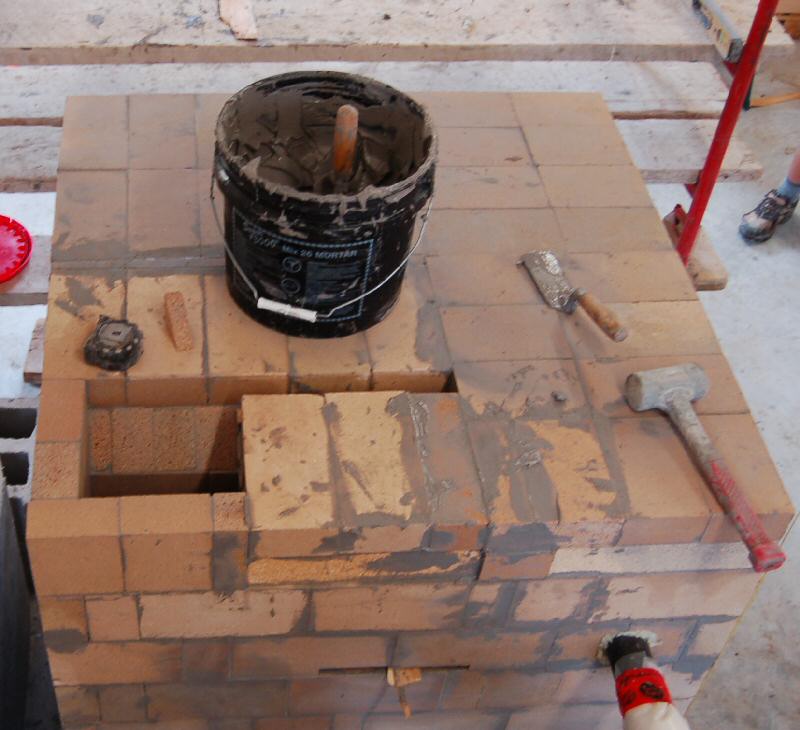
Layout.
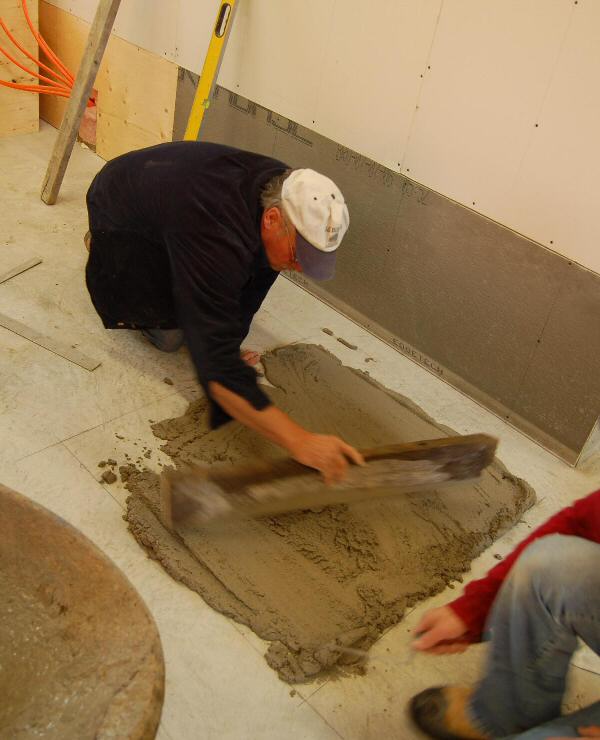
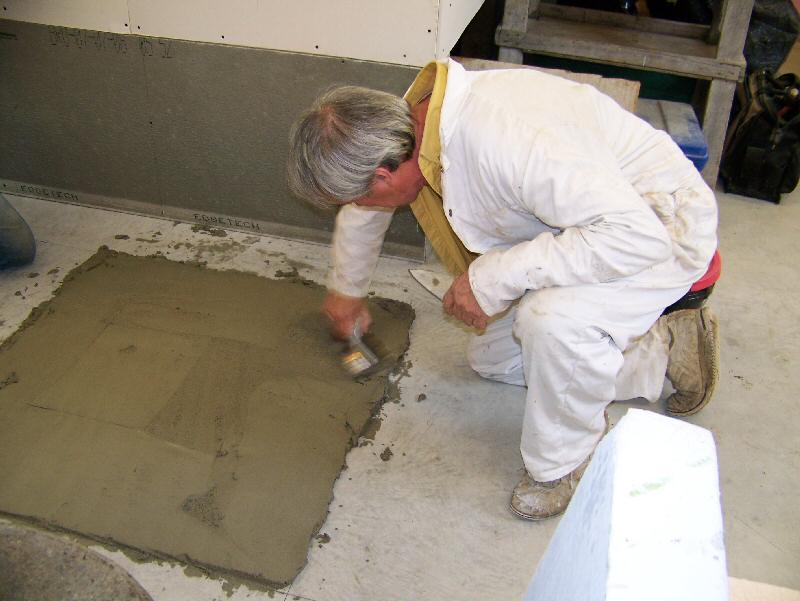
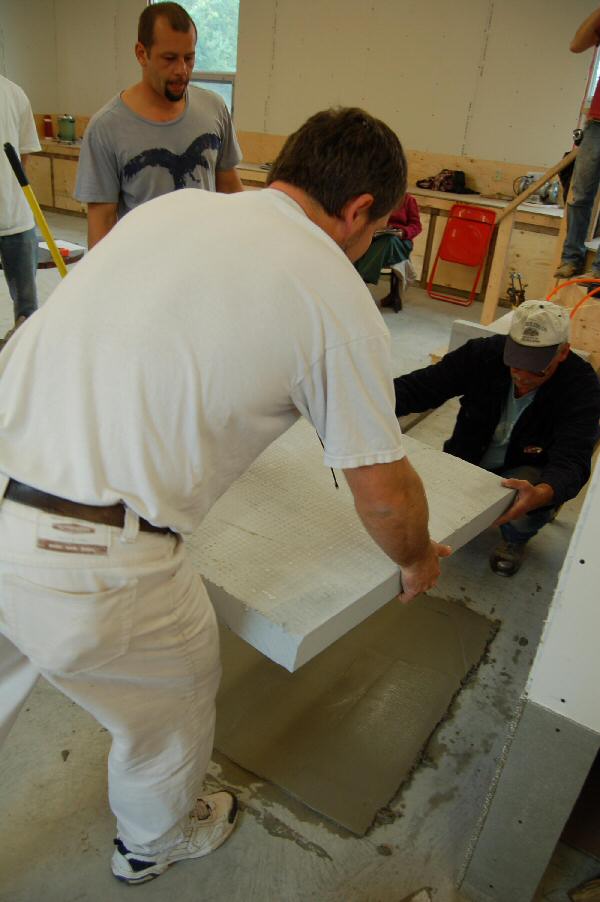
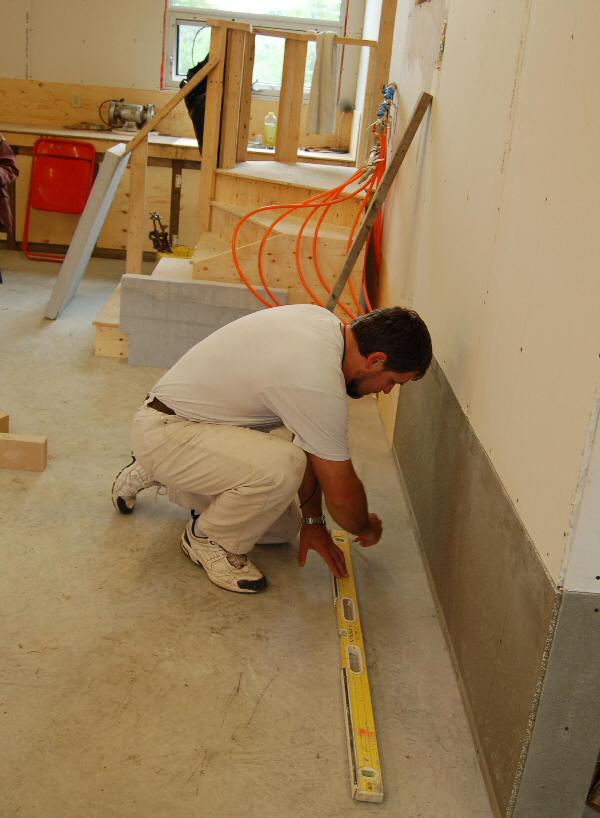
Insulating base pad of Skamol board

Dave Bangs (left) from David R. Bangs Fuels in Perth stopped by on day two for a question and answer session.
Dave is a hydronic and boiler specialist, and will be doing the hookup of the system.

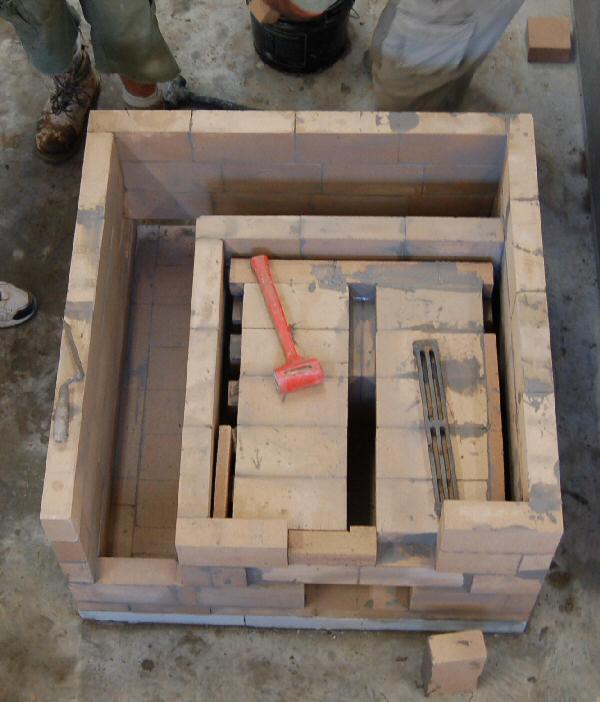
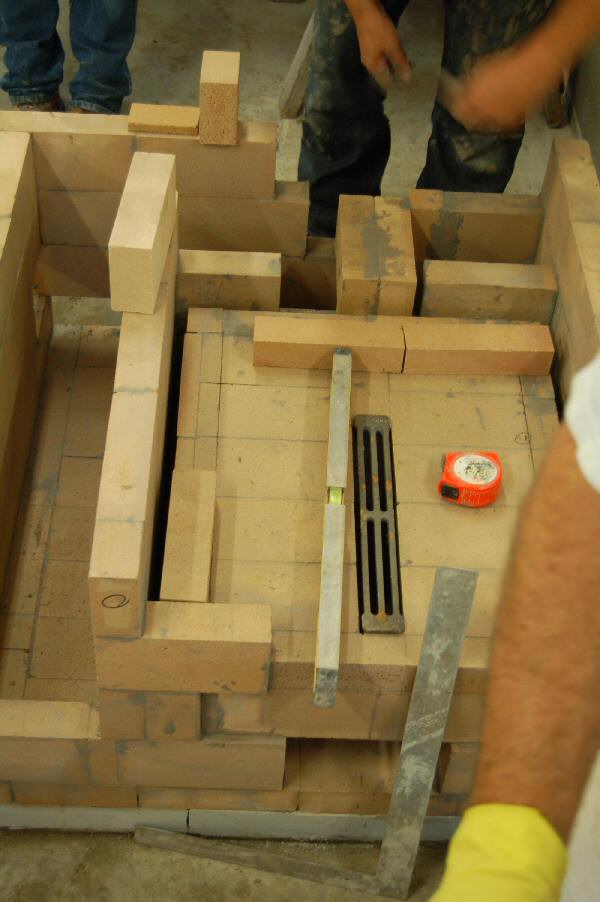

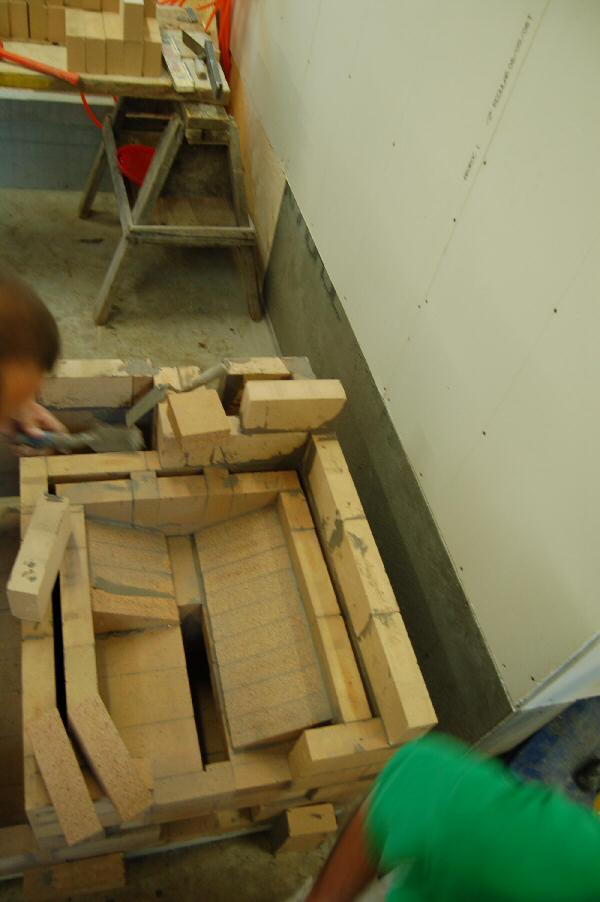
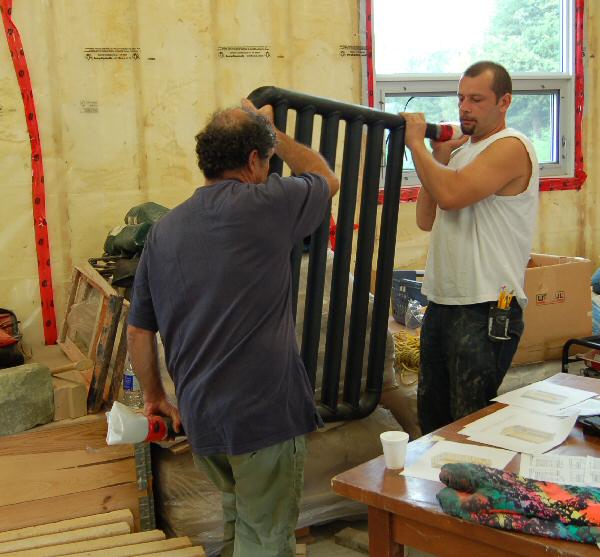
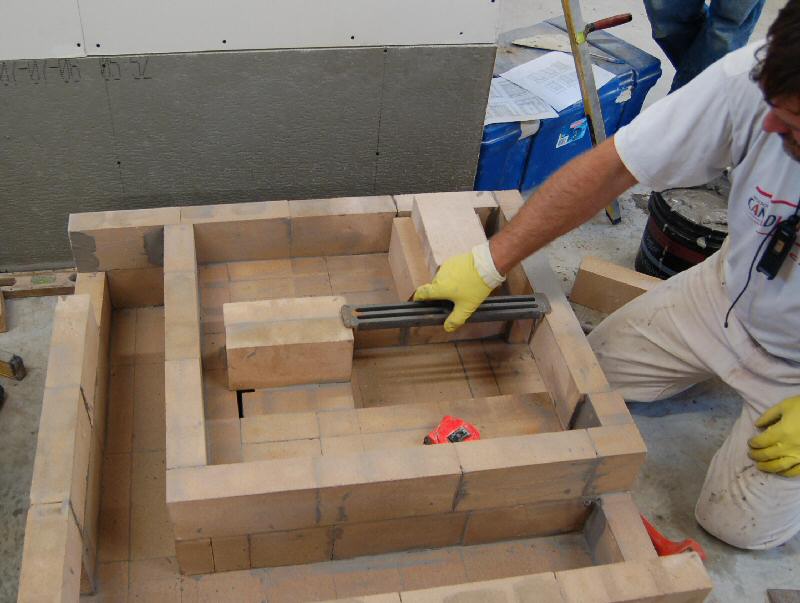
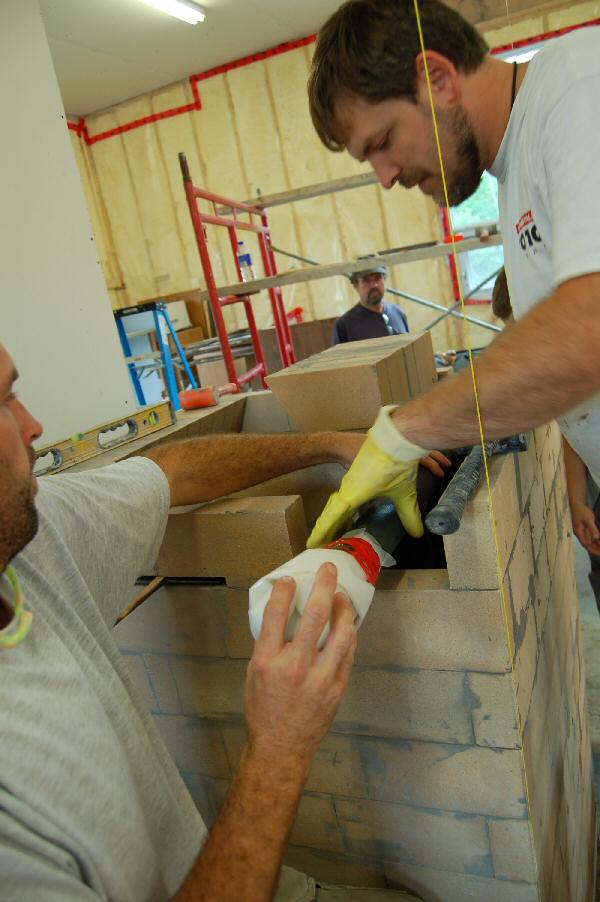
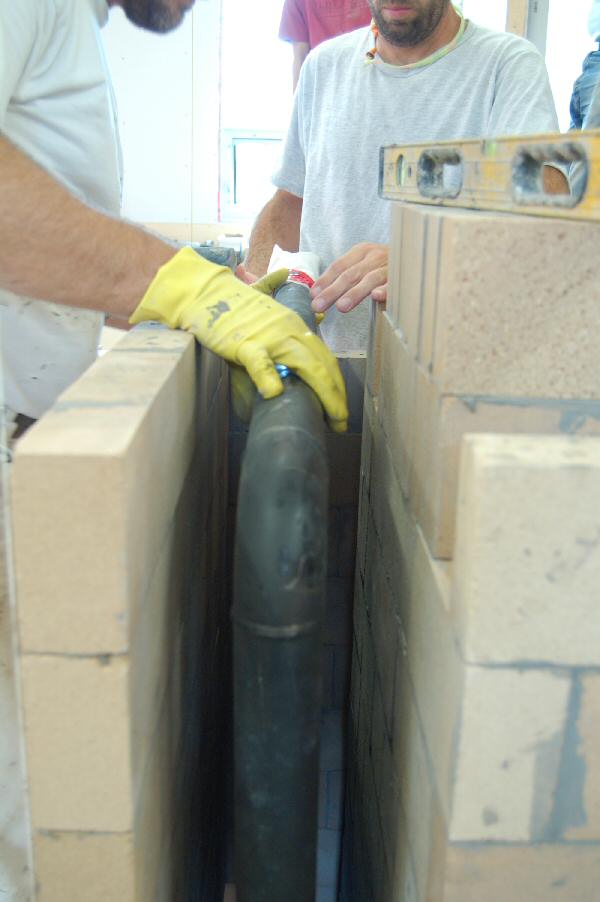
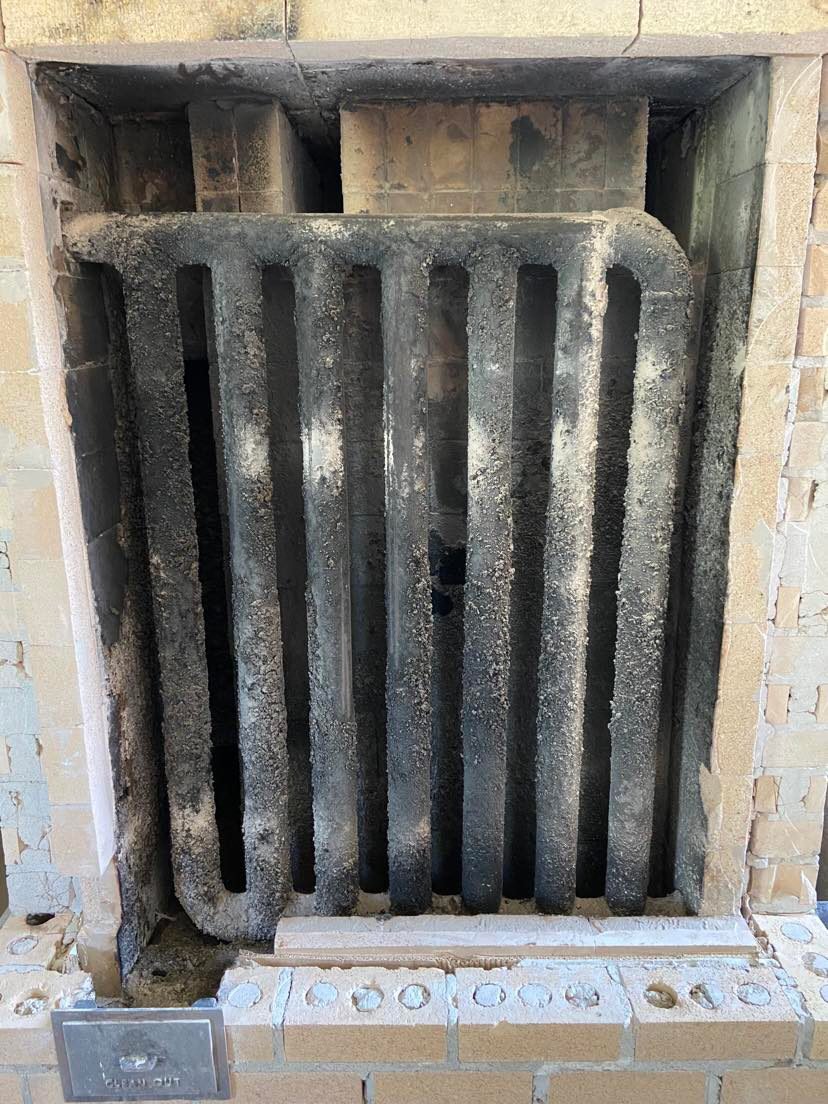
The 2" steel pipe heat exchanger.
It was fabricated by a local shop certified to weld pressure vessels.
Test fit.
Water enters bottom left and exits top right.
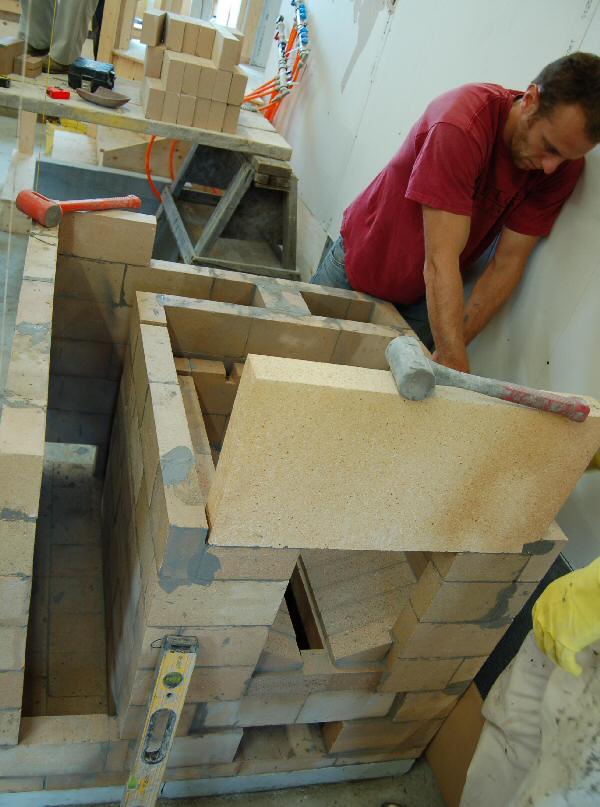
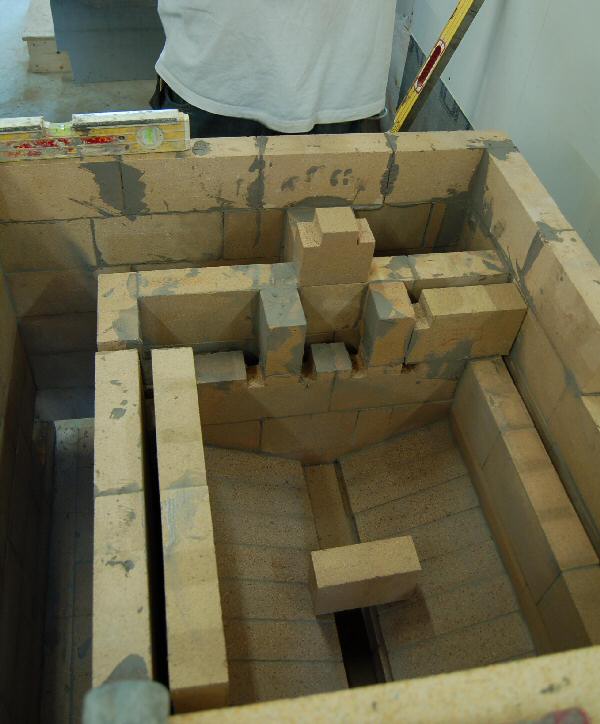
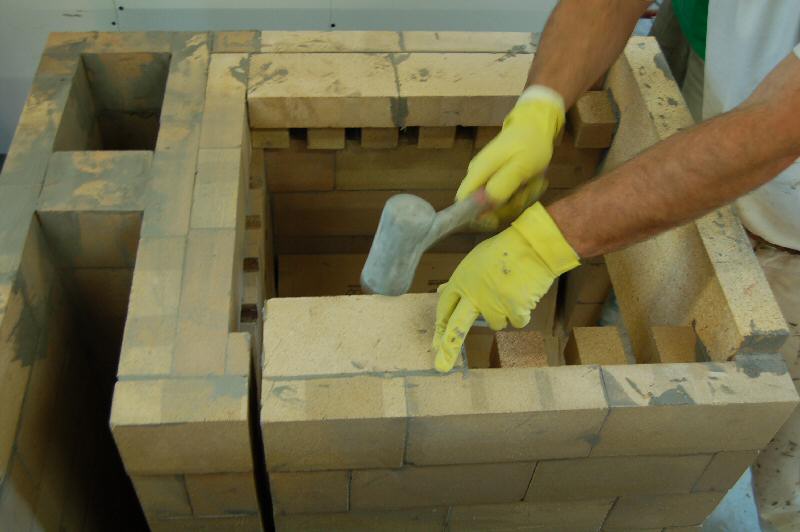
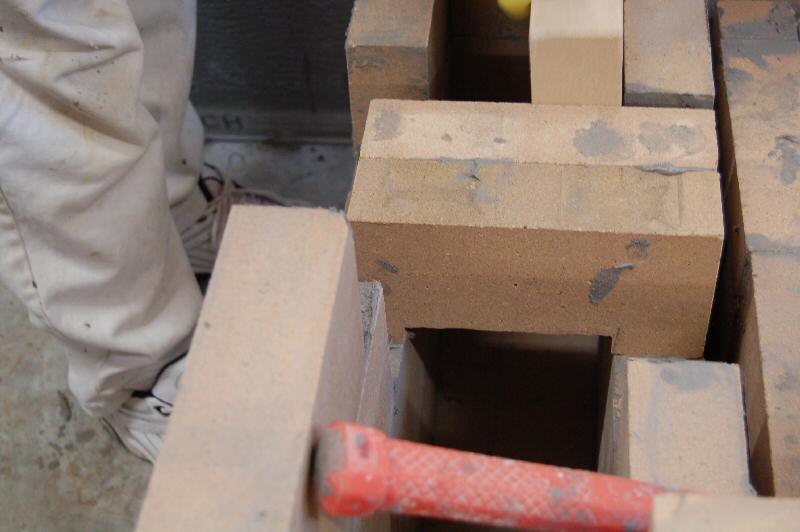
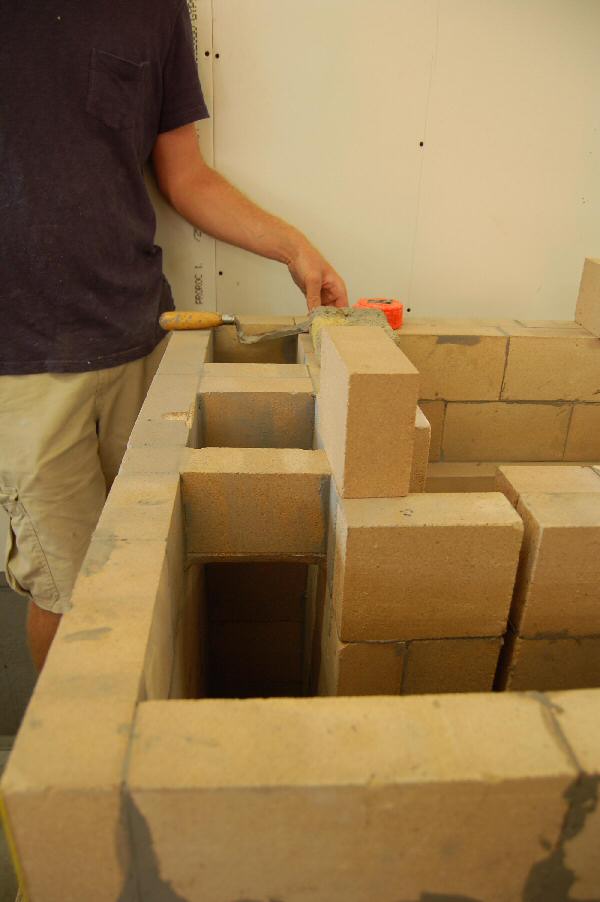
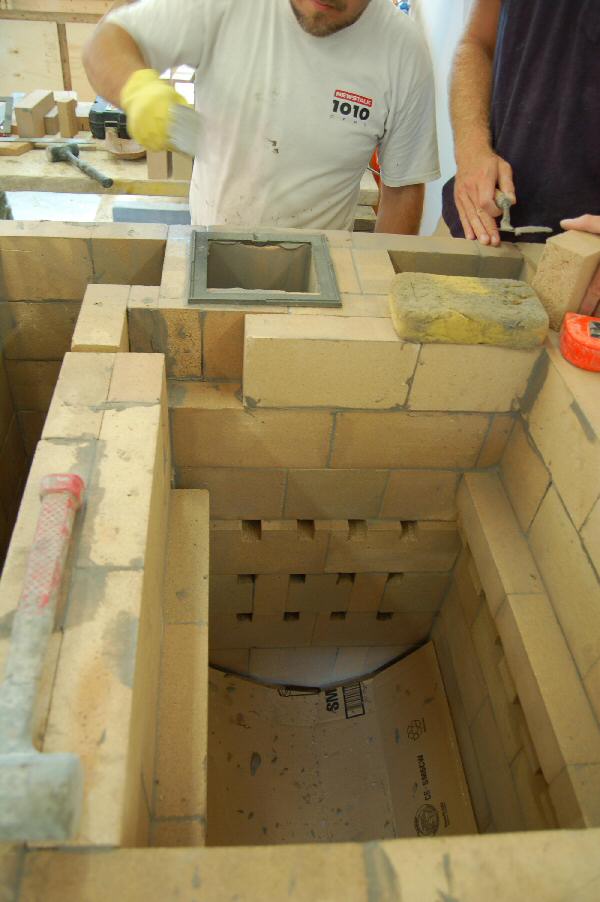
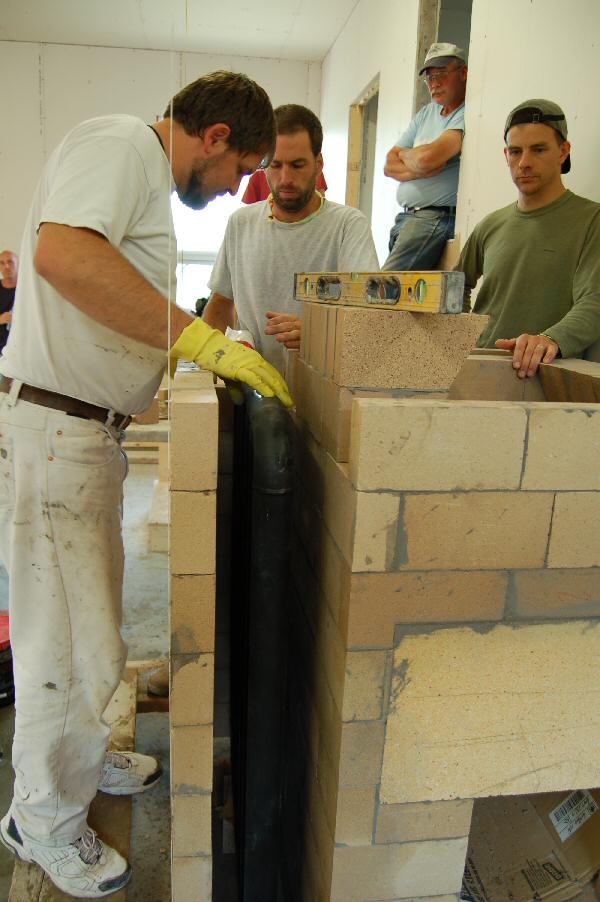
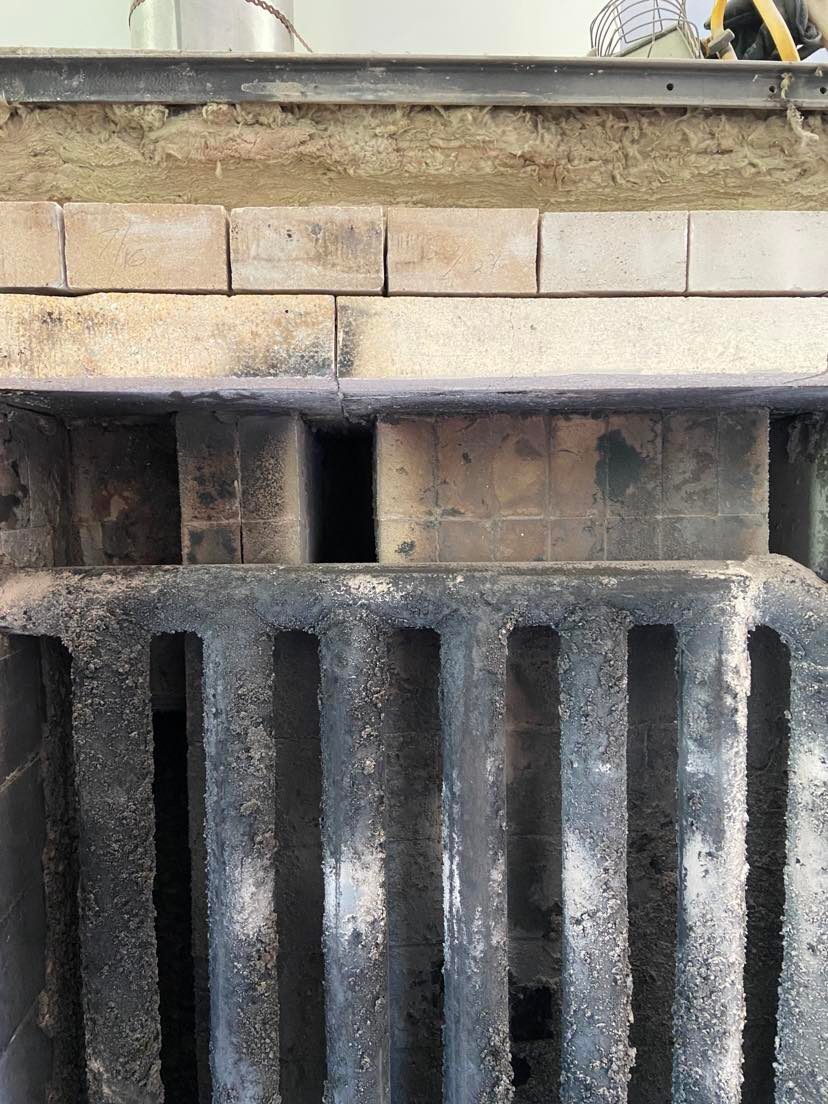
The left rear corner of the firebox has a dry joint (vertical gap to allow cooler gases to escape).

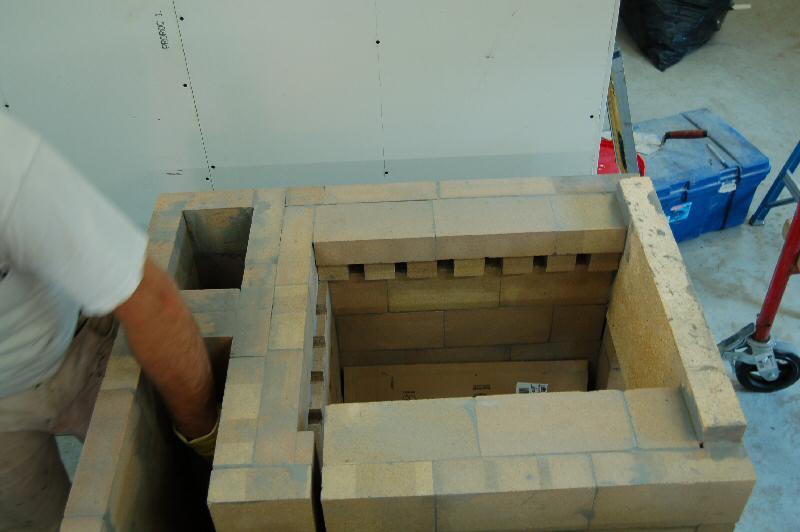
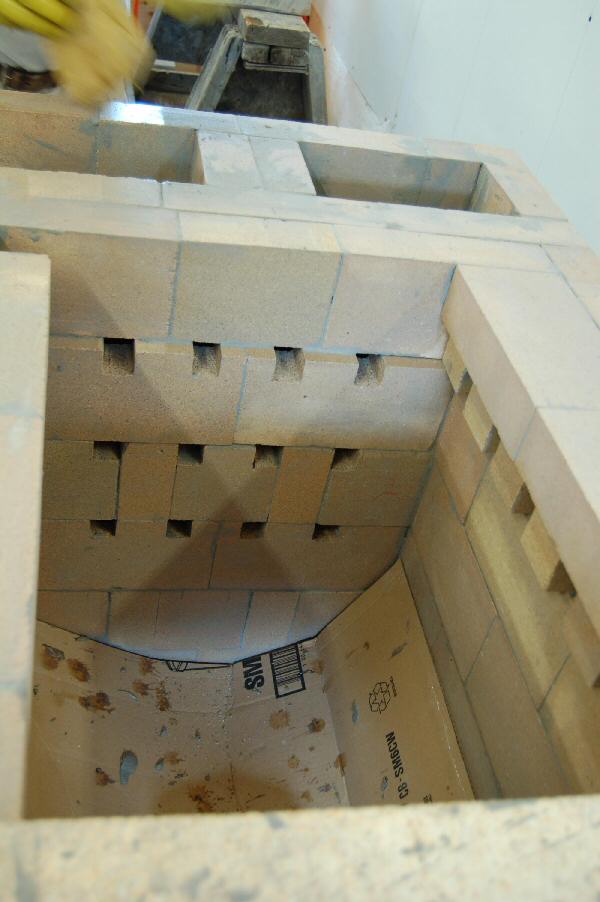
Detail of firebox air system.
See MHA News discussion on air systems


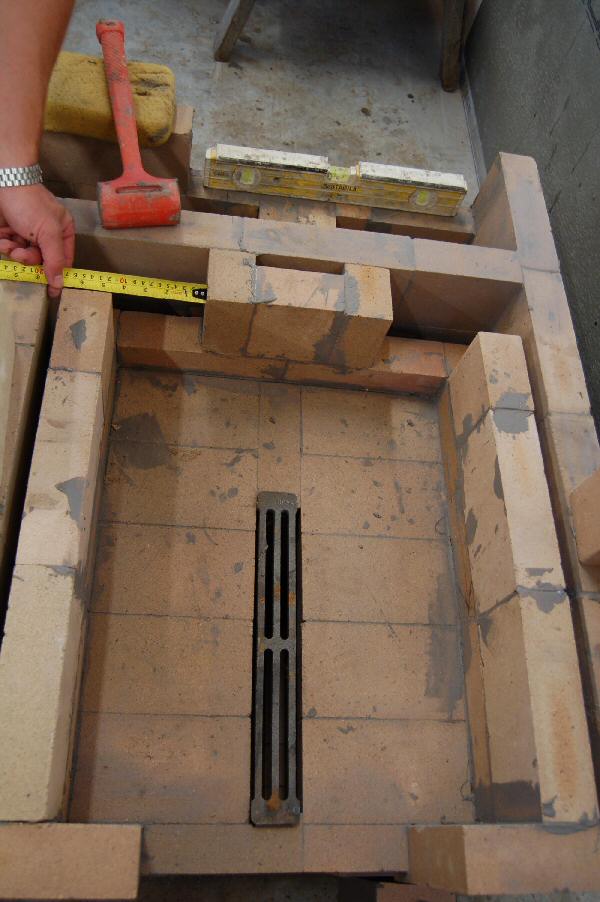
Installation of heat exchanger
Exit manifold is given a slight rise to avoid trapping of air bubbles.
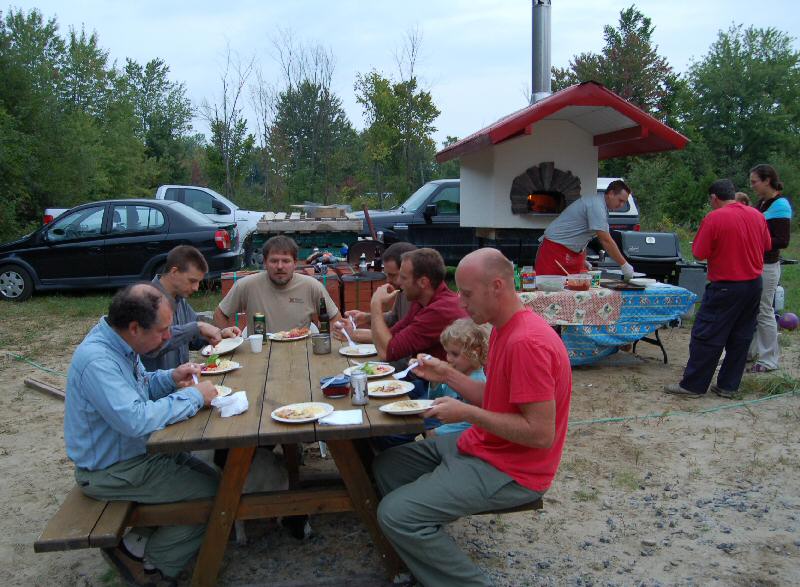
Another tasty supper cooked in the Le Panyol oven.
The life of the itinerant heater mason can be grueling at times.
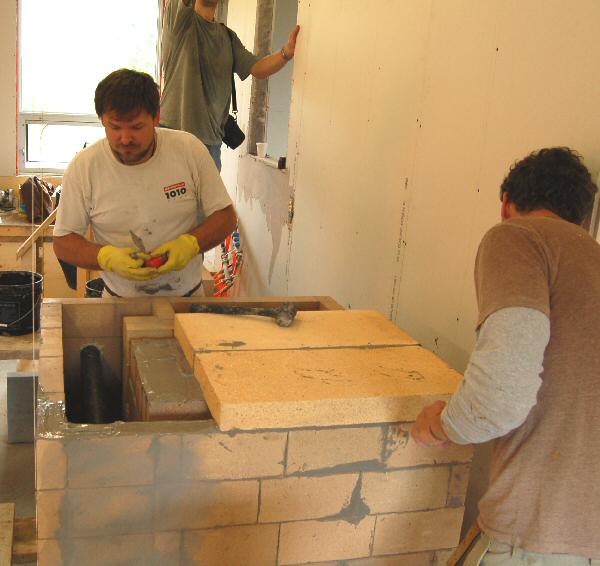
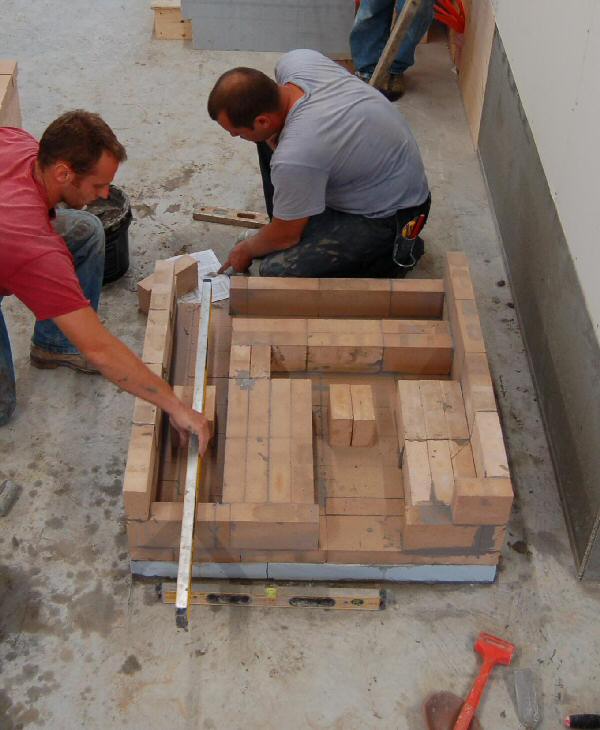
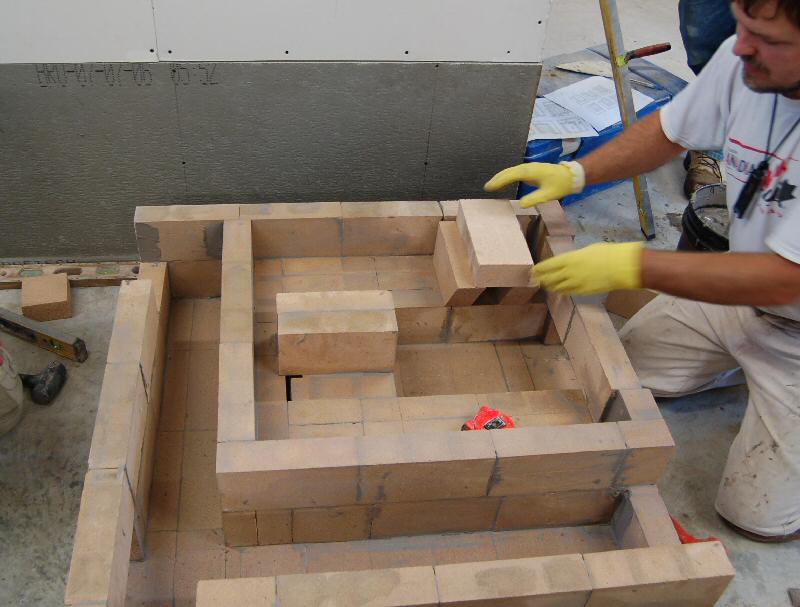
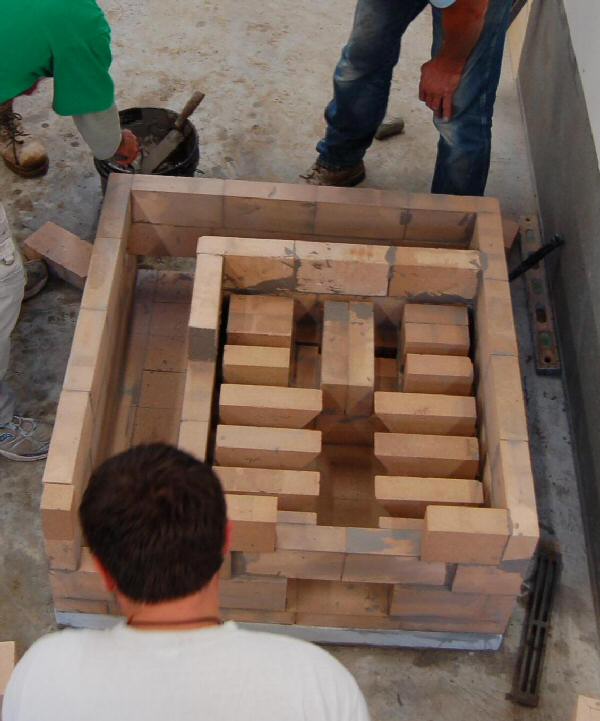
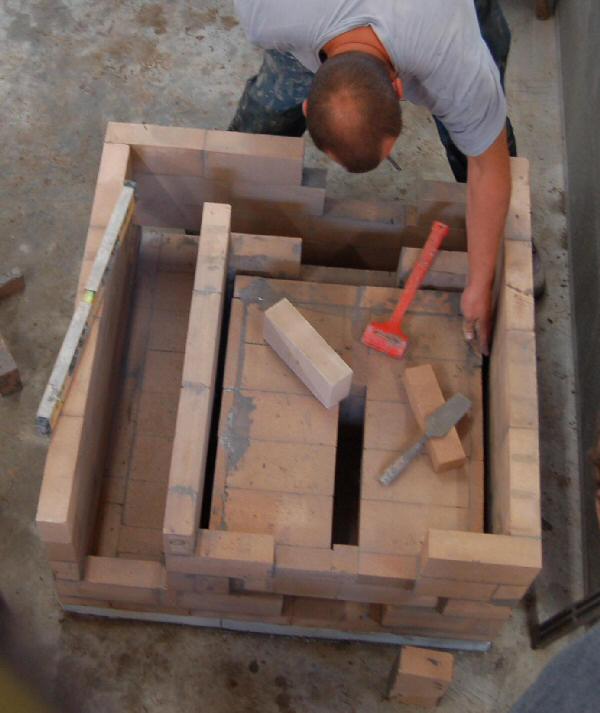
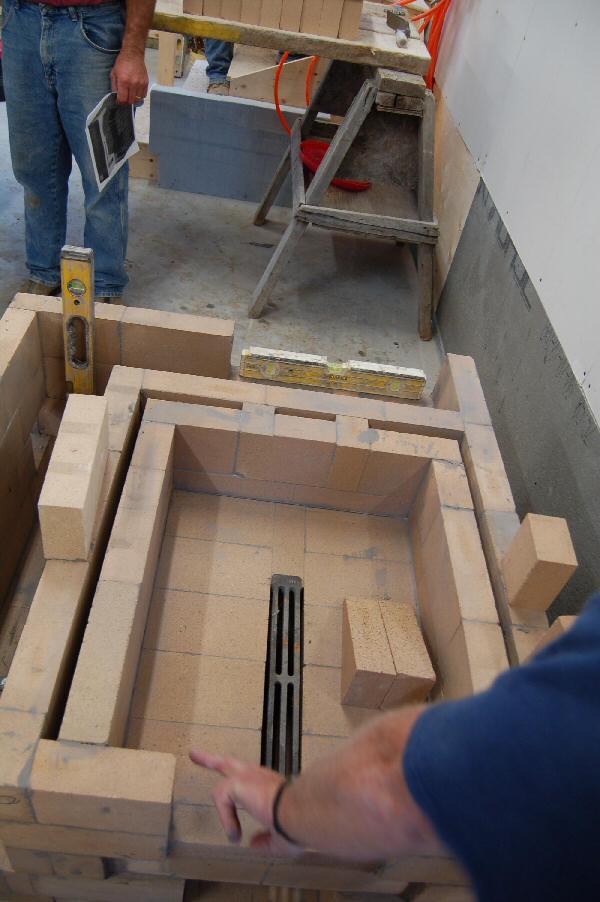
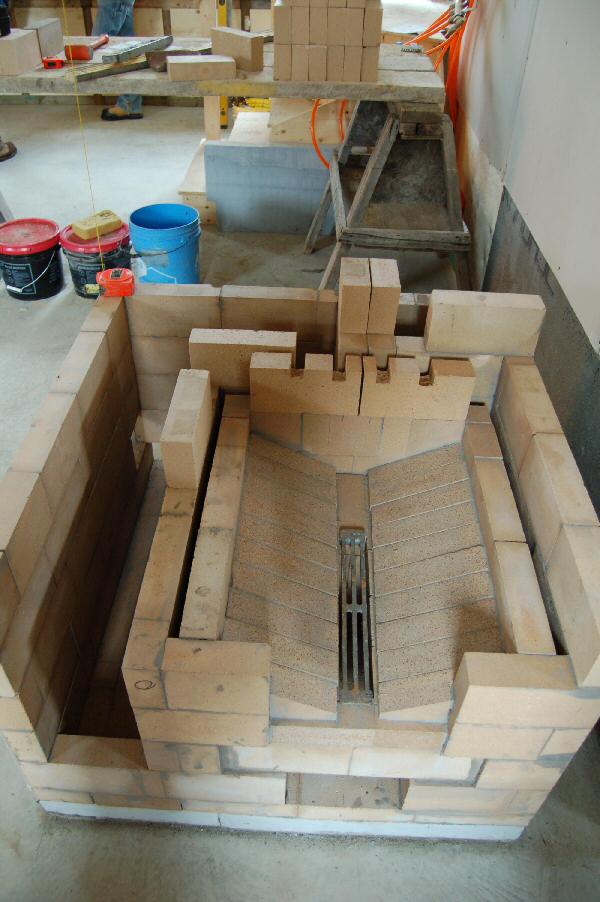
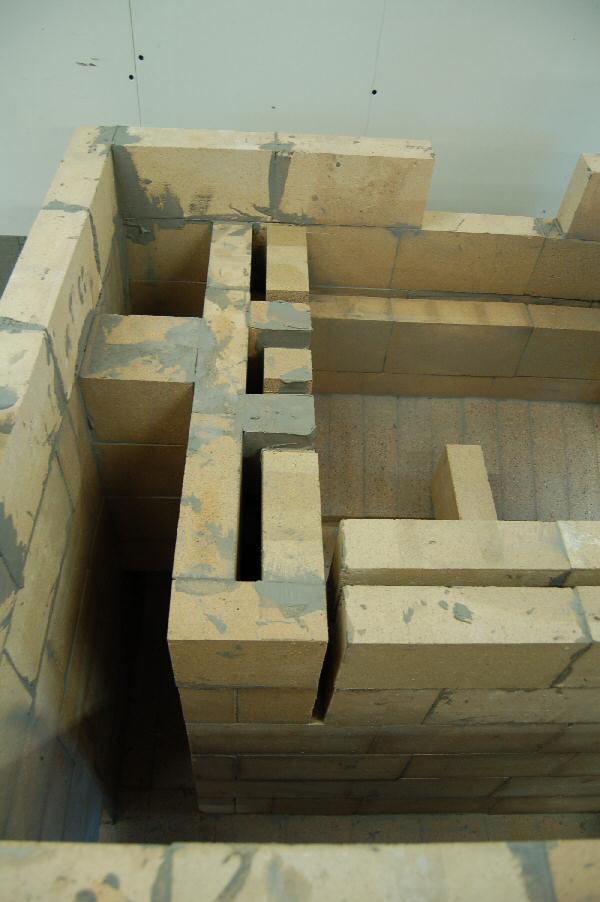
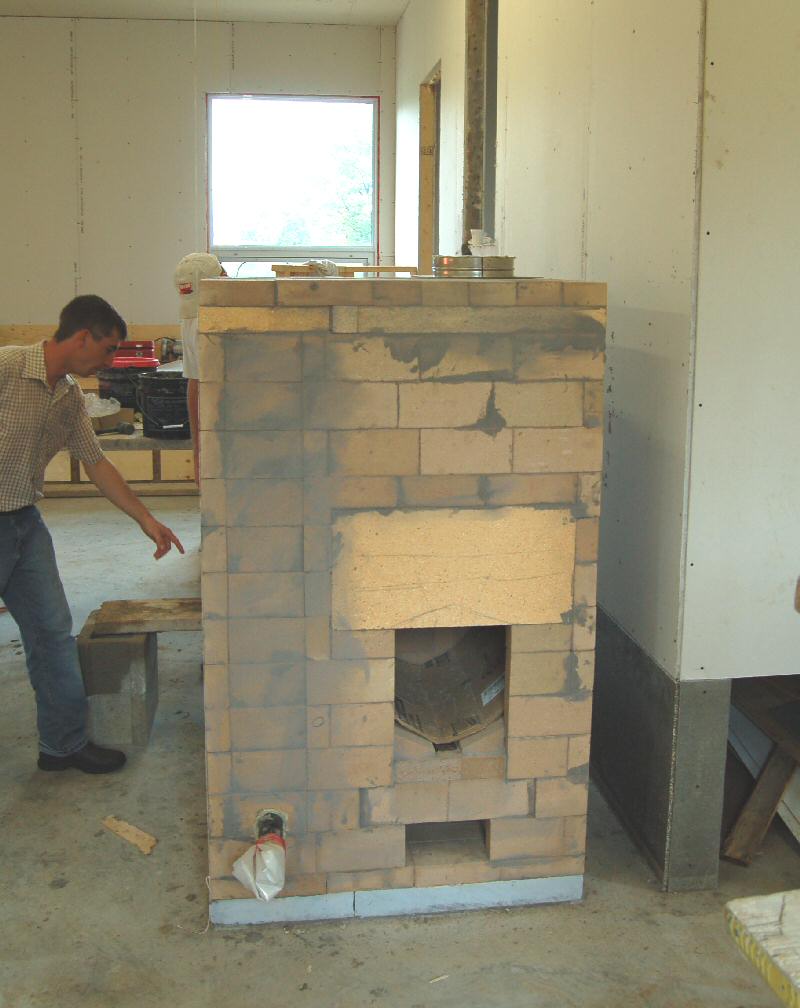
Capping off the core.
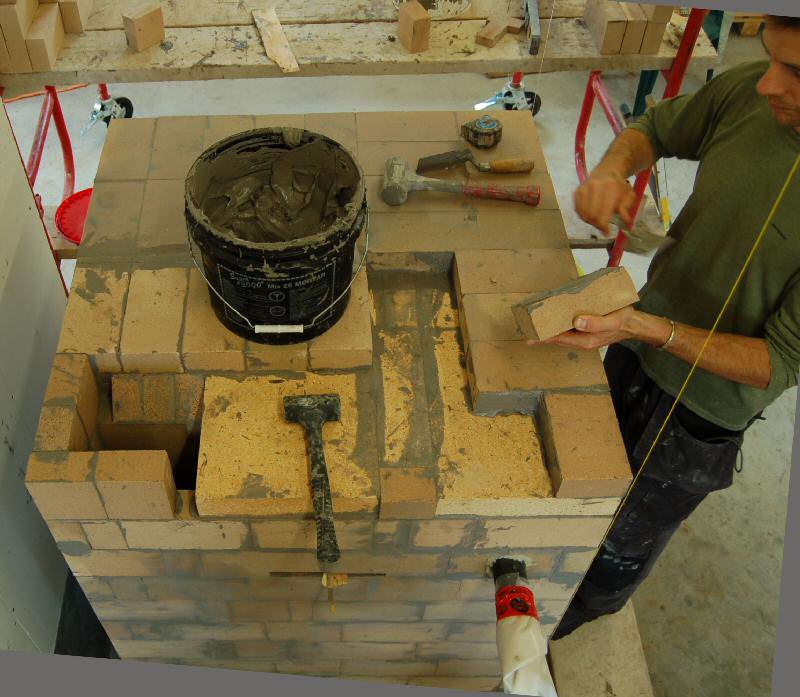
Chimney exit is on the left.
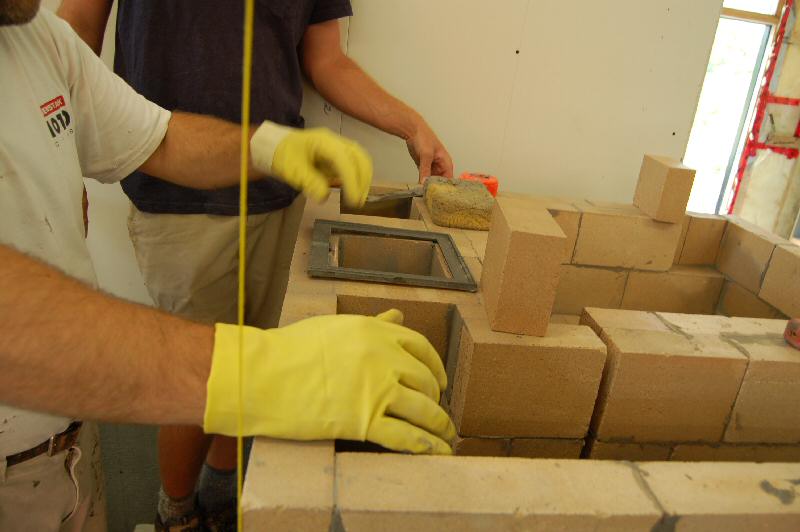
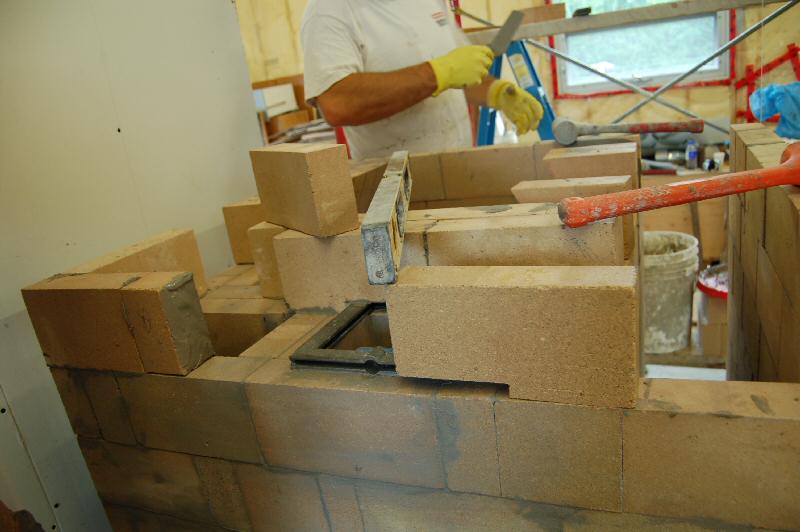
Excel anchor plate from ICC
It features an integral damper and damper control.
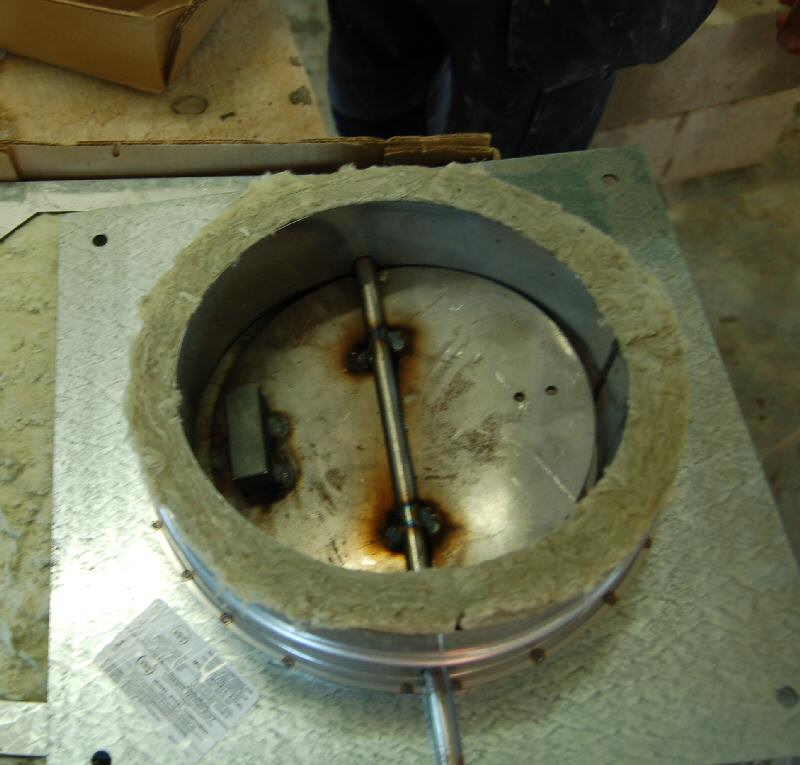
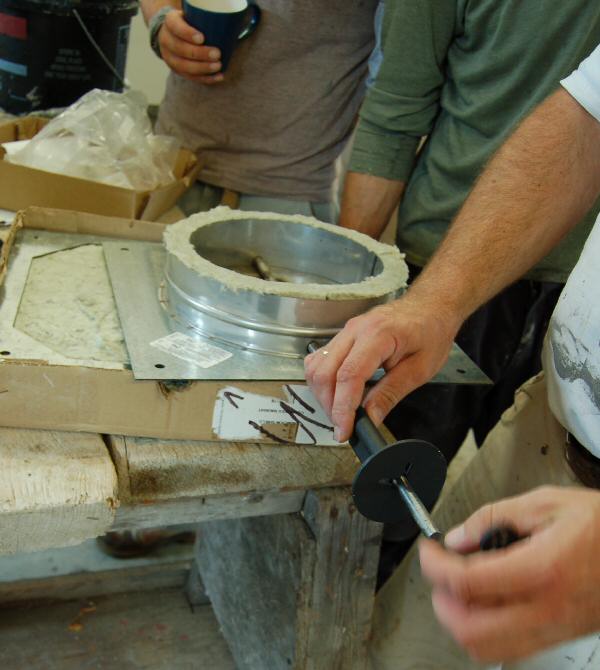
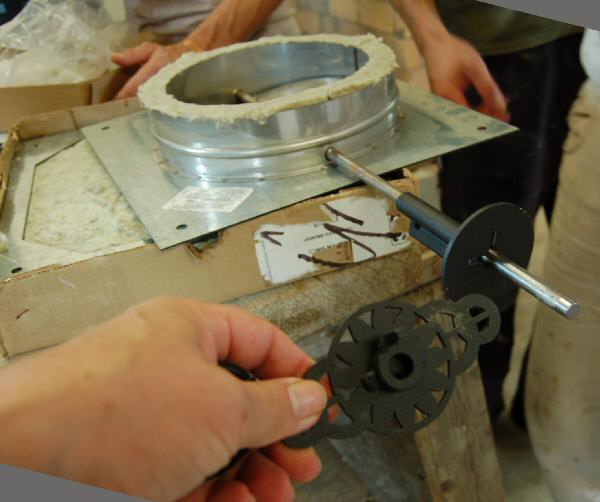
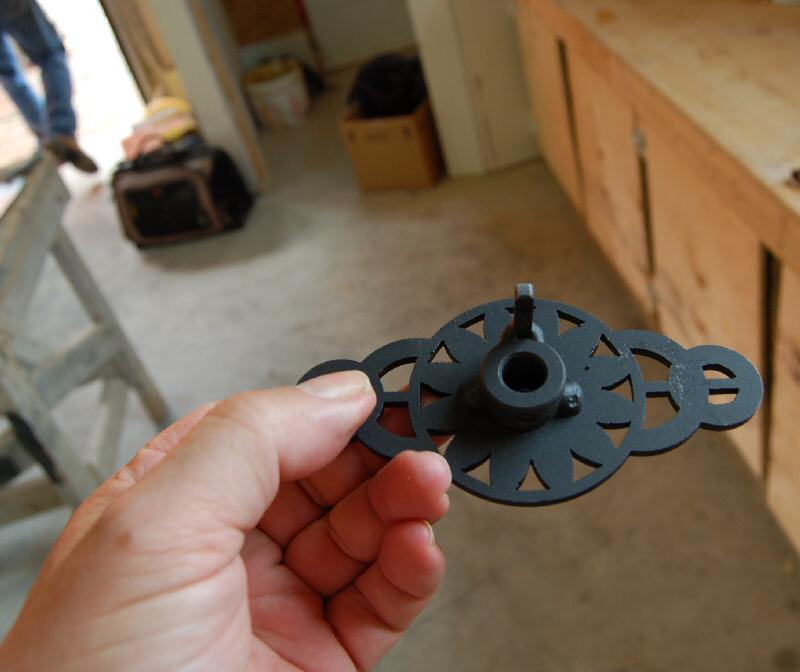
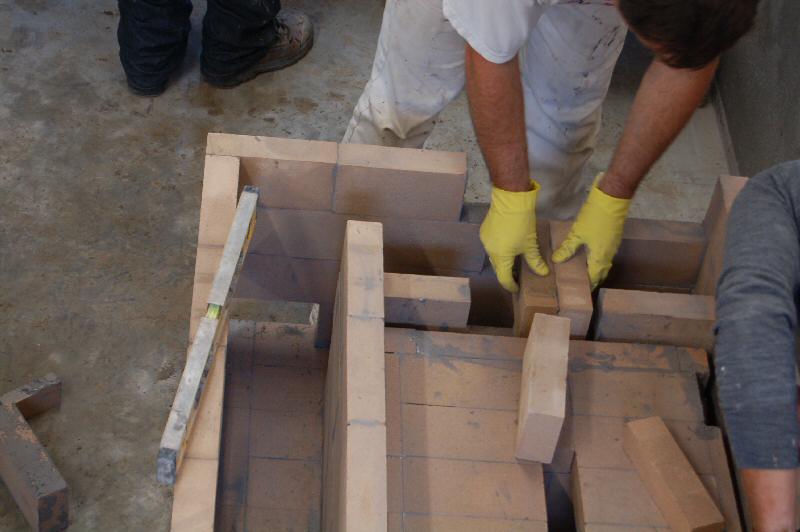
Damper handle control plate. The projecting piece fits into one of two slots - open or closed.

Note the stacked joints on the left. This allows the panel to be easily knocked out, if the coil should ever need repair or
replacement.
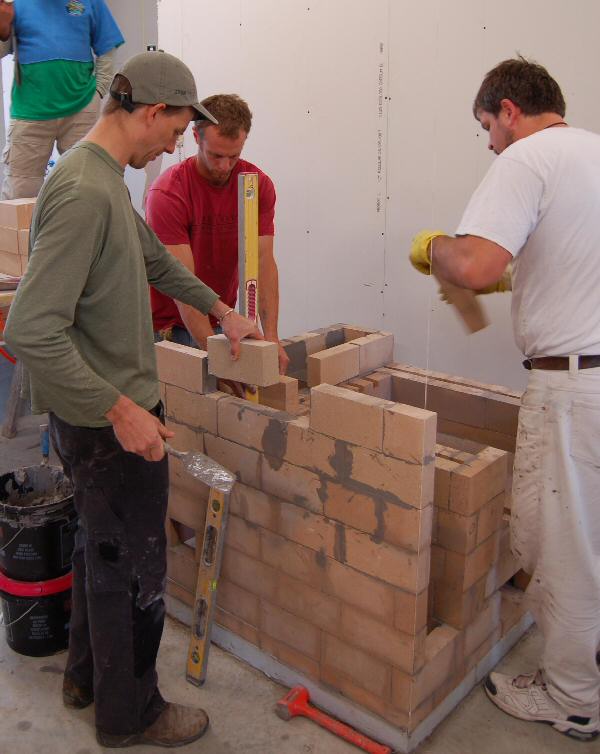
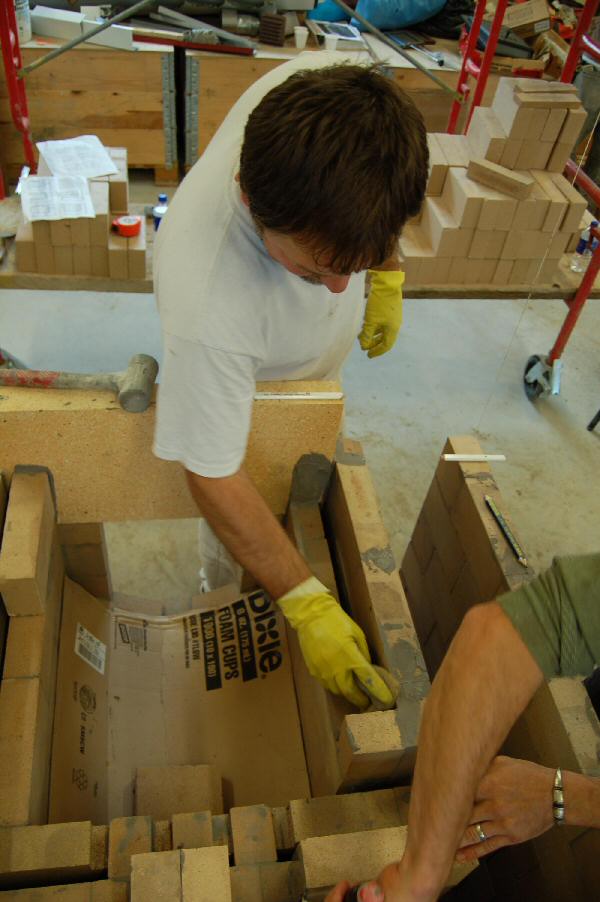
This masonry hydronic heating core will receive a 4" clay brick facing, and then be insulated on the outside with 4"
of Roxul insulation.
Update: August 14/22:John McDougall sent the following update:
"We
opened up the boiler as the response time was getting slower over the
last couple of years. Needs a good cleaning, but everything else looks
sound. I’m also going to give the in-floor tubing a good flush. "

Update: Sept 19/08:
Igor Kuznetsov's comments on this boiler.
Update: Nov 13/08:
Comparison: Tarm boiler installation
Update: Jan 30/09
Conversation with John McDougall:
In a phone conversation, John reported that he had been using the boiler for 2 weeks.
Overall, he thinks it is working well for heating the shop, so far. During below 0F weather,
the shop stays around 50F, with one fire per day.
If the firebox is reloaded, the temperature pressure relief valve actuates, because the
system cannot dump heat into the slab fast enough. Normally, a boiler installation
of this type would have a water storage tank, to soak up spikes in the heat output from the
coil. He reports a 40 degree temperature differential between outlet and inlet, when 30
degrees is normal for standard hydronic layouts.
With a standard PEX floor tubing layout running at 30 lbs pressure, a more consistent heat
source has been assumed. If one wanted to get by without a
storage tank, the PEX layout could be redesigned. More loops could be run in parallel, to
reduce the system friction, to allow a higher flow rate at 30 psi. If enough temperature drop
can't be attained in the return, then additional tubing can be added to the slab design, to
provide more heat exchange capacity.
In a domestic system, a storage tank would be specified, because the temperature regulation
needs to be more controllable. In a shop system such as this, using the slab alone for storage
still remains an interesting possibility.
In experiments with hydronic heating with contraflow heaters, Mark Klein at Gimme Shelter Construction
in Wisconsin reports that using slabs alone has worked well, because the hot water output
is less than in a dedicated boiler such as this.
Mar 20/09:
Hot water experiment report from William Davenport
Mar 26/09
Comments from John McDougall in reply to IgorKuznetsov
Thu, 26 Mar 2009 15:51:20 +0500
----- Original Message -----
From: " " <igor(at)stove.ru>
To: "John McDougall" <jmc(at)ripnet.com>
Sent: Sunday, March 01, 2009 12:14 AM
Subject: boiler
How does the boiler work?
--- Take a look at
the attached photos. My intention was to have a very low-tech system
that took little or no power to operate. I have been running one
circulating pump for all six loops and believe that this is simply not
enough. When the circulating pump is turned off, there doesn't appear
to be any circulation at all, as the temperature at the boiler climbs
rapidly. I have a mixing valve to maintain the temperature of the heat
exchanger, so as to minimise condesation. So far I've not been able to
adjust this satisfactorally.
What do you like and not like? What lacks do you see in the boiler works?
What wishes you have for work improvement of the boiler and water heating system?
Did you try to operate the boiler without the pump (for this purpose bypass is necessary)?
What is the heated area?
--- The floor area of the shop is 35 feet x 45 feet. The concrete slab is approximately 5.5 inches thick.
What is the power capacity of the boiler approximately?
--- I typically fire the boiler once in the morning and once in the
evening, if I have time. My original hope was to be in the shop most of
this winter, thereby being able to monitor the system. So far, that
plan has not worked out. With this amount of fuelling, I'm able to
maintain a slab temperature of of 60-65 degrees Fahrenheit, which is
very comfortable for a shop / working environment. At this temperature,
I am seeing moisture/condensation at the bottom of the bell chamber.
Did you carry out the average amount of fired wood per day?
-
-- Because I did not start the boiler initially until after Christmas,
I've had to play catch-up. The slab was quite cold by this time.
How many electrical energy you spent for heating this area earlier?
---
My shop has a office space with a bathroom and water source underneath
it. Prior to boiler start-up, I just heated this area with electricity
so as to keep the pipes from freezing.
Is the boiler isolated?
---
The boiler is not isolated. It is in the open area of the shop. It is
also not insulated, therefore, it radiates a fair amount of heat.
If it is not isolated, what temperature is the surface of the boiler while stoking?
- -- If I double-fire the boiler, I can get exterior temperatures of 160 degrees Fahrenheit.
What temperature has the inlet and the outlet water?
-
-- As previously mentioned, the return from the floor has levelled out
at approximately 65 degrees Fahrenheit. When the boiler is being fired,
the temperature at the outlet usually runs around 140 degrees
Fahrenheit.
Does the boiler works visually dirty or not?
--- There is a bit of smoke at the front end of the burn, but otherwise it is very clean.
My overall impression is the boiler itself works very well at heating
the water, but I haven't been able to figure out the circulation system
properly.
I am currently experiencing pressure drops during the burn, which I hope is not because of leaks in the floor tubing.
However, because of my schedule, I have not been able to devote the time to figuring this all out.
Thanks for your input,
--- John
June 21/09
Comments from hydronic designer John Wood, in response to parallel loop question:
December 15/09
Report from Tom Stacy, who used this workshop report to build the same boiler in Ohio October 15/11 Design by William Davenport October 28/17 Boilers and Their Piping - article by Igor Kuznetsov
|