Saône Valley - Field Notes.
This article illustrates the construction of a Finnish style contraflow heater, just above the confluence of the Rhone and Saône, at Couzon-au-Mont-d'Or.
Detailed are:
- Construction of black upper chamber oven.
- Installation of chimney shut off damper.
- Use of recycled local stone.
- Lime Sand Rendering.
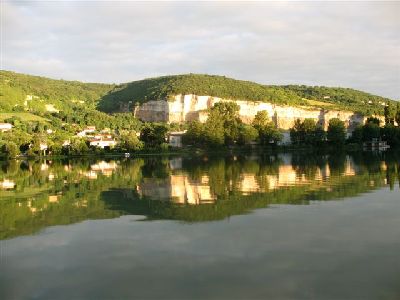
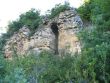
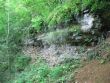
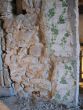
Ancient quarries in the ridge of red lime stone that runs at about 700m parallel to the west of the Saône, between Couzon and Albigny.
This soft attractive crystaline limestone known locally as Pierre Dore, has been quarried since at least the Gallo-Roman epoch.
Quarrying reached its zenith at the and of the ninteenth century, with a community of 2,500 workers living on the mountainside, behind Couzon
These quaries were the original source of the recycled stones used in the facing of the heater.
Materials
Refractory Brick
Bony B40N French Format
HTC
Refracol 8
Wool
Thermal Ceramics Super wool
Flue Tile
Terracotta 200 mm square
Castable Refractory Concrete
Refcast 1460 10
Clay Brick
Leopard
Hardware
Pisla Oy
See Technical Documents PDF Index
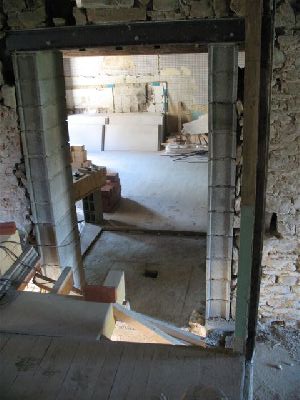
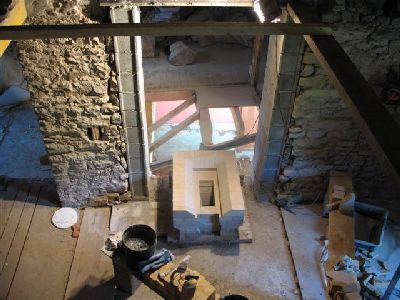
The dwelling is dated 1817, and had been emptied in preparation for complete renovation. The stove would be located on the upper floor.
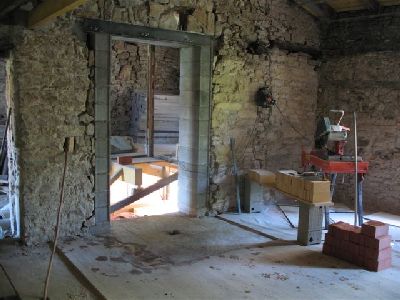
The heater would be built into a load bearing stone wall 50cm thick. Just over two thirds of the depth of the heater would protrude out from the wall, into the living area. The remaining third would be enclosed by the width of the wall.
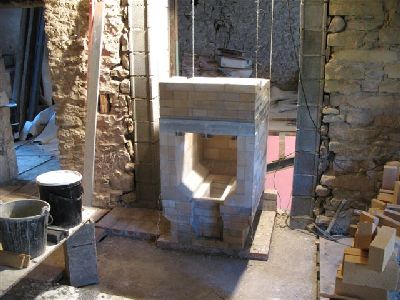
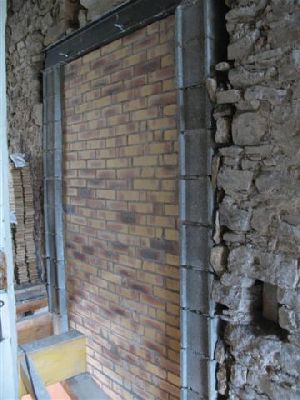
The chimney will be built in to the heater's facing on the left side, impeding even more direct radiation from the heater.
The chimney will be built in to the heater's facing on the left side, impeding even more direct radiation from the heater.
The rear face of the heater will be almost flush with the rear face of the load bearing wall and radiate into the smaller area of the house.
The lower 50 cm of the heaters rear wall will be exposed to a ground floor passage leading from the street to an interior court. This will demand super insulation of this portion of the rear wall.
Enclosing part of the heater behind half metre thick walls, and its own chimney is not ideal. It was accepted in this situation as the area of the home to be heated was not large and most of the outer walls are covered by neighbouring dwellings. The house would also be well insulated. And the heater centrally located.
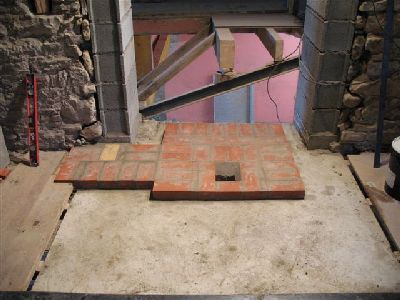
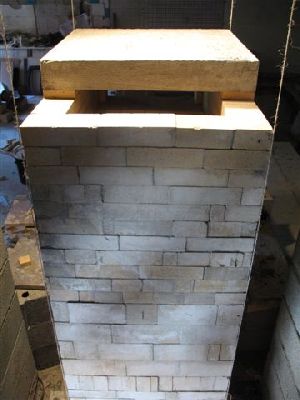
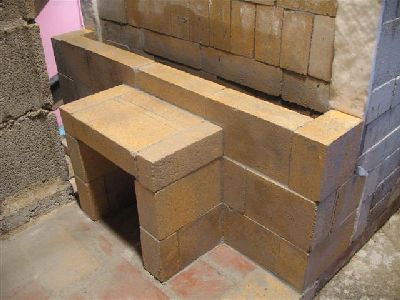
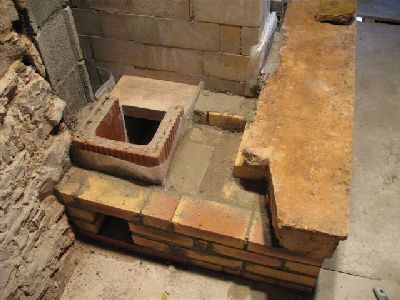
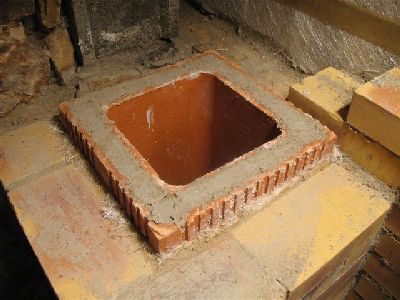
A base course of clay brick is layed beneath the core and chimney.
View of the fire box floor from the mezzanine.
The first 6 courses above the fire box lintel.
Looking from back to front towards the corbeled baffle.

The baffle solidifies the masonry directly above the angle bar lintel, adds mass and surface area, and creates turbulence.
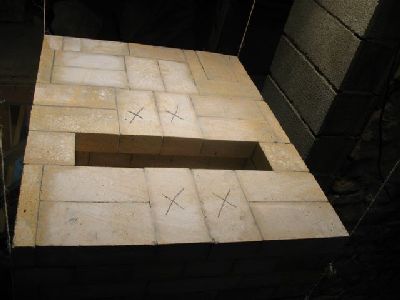
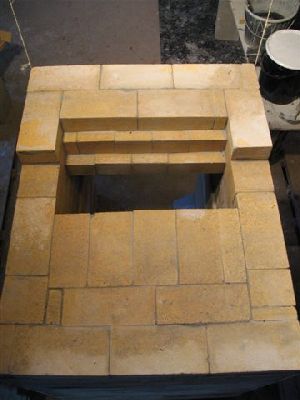
The oven's hearth (looking from front to back). When the oven's walls are built along the sides and back, there will be only the brick marked with crosses that are not, at least partially, held in place by the weight of the walls.
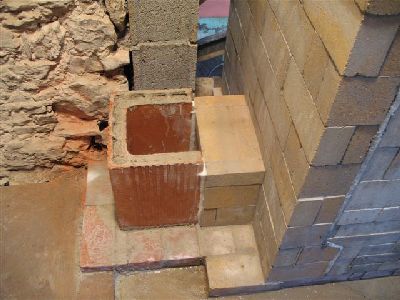
The throat at 12cm.
View of the fire box ceiling. The baffle is to the left.
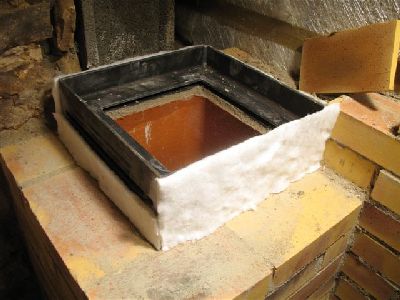
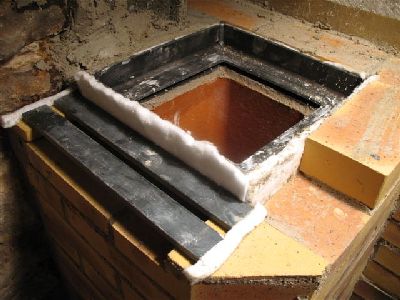
The oven slab and load relieving lintel immediately after de-forming.
In this case as an alternative to vibrating the mix in the form, each of the two batches used to poor the slab were walked on. This was done in imitation of the local tradition of 'treading' grapes. The result was surprisingly superior to vibrating with a drill.
The 'treading' was done with boots on.
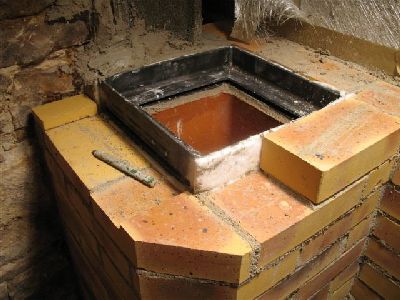
The core and oven slab from the back.
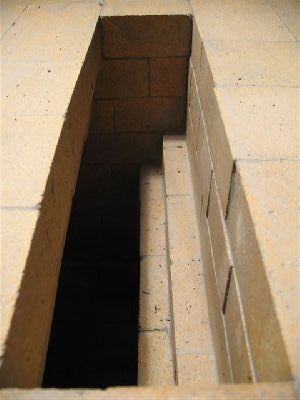
The exit throat is 15 cm wide.
The rear wall has a small cardboard gasket preventing contact with the slab. The course of brick above the load relieving lintel is the final course of the core.
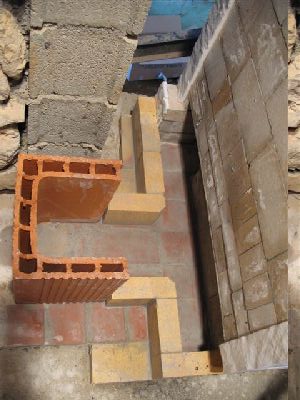
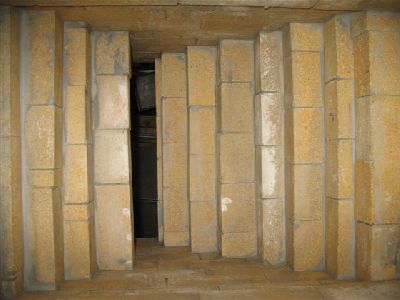
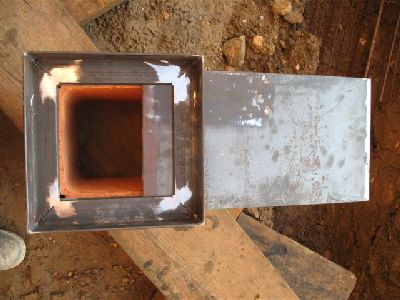
The chimney connection is through the left side channel wall. The flue tiles used are 20cm square.
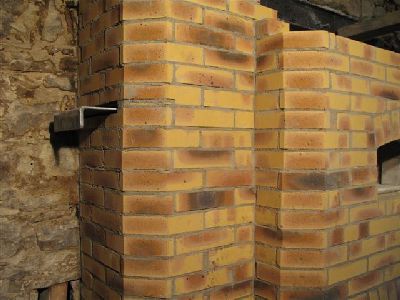
The facing of the side channel will also serve as one wall of the facing of the chimney. This ties the chimney into the heaters facing, and should only be done if absolutely necessary. An independent freestanding chimney is always the better option.
The facing of the side channel will also serve as one wall of the facing of the chimney. This ties the chimney into the heaters facing, and should only be done if absolutely necessary. An independent freestanding chimney is always the better option.
The chimney connection is tied into the channel wall
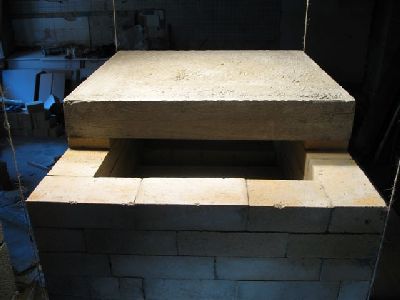
The tiles are grouted with mortar and/or sand. This was done up to the hight of the shut off damper.
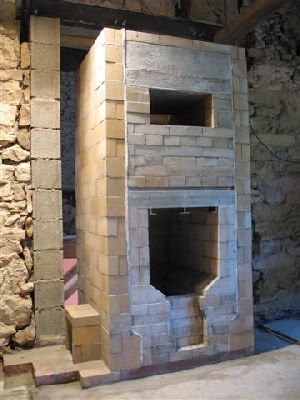
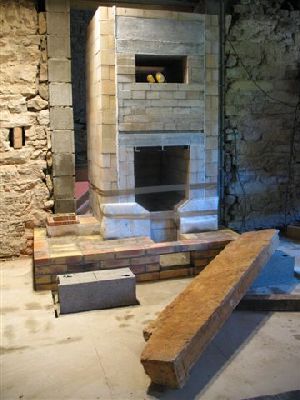
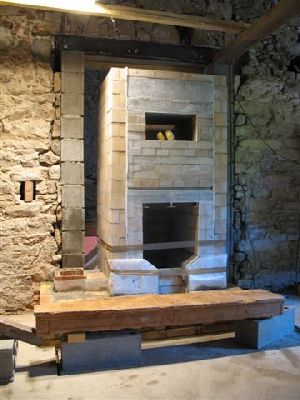
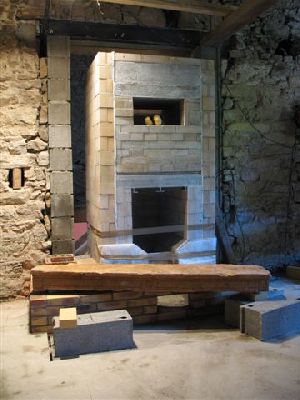
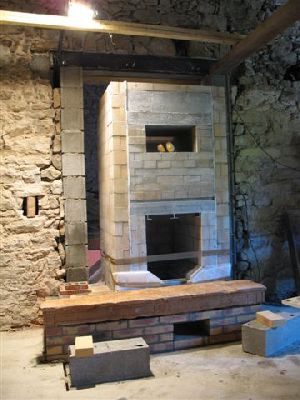
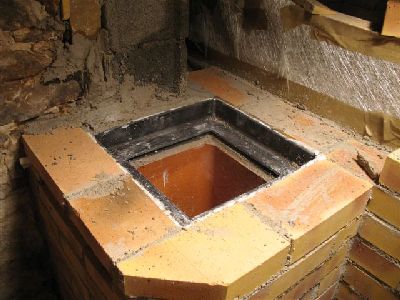
The completed core.
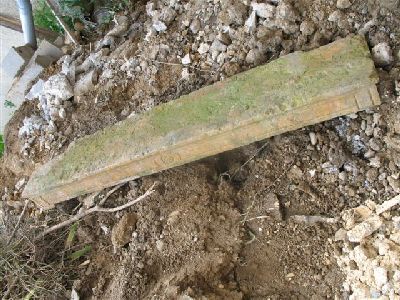
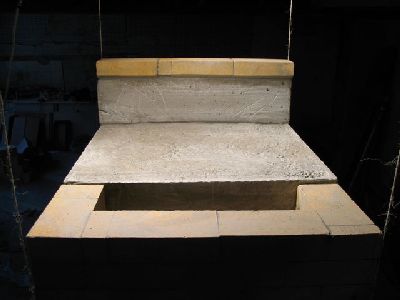
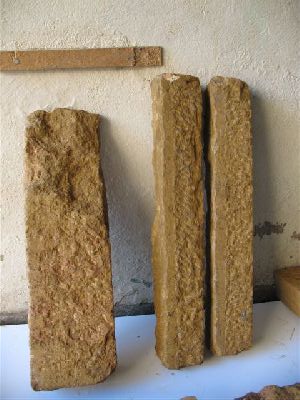
The limestone mantle, presumably from an original fire place, as it was found in the garden.
This golden red limestone is called Pierre Dore and and is specific to this location.
The stone mantle was just 3cm longer than the with of the heater and chimney, making it an ideal bench top.
This golden red limestone is called Pierre Dore and and is specific to this location.
The stone mantle was just 3cm longer than the with of the heater and chimney, making it an ideal bench top.
The stone was too heavy to be picked up and layed by one person, though it could be picked up one end at a time.
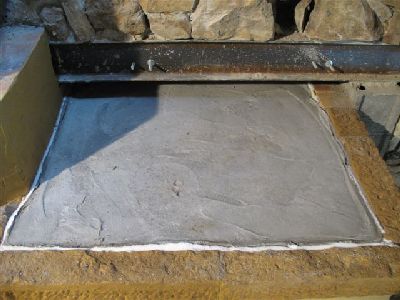
The stone was raised into position, parallel to, and at the same height as, the brickwork onto which it would be layed.

One end of the stone would be lifted onto the bench. where it would rest upon a piece of brick that would act as a swivel pivot. This pivot would allow the stone to be manipulated into place, without touching the mortar bed.
The last action of the process would be to lift the weight of the stone of the pivot and kick the brick to which it is tied down the stair well. The pivot removed, the stone can finally be layed onto the mortar bed and knocked into place.
The last action of the process would be to lift the weight of the stone of the pivot and kick the brick to which it is tied down the stair well. The pivot removed, the stone can finally be layed onto the mortar bed and knocked into place.
The stone can just be lifted on to the pivot by one person.
At this point the bed of mortar is spread on the masonry below, and then the stone lifted, by the other end, into position.
The pivot reduces friction during final manipulation of the stone and preserves the bed of mortar below, as the stone is pushed into its final position.
At this point the bed of mortar is spread on the masonry below, and then the stone lifted, by the other end, into position.
The pivot reduces friction during final manipulation of the stone and preserves the bed of mortar below, as the stone is pushed into its final position.
The stone in place.
It was decided by principal not to cut the dressed mantle stone, in the chance that it may be used in years to come. The space between it and the chimney would be filled with irregular pieces of the same kind of stone.
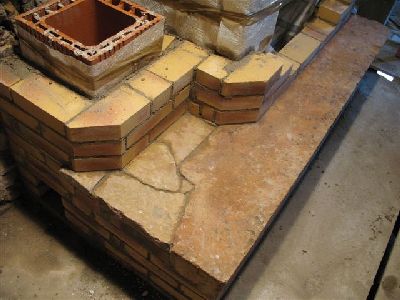
The finished stone work and the first three courses of facing above the bench
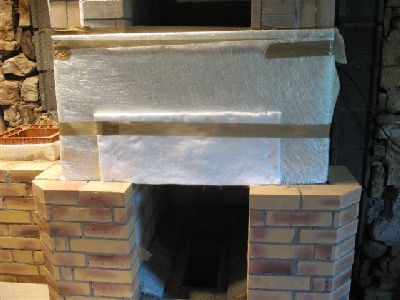
A sheet of 1cm thick wool is placed behind the arch in the facing to reduce transfer in this potentially problematic hot spot.
Note. With the 350 g thin mat used it was prudent to place 5 sheets on both front and rear faces of the core.
Note. With the 350 g thin mat used it was prudent to place 5 sheets on both front and rear faces of the core.
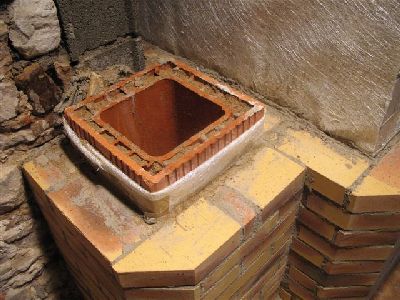
The last flue tile before installation of the damper frame. The tile is filled with sand to encourage transfer. Each tile is wrapped in 2 sheets of glassfiber mat and the void, between tile and brick, slushed again to aid transfer.
With heavier mat, only one sheet is necessary. The mat acts as a slip join to allow vertical expansion. Lateral expansion is probably negligible at this point.
With heavier mat, only one sheet is necessary. The mat acts as a slip join to allow vertical expansion. Lateral expansion is probably negligible at this point.
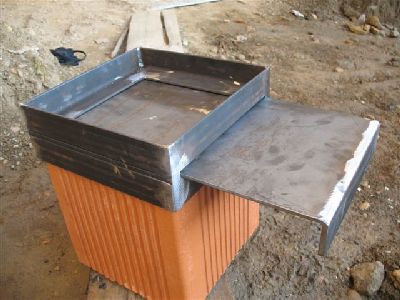
The guillotine damper.
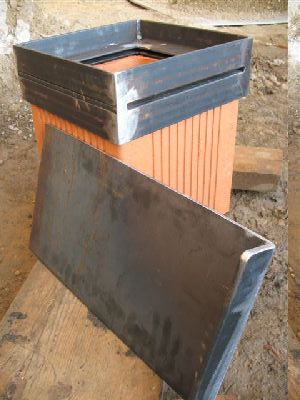
This design consists of 8 pieces of angle bar, welded into two squares, and three pieces of flat bar. The flat bar is welded between the two elements of the frame. It separates the frames and reduces the chance of the two frames being compressed by the weight of the tiles above.
The simplest and strongest form of construction I have come across to date. Devised by a local Smith
The simplest and strongest form of construction I have come across to date. Devised by a local Smith
Both frame and guillotine plate are in 6mm steel.
Though the tile is grouted with sand, the last 4 cm of the voids is filled with mortar to provide a good contact for the mortar bed on to which the damper frame will be layed.
Note; The male and female lips of the two flue tiles that will contact the damper frame have been cut away, to provide a flat surface.
Note; The male and female lips of the two flue tiles that will contact the damper frame have been cut away, to provide a flat surface.

Mortar is spread to accept the frame.
The frame in place. The overlap of the 6mm frame fits into the space between tiles and brick.
All vertical surfaces of the frame are gasketed with 1cm ribbons of wool that have been torn apart to provide pieces of approximately 5mm thick.
The wool in its original 1cm form would be too thick and provide way more expansion than necessary.
All vertical surfaces of the frame are gasketed with 1cm ribbons of wool that have been torn apart to provide pieces of approximately 5mm thick.
The wool in its original 1cm form would be too thick and provide way more expansion than necessary.
The brick are cut down on the face through which the guillotine plate will slide.
6mm flat bar is used to span the opening in the face.
Note the gaketing of the ends of the flat bar lintel.
Note the gaketing of the ends of the flat bar lintel.
Detail.
The first course of brick layed over the flat bar lintel.
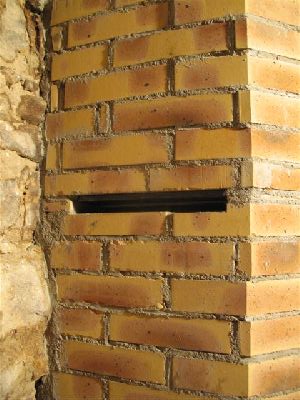
A cover plate with a 8mm slot will be fabricated and installed over the 3cm opening.
The guillotine plate is inserted to remove any mortar that may have accumulated in the space between the plates during installation.
Note: It is prudent to tilt the damper frame of level slightly, away from the opening in the face of the chimney. Any condensation will then drip into the tile and not out and down the facing.
The problem of condensation is increased if the chimney changes to to stainless steel at some point before the roof.
Even full masonry chimneys can drip, though this is usually just during the first fire of the season.
Better the black juice runs into and not out of the chimney. Particularly if the heater is rendered.
I have seen up to one half litre of liquid run out of some chimneys during the first curing fires.
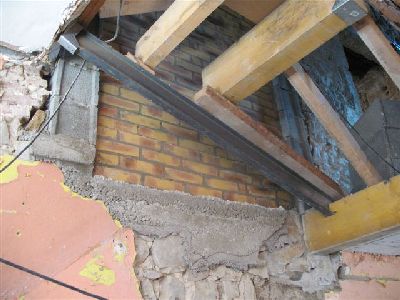
View (looking up) of the back face of the heater from the passage from the street to the inner court. It is here that the home owner will need to come up with some creative insulation.
Detail view - back face.
Looking like pieces of Moroccan .....
The stones that will be used for the trim at the top of the facing have been dressed and textured by the home owner.
The stones that will be used for the trim at the top of the facing have been dressed and textured by the home owner.
Detail view - top.
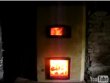
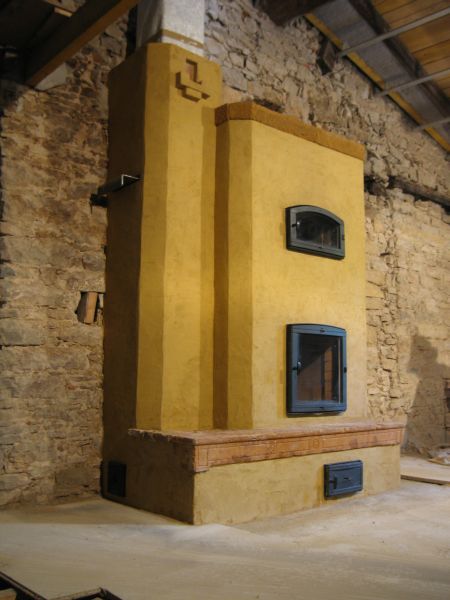
The completed project.
Marcus Flynn
2008
