
July 16, 2009
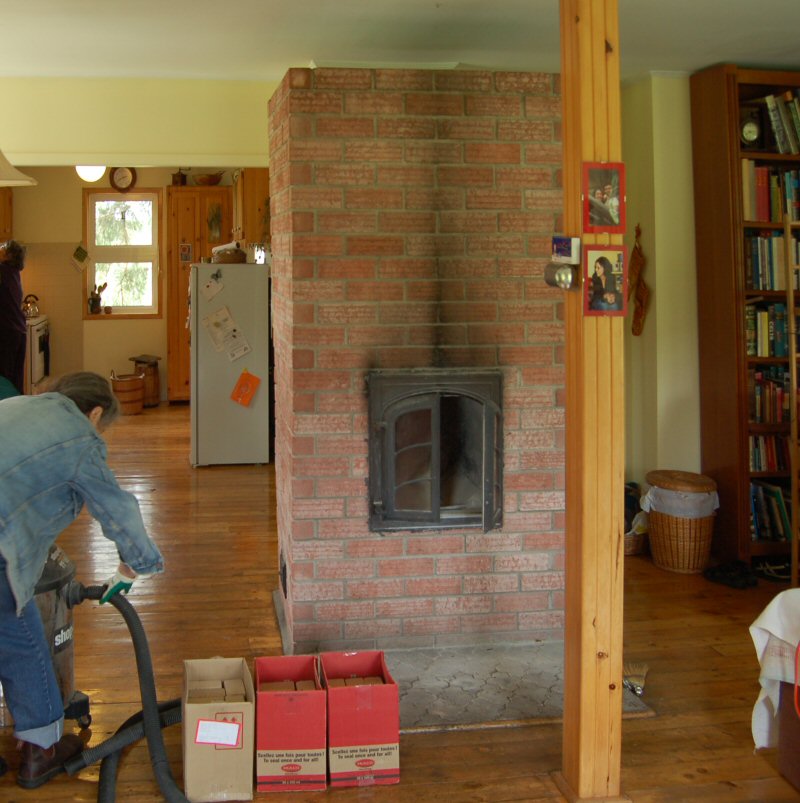
This is a Heat-Kit 18" firebox heater, built in 1992 north of Rouyn-Noranda, Quebec.
It is in the Boreal forest, 8 hours drive north of Shawville.
It is fired with poplar, and -40F is common in the winter. It is often fired twice per day, and sometimes reloaded, as well.
The goal was to restore the firebox to serviceable condition, within a 2 day time constraint, including 16 hours of driving.
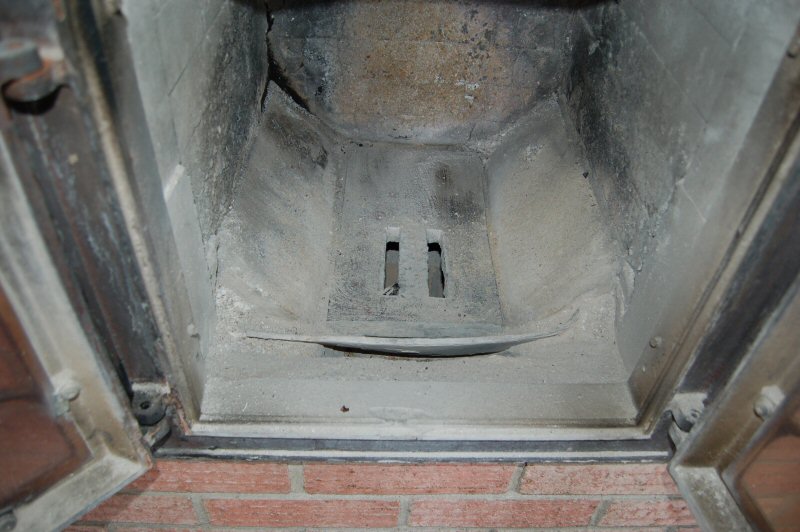
The heater originally had underfire air - supplied by a grate running front to back, as was common practice in 1992.
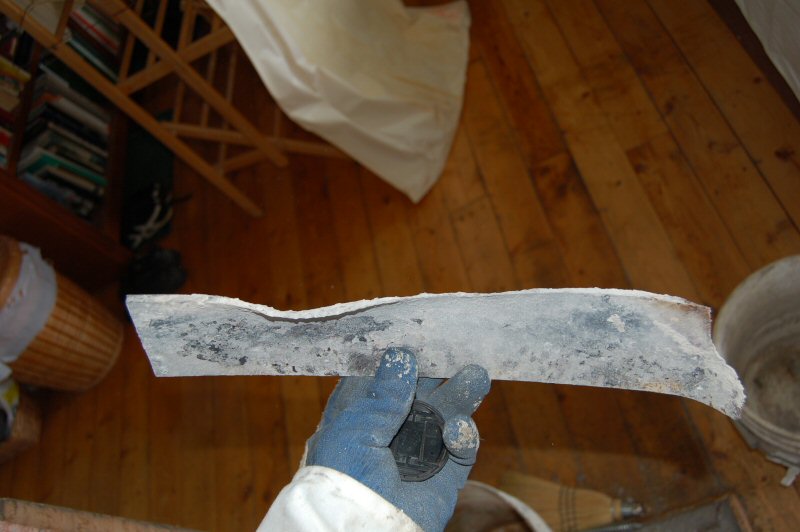
The grate burned out a long time ago. Shown is a 3/4" thick steel plate, with 2 air holes cut in it. It has been replaced a couple
of times, and this one was warped.
The steel air bar at the front of the firebox. The right side is burned right off.
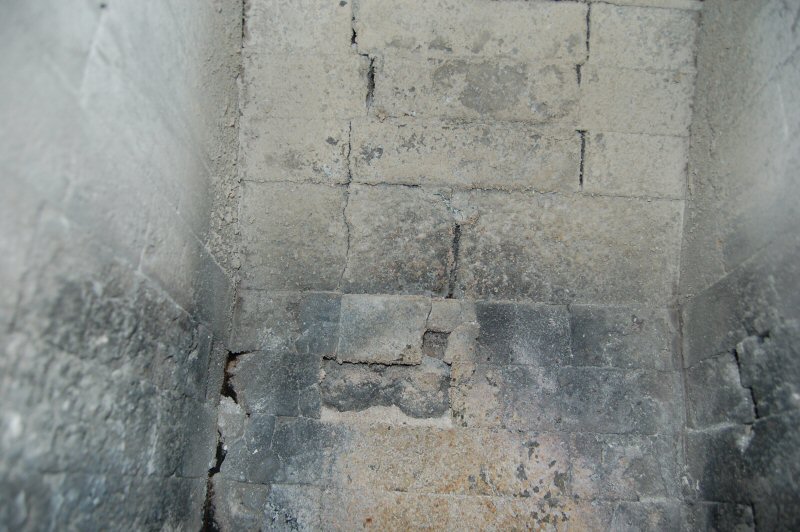
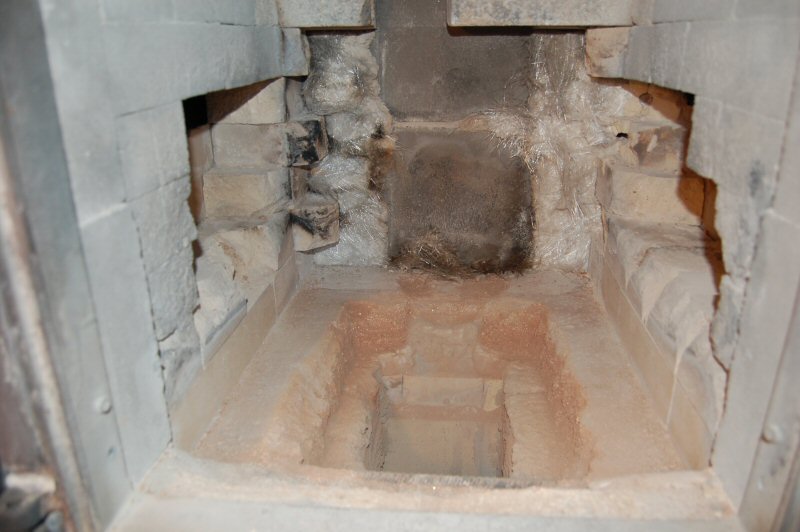
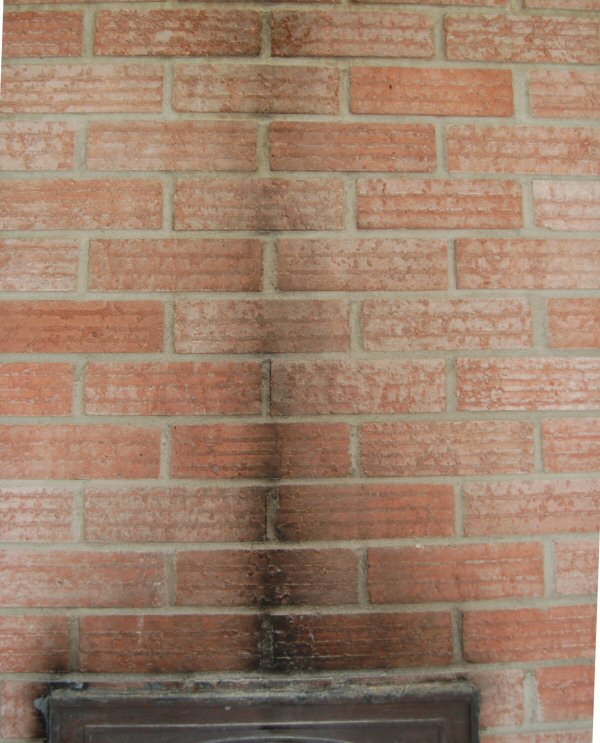
Firebox photo. Where the bricks are yellow at the back, they had been replaced once before.
This is the most highly stressed part of a heater, and makes for easy inspection.
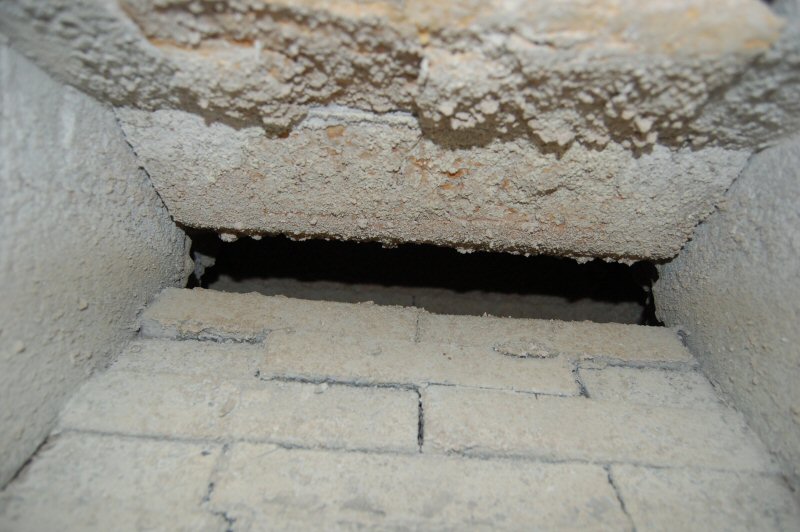
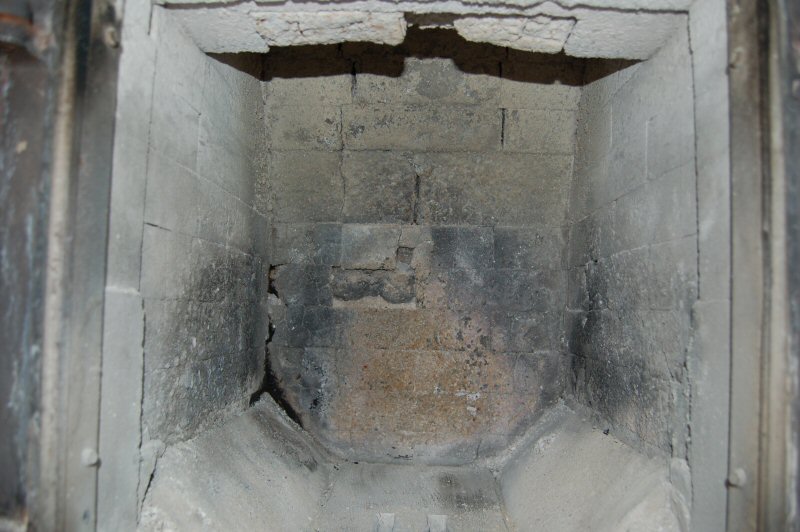
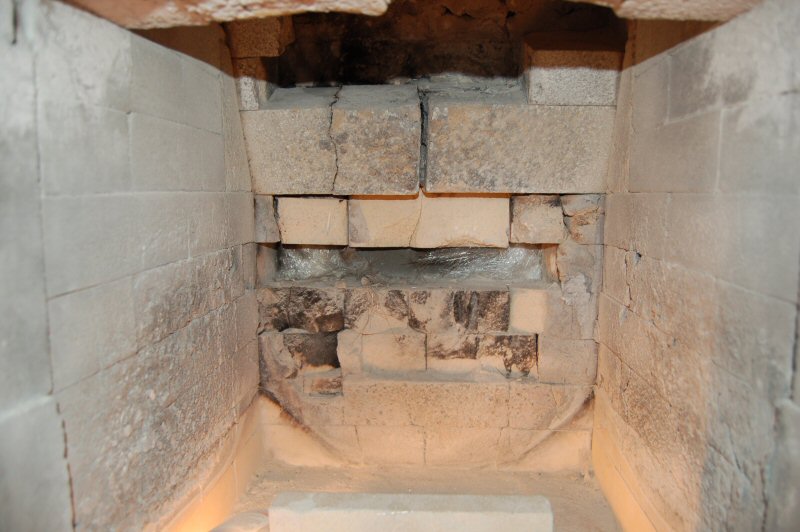
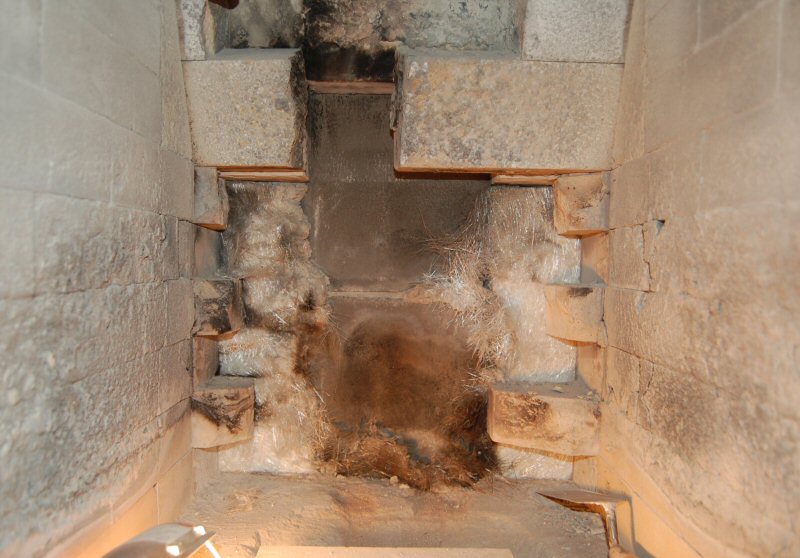
View of the throat. The firebox has an angled back, a system we no longer use.
View of spalling at the back wall and sidewalls of firebox.
The spalling extends around both sidewalls (black area, which is slag, or fused firebrick/ash.)
Note the as-new condition of the firebricks on the first course, where they were covered by sloped side pieces.
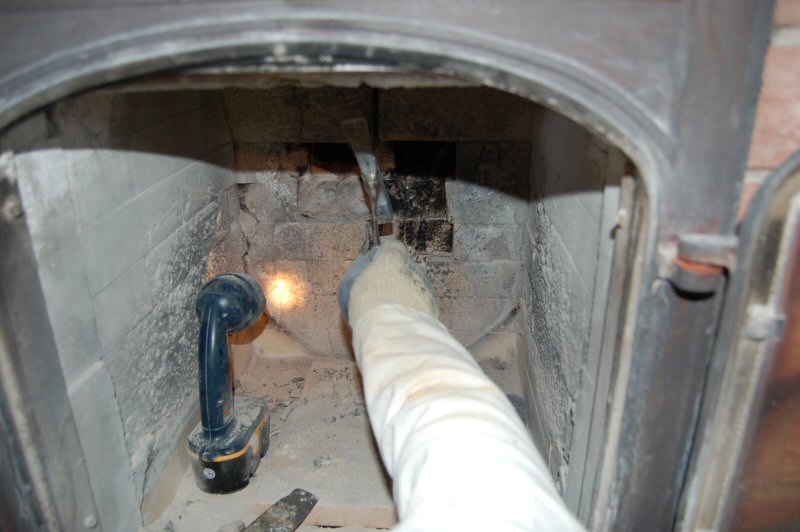
Ash deposits in the throat area had to be cleared first, to allow some dust relief.
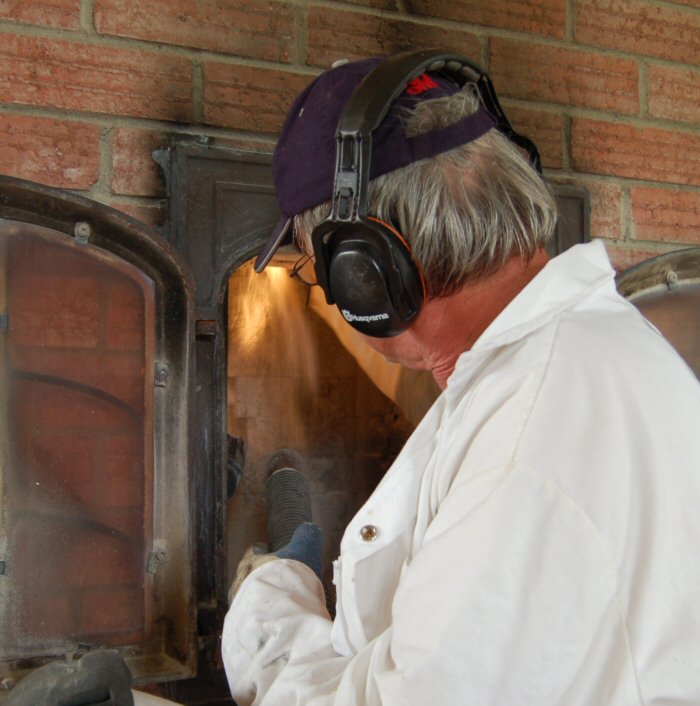
During brushing, a high powered shopvac with a HEPA filter prevented dust escape into the room.

Dismantling the rear wall. The top sloped section went fairly easily. A crowbar proved useful.
I proceeded carefully, in order not to loosen any bricks that would remain.
Once the brick is loose, you can start sliding it back and forth to abrade some fire cement, which loosens it further until it slides out.
There was a precast sloped piece that we judged to be serviceable, and elected to leave in place.
We wanted to cut out the bad parts, and leave enough structure intact. The goal was to minimize damage to the remaining portion.
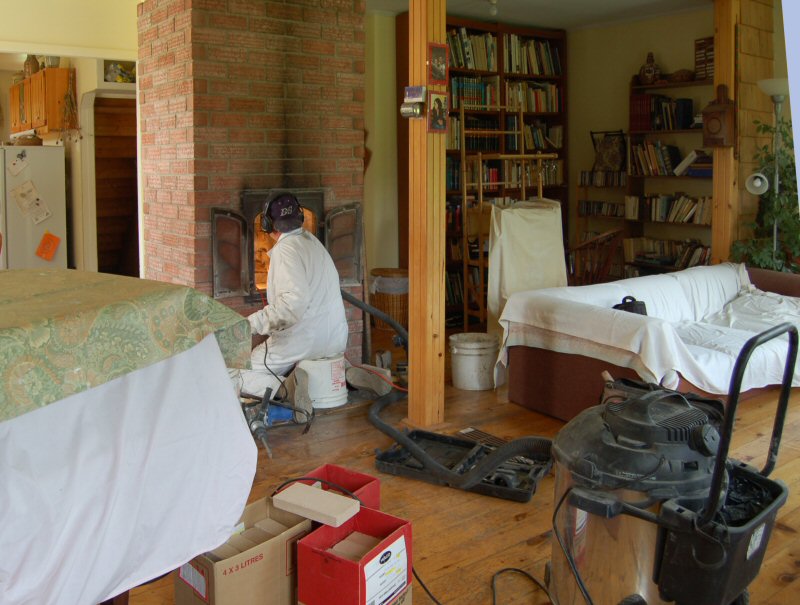
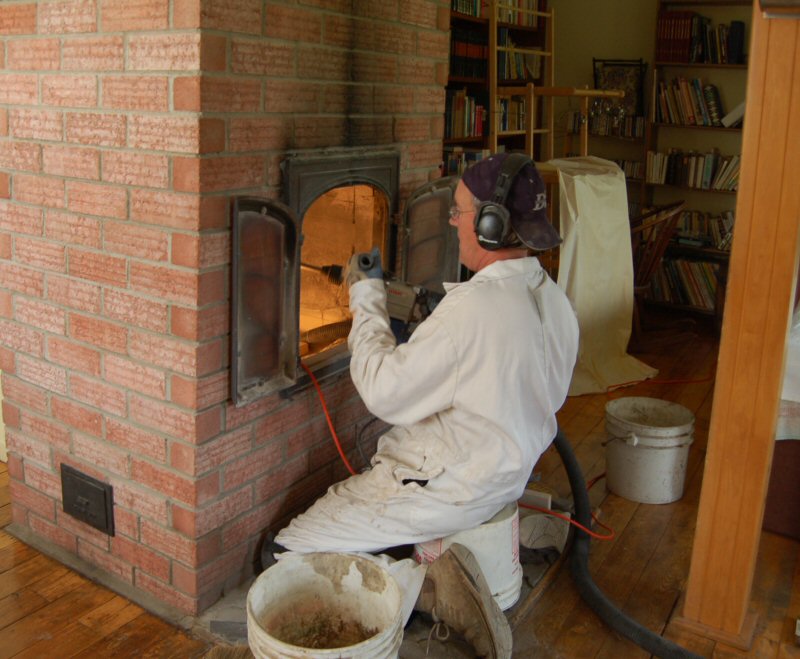
A 700 watt rotary hammer was used for the the main demo work.
Back wall removed. The cast sloped transition piece was solid, and left intact. The broken piece was reset with refractory mortar.

To get out the corner bricks without too much damage, 3/4" holes were drilled with the rotary hammer, which then allowed breakout
with the hammer chisel.

Left wall. At the rear, the original fiberglass mat wrap is visible. In behind are grey refractory concrete flue liners, which are
directly against the core, to allow hookup to an existing chimney flue that is shared with an oil furnace in the basement.
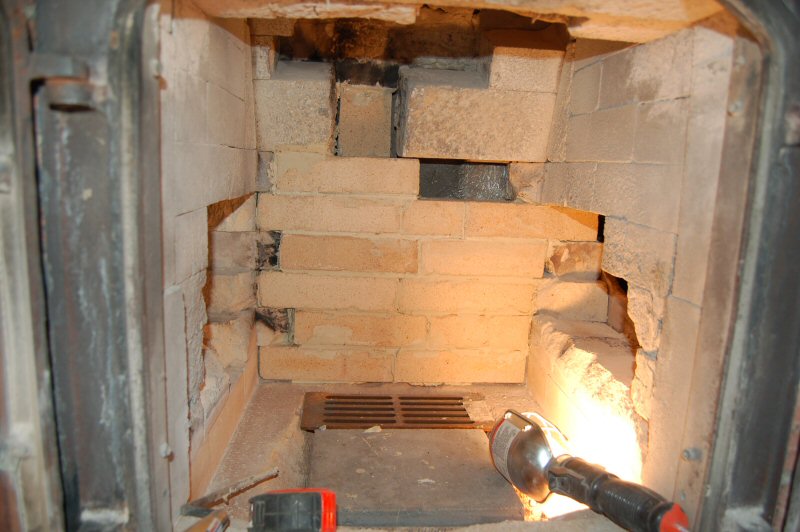
Brick demo complete.
Next, firebox floor is broken out to allow updating the air system to the current Heat-Kit setup.
Original firebricks were 2.5" thick. Replacements were 2.375", which required some fairly thick mortar joints.
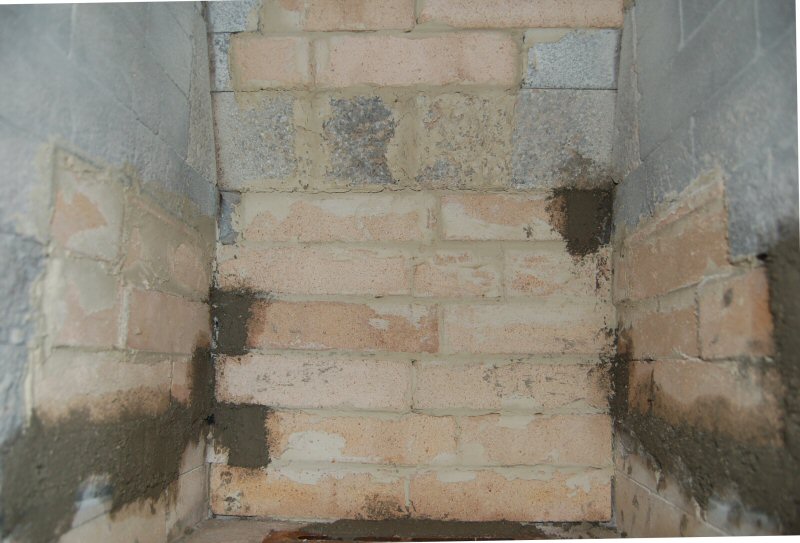
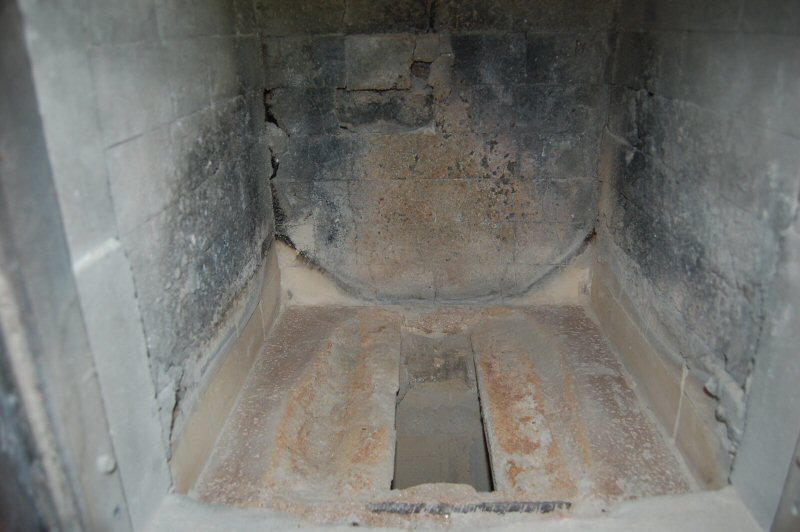
Rebuilt firebox, showing some castable refractory patches. Plastic ramming mix could also have been used for the patches.
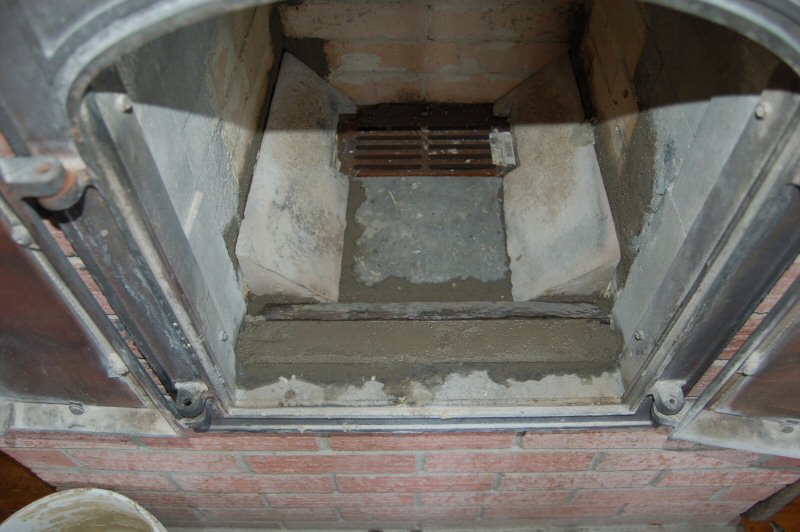
Rebuilt firebox with new air system. There is a 1" air slot at the front.
Vertical crack above the door, that only travels partway up and then disappears.
At one point, the expansion space around the door was filled with fire-cement, which could
have caused the crack.
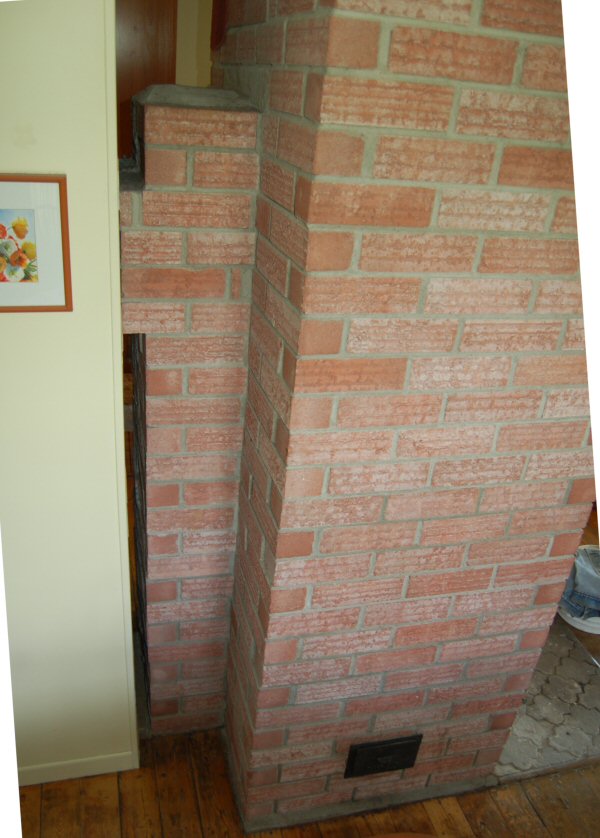
Connection into existing chimney.
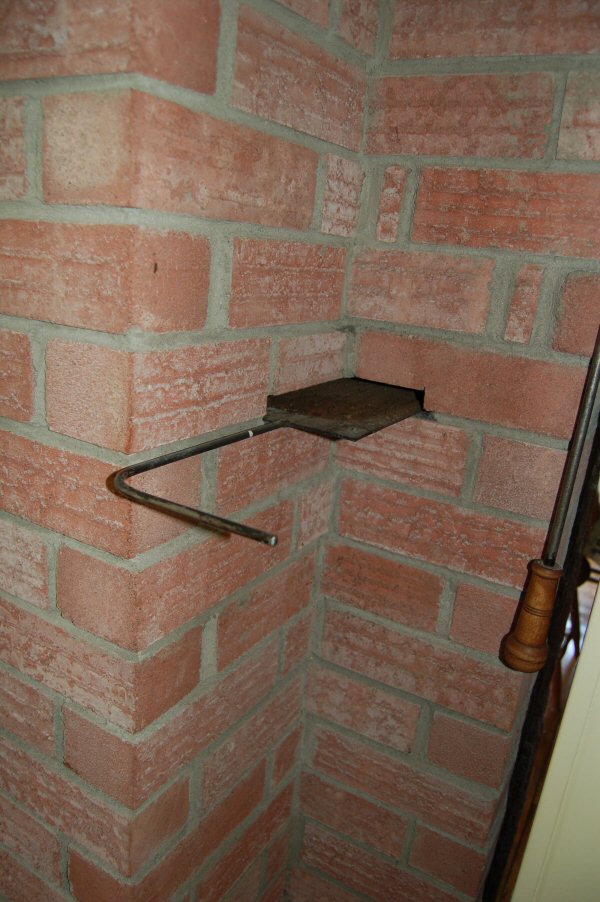
Sliding damper detail.
Actual times for this job:
- demo and repair firebox: 10 hours
- load and unload vehicle: 1 hour
- travel time: 16 hours
Lessons learned from revisiting older heaters:
- we instructed the client on using larger wood to slow down the burn.
- we no longer use underfire air. The new grate at the rear is actually providing secondary air
- we no longer use a sloped firebox back
- we now build the firebox as two shiners, so that it is rebuildable. See assembly sequence.
- for the firebox liner, we use Alsey firebricks.
- we use a 22" firebox, which allows for side kindling.
- we use a different firebox lintel assembly
This page was updated on
July 17, 2009
This page was created on July 16, 2009