Chimney Connection #1
This is a situation probably best avoided. Here however both the position of the chimney and the heater were pre-determined and neither could be moved.
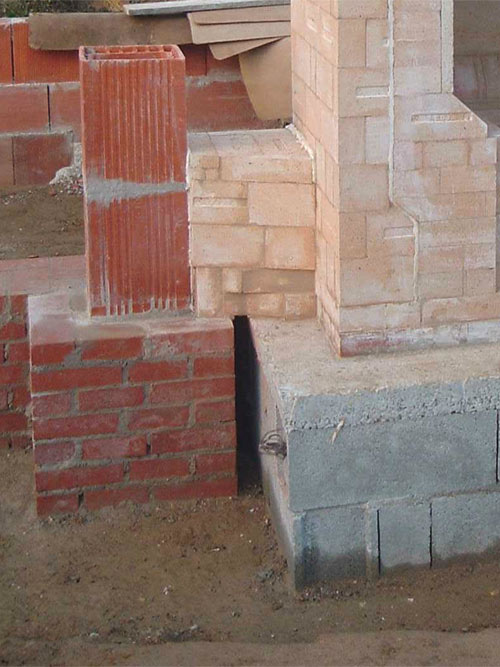
The problem was that the rear wall of the chimneys facing and that of the heater were in line. Compounding this was the form and format of the local flue tiles.
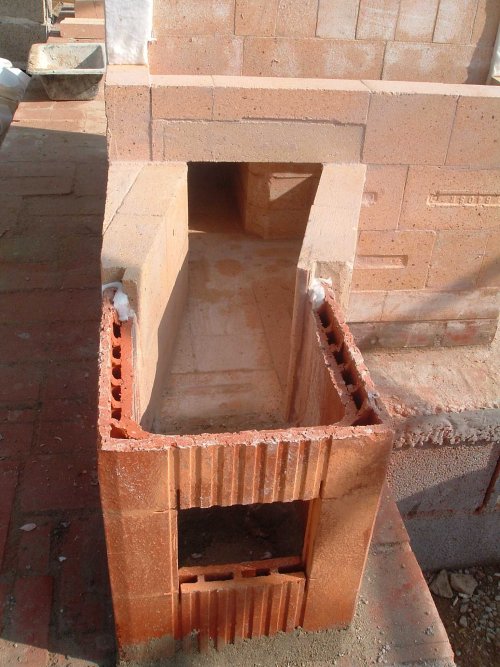
To preserve the integrity of the portion of the rear manifold wall (which supports the load of the side channel) as it is transferred over the connection by lintel, the smoke path must run at a slight angle from the side manifold to the chimney flue liner tile. This also maintains an equal volume through the connection.
See Also: Materials
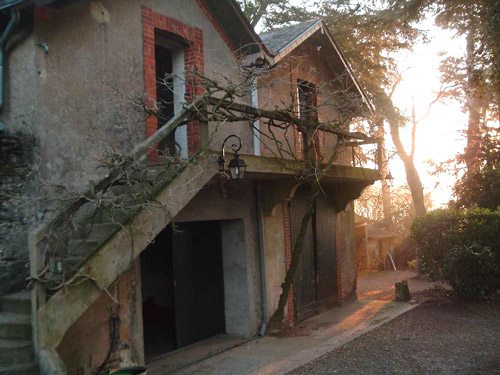
My place of abode during the project.
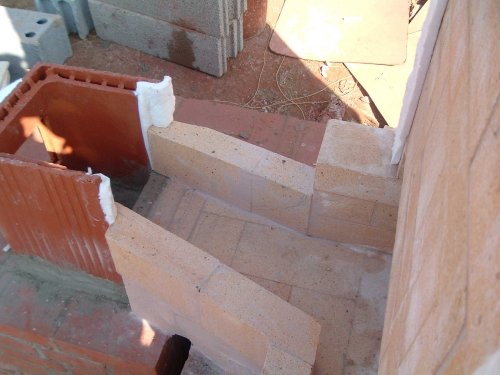
The walls of the connection are in fire brick, tied into the side channel wall, and gasketed against the flue liner tile.
The double skinned liner tile and fire brick connection channel walls were cut 'back' to form both a tight gasket and smooth interior surface at the point at which they interlocked.
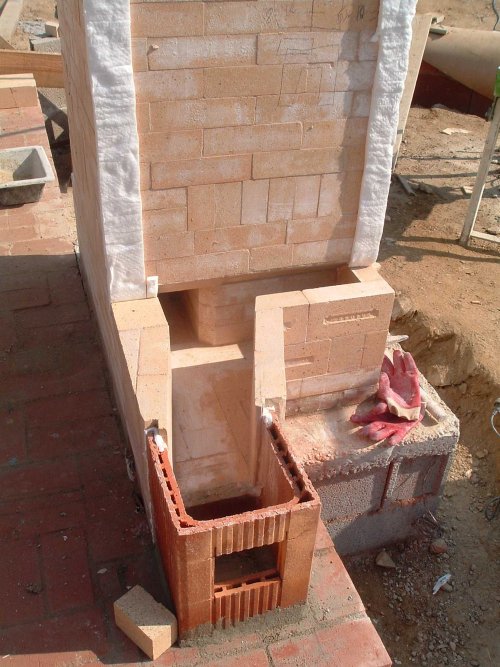
Two pieces of scrap fire brick tile (which were left over from the fire box liner), layed side by side, were used to form a masonry lintel enabling the side channel wall to traverse the connection. The original size of the tiles was 300mm x300mm square and 25mm thick.
The top of the connection channel was closed with full fire brick and had a mineral wool gasket at both ends, i.e. side channel wall and flue liner tile.
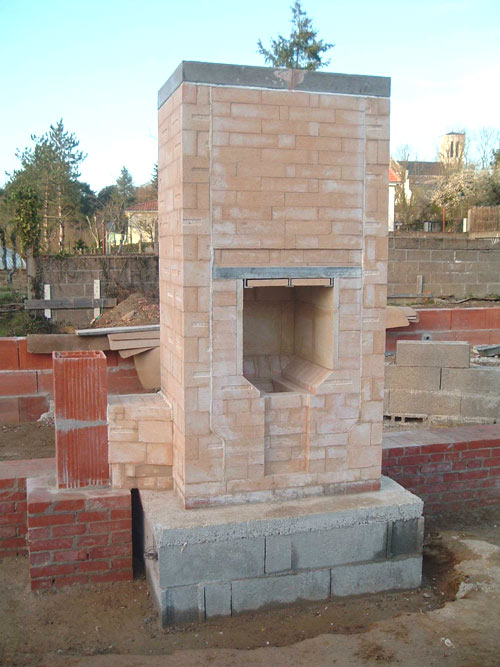
The whole connection is to be wrapped in ceramic blanket, and the weight of the heater and chimney's facing materials transferred by flat bar lintels, during facing.
There will be a 100mm free space between the facing of the chimney and that of the heater.
M. Flynn. Montreal.
