St-Elzear de Beauce
The following images illustrate selected stages of the construction of a Finish style contra-flow heater and its chimney in La Beauce, Quebec.
Detailed are:
- Corbled fire box ceiling.
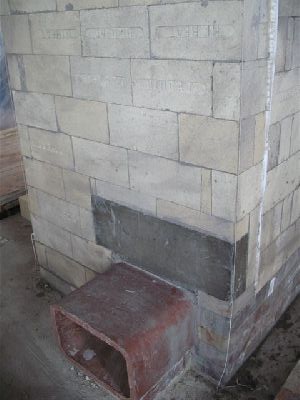
- The installation of a hot water heat exchange sleeve.
- Installation of the chimney shut off damper.
Materials
Refractory Brick:
Mount Savages High Heat
Castable Refractory Concrete:
Mount Savages Heatcrete 24 ES C
Ceramic Blanket:
Vesuvius Cerwool HP 6
Ceramic Paper:
Vesuvius Roolboard
Facing Brick:
Recycled
Hardware:
Upo
See Technical Documents PDF Index
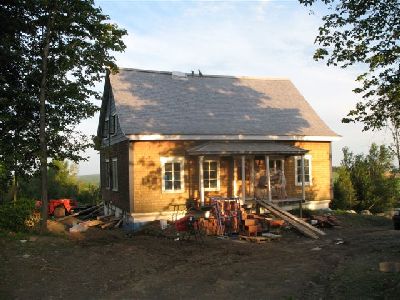
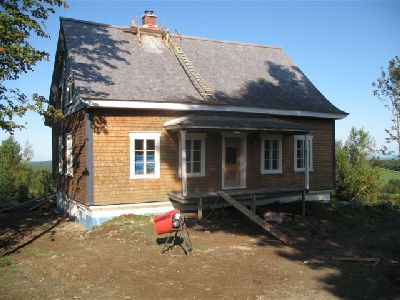
The traditional log farm house was built in the 1840s. It is seen here standing on a new elevated foundation.
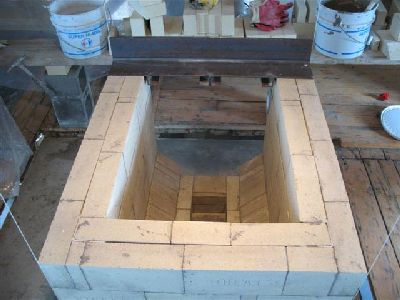
View of the angle bar lintel spanning the fire box opening
The first course over the lintel.
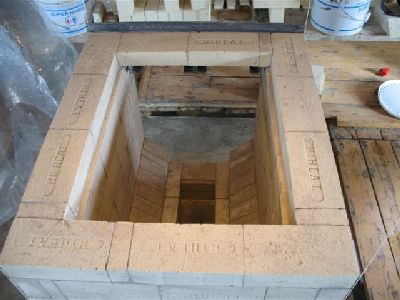
The second course.
Course three.
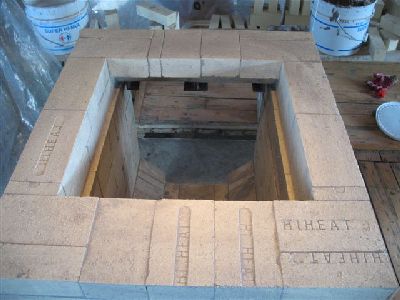
Course four.
Course six.
Image of course five is unavailable.
Image of course five is unavailable.
Course seven.
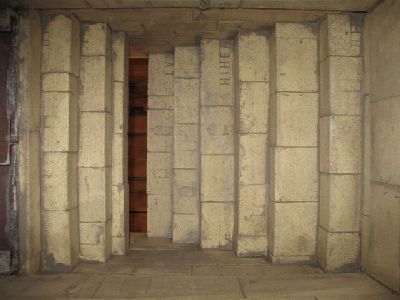
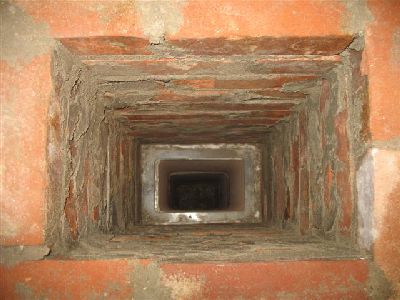
View up through the fire box.
The loading opening is to the left.
The loading opening is to the left.
The oven's under hearth channel.
The hearth slab.
The entry to the under hearth channel.
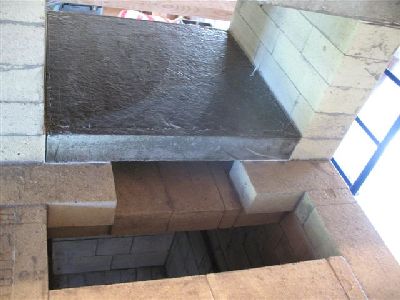
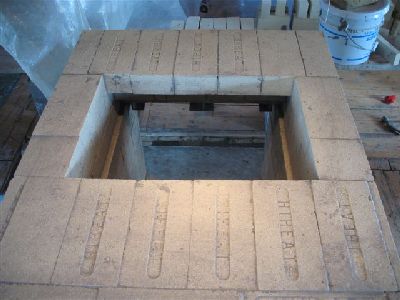
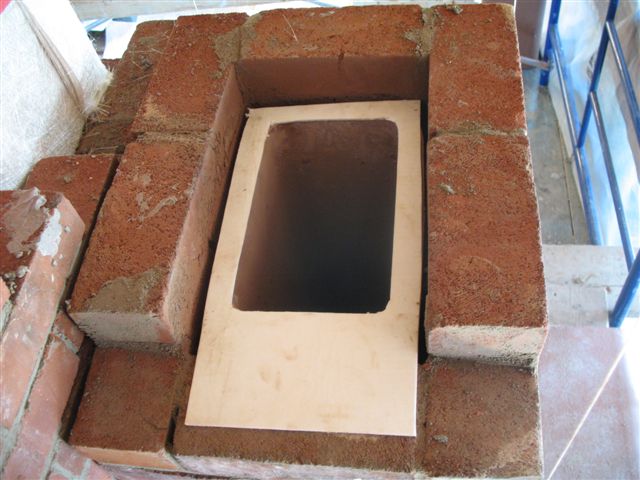
The throat, or fire tube, before installation of the ovens back slab.
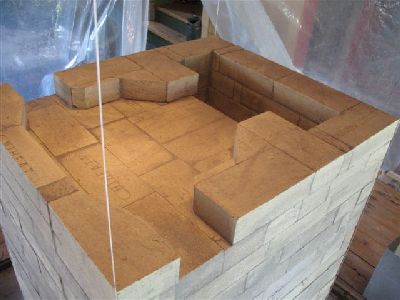
The oven and core are completed, leaving only the side channels to lay up.

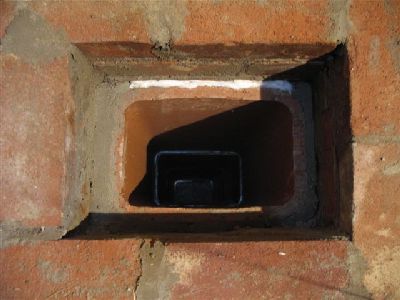
View inside the oven.
The chimney would be connected through the side channel The connection is as far to the right of the channel as possible, the flue tile being layed against the rear manifold wall.
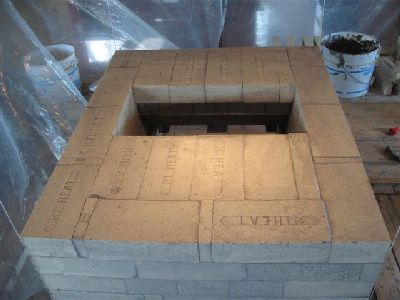
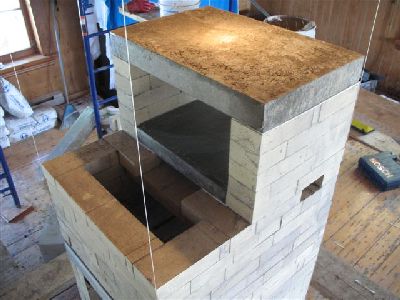
A module that was cast to format while casting the oven slabs, is used to bridge the chimney connection.
Though trouble to prepare, a castable lintel is preferable to a steel lintel.
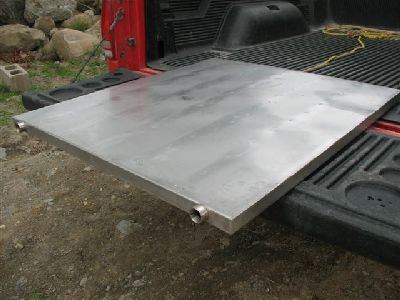
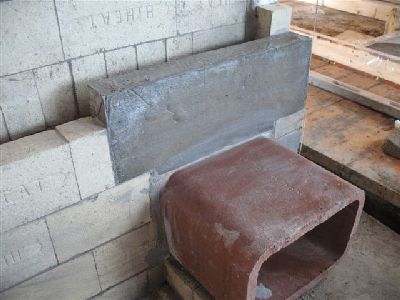
The heater will have a stainless steel water jacket inserted between the refractory and common concrete capping slabs.
The home owners were advised by myself against the installation of any form of water heating system in the heater. My objections are fundemental.
The home owners were advised by myself against the installation of any form of water heating system in the heater. My objections are fundemental.
- That the masonry heater has already gone through centuries of development, without ever succeeding in heating water efficiently.
- The stove is physically compromised by the actual mechanical installation of the water heating apparatus
- The stove becomes linked to the electrical system of the house.
- In this case, 16 square feet of the 100 square feet of radiating surface is cut by the heat exchange jacket. It thus lowers the stoves capacity to heat.
- A masonry stove is just that. It is made to heat a home. It is not a hot water boiler.
- We should be cautious of trying to lengthen the legs of the duck and shorten those of the stalk.....?
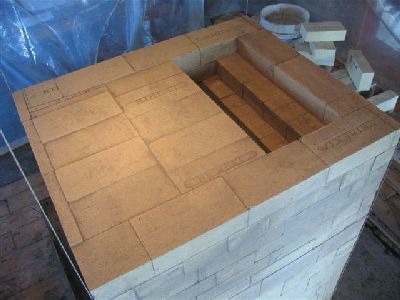
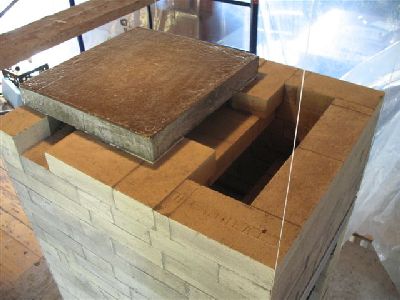
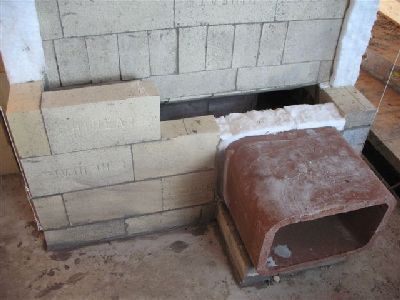
The water jacket is seen here resting upon the refractory slabs.
It was turned 180 degrees and installed with the in and out flow openings on the opposite side of the heater.
It was turned 180 degrees and installed with the in and out flow openings on the opposite side of the heater.
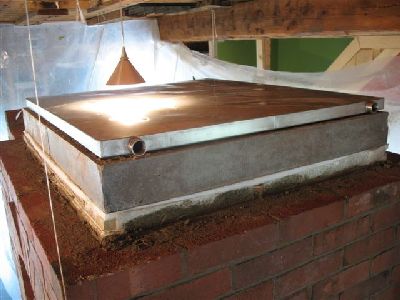
The water jacket was layed on to a thin bed of sand mixed with refractory mortar, to ensure as perfect contact as possible between the slabs and the exchanger.
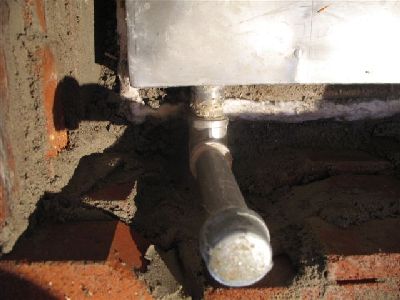
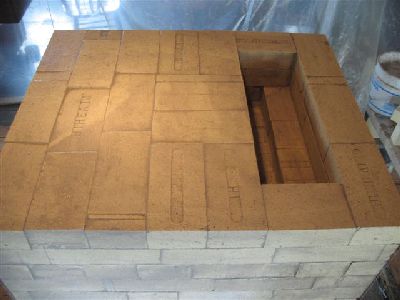
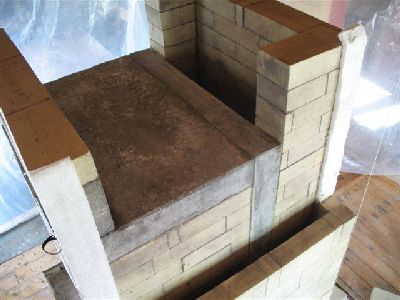
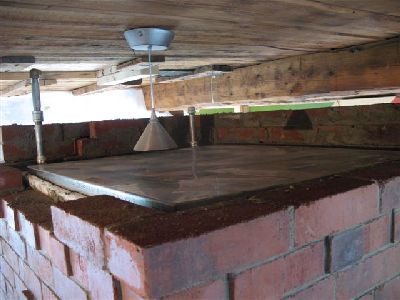
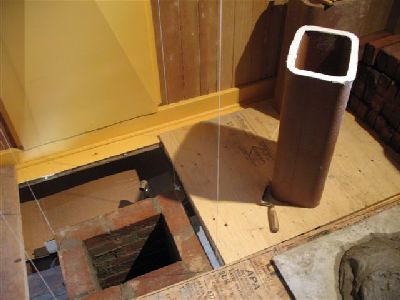
It was opted to bring the in and out pipes up through the capping slab, rather than through the facing.

The water jacket was covered with two layers of half inch ceramic wool,on to which was poured four inches of common concrete.
The eight inch clearance between the top of the heater and the ceiling was maintained.
The eight inch clearance between the top of the heater and the ceiling was maintained.
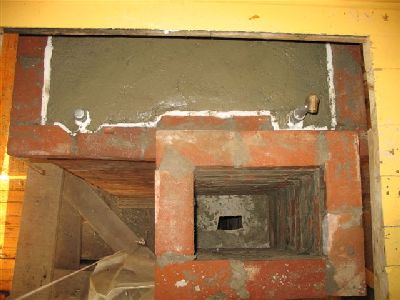
Before installing the damper frame plate a Roolboard gasket is cut to the shape of the tile. The Roolboard forms a smoke gasket and evenly distributes the weight of the tiles above it.

The damper frame layed upon the gasket.
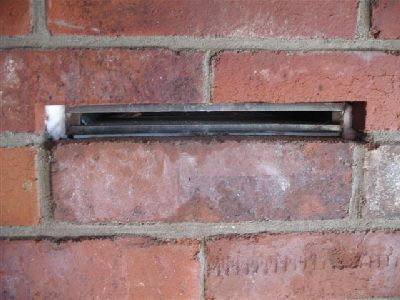
The damper frame opening will be finished with a cover plate, that will be screwed to the brick.
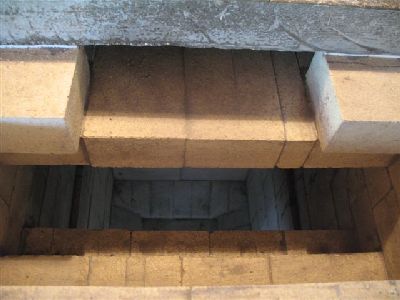
If the last flue tile before the damper can be cut so that it arrives at the top of a course with two headers and one strecher, then the two strechers of the course above can be cut back to accommodate the damper. They also bridge the opening making a steel lintel unnecessary.
If the last flue tile before the damper can be cut so that it arrives at the top of a course with two headers and one strecher, then the two strechers of the course above can be cut back to accommodate the damper. They also bridge the opening making a steel lintel unnecessary.
The first flue tile above the damper is gasketed with ceramic paper, before being lowered on to the damper frame.
The damper frame and two feet of masonry above it.
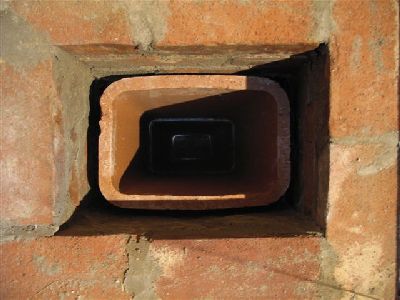
The tile in place on the frame.
The tile is stabilised with back fill on two sides, and wool on the two opposite sides.
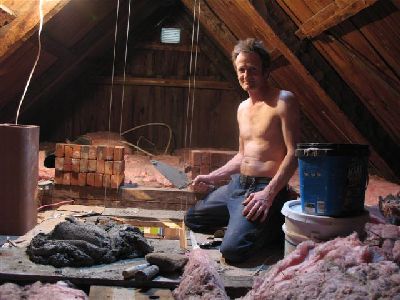
In the loft.
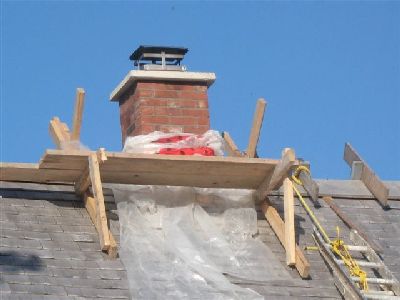
The chimney top is finished with a concrete cap and stainless steel rain hat.
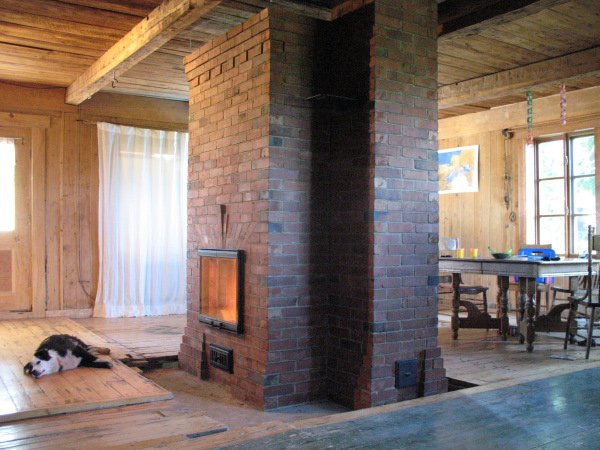
The completed project.
Marcus Flynn
2008
